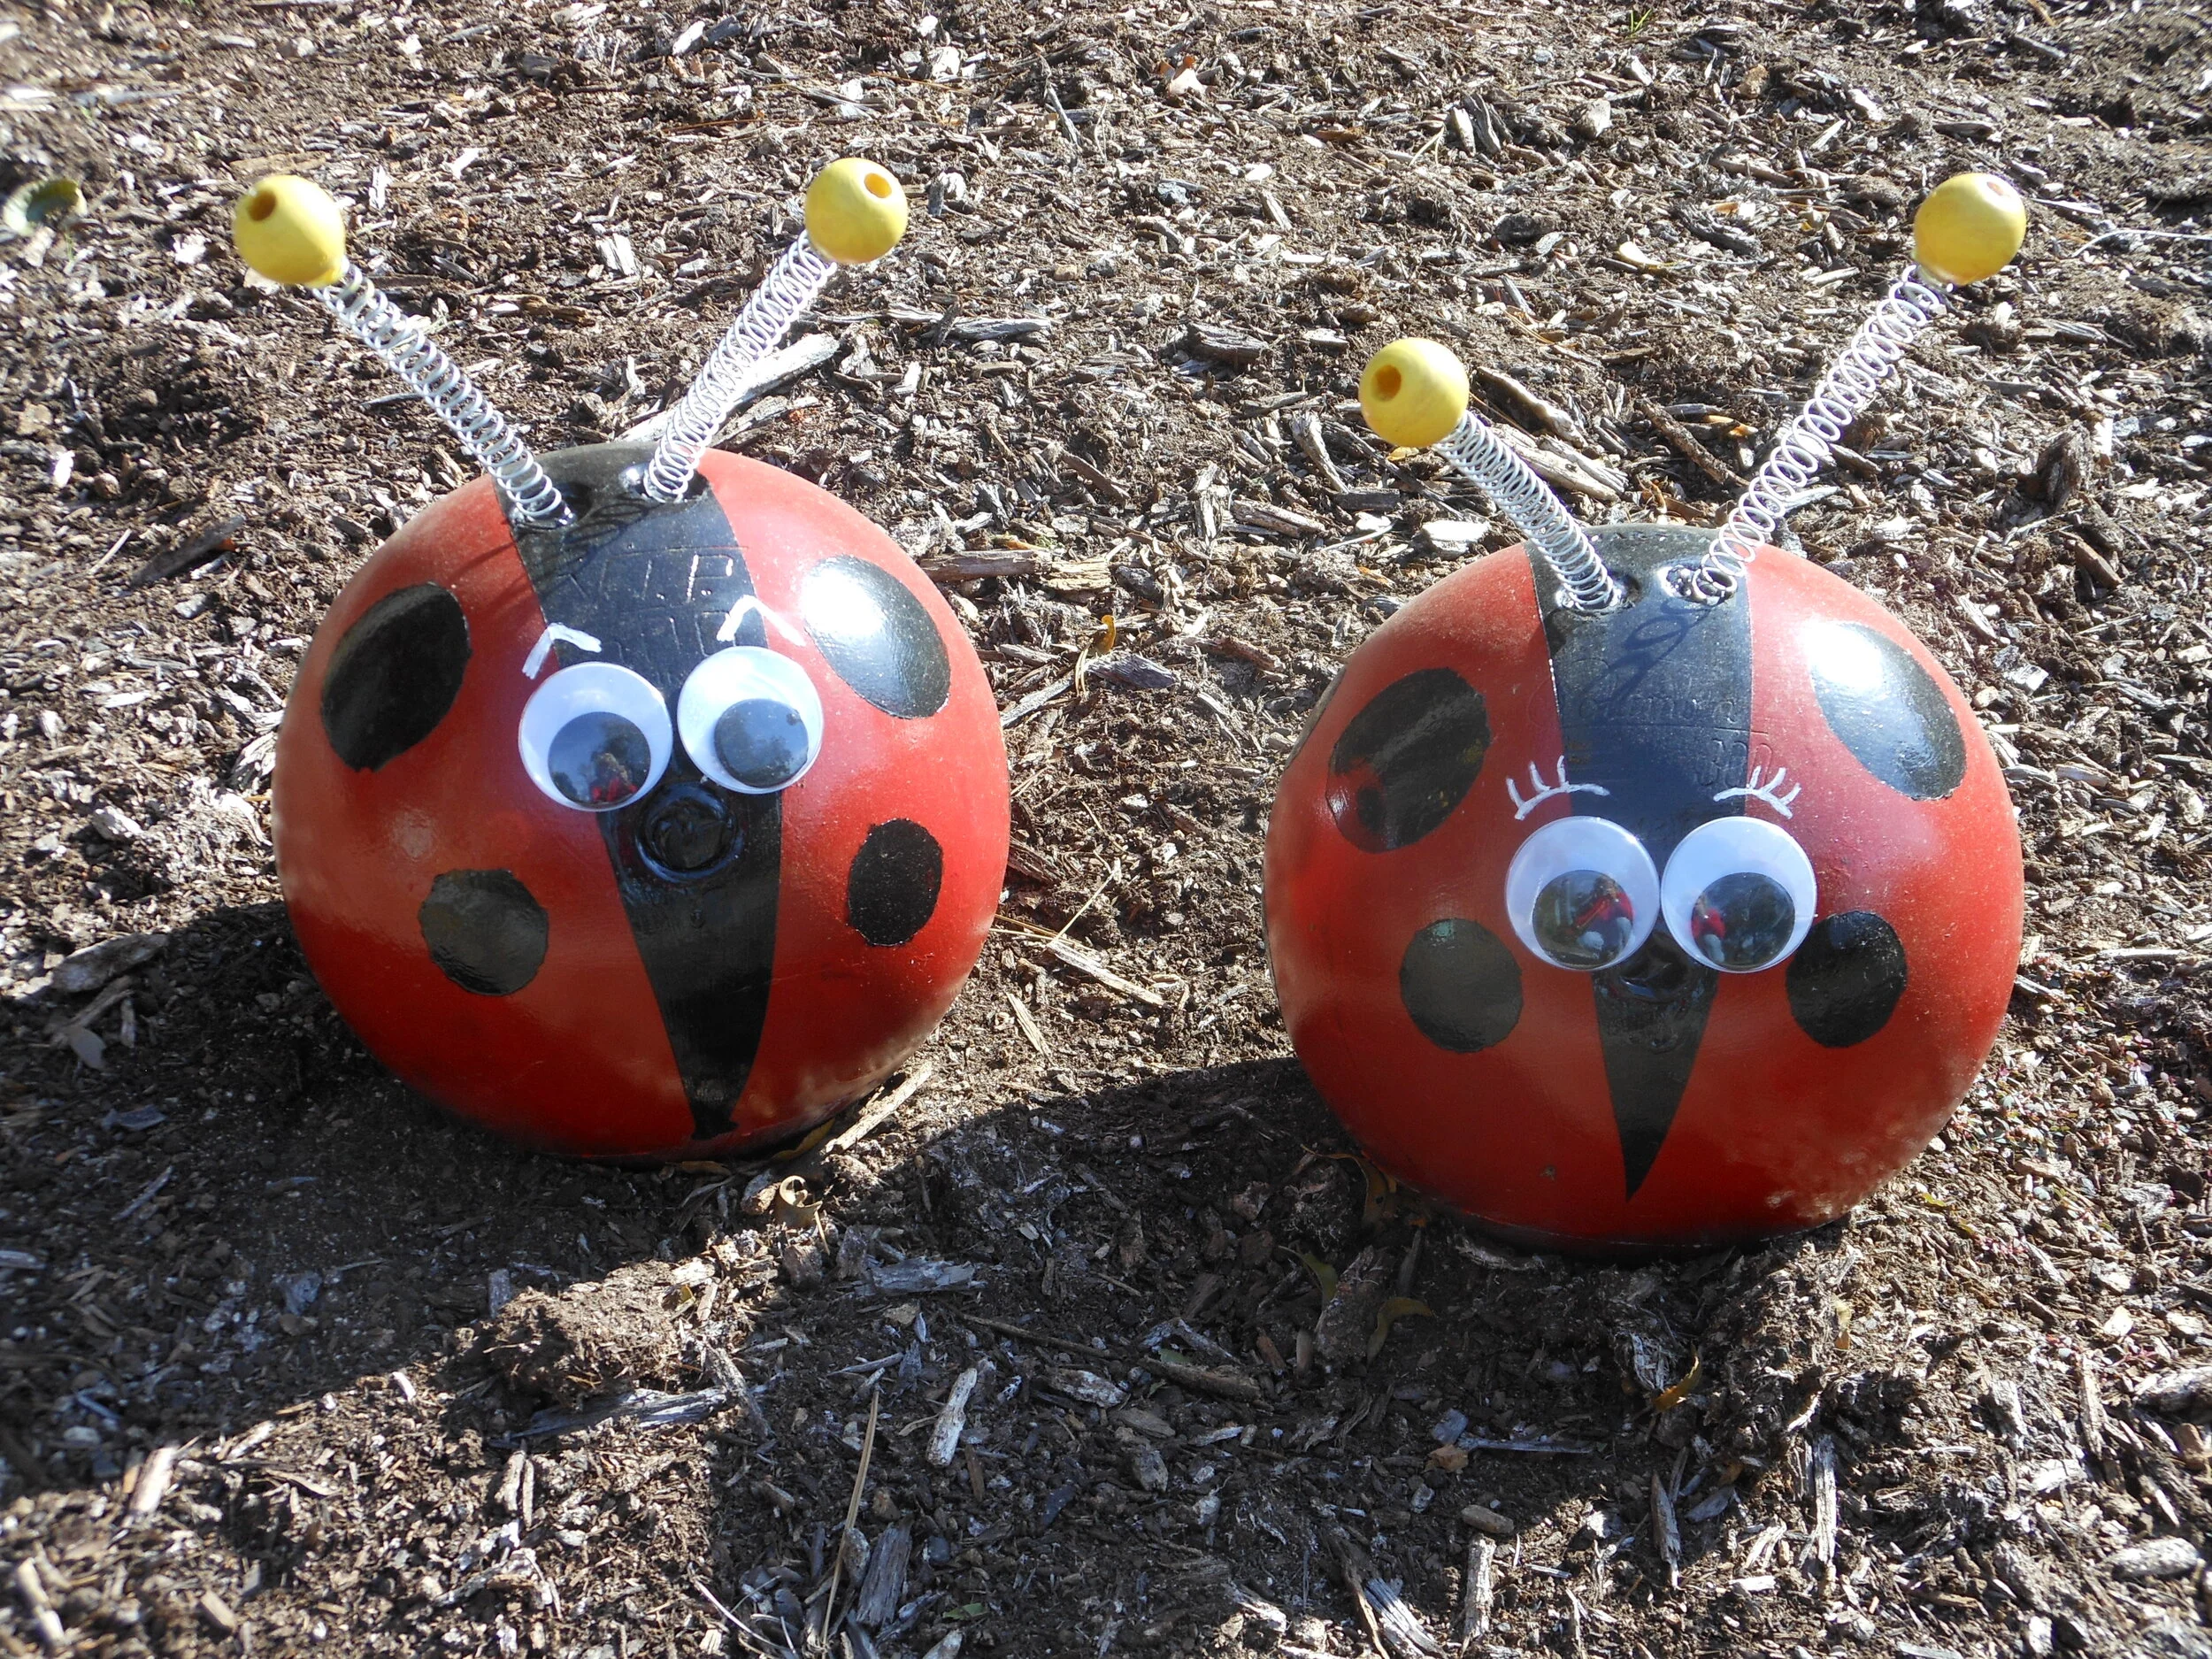
Here is my Christmas gift to you. Below you will find step-by-step instructions for upcycling bowling balls into cute garden ornaments.
If you haven’t bowled for years, but still have equipment buried in a closet somewhere, bring those relics out into the light of day.
Start with a pair of ordinary bowling balls.
Use an orbital palm sander over the entire surface of the bowling balls. (I’ll refer to them as BB from this point forward.) Paint will not adhere to a slick, shiny surface, so sand long enough to have a completely dull finish. Wash the sanding residue off, dry the balls completely, and apply a coat of primer. The primer makes the final paint adhere better and increases the longevity of the final product.
I used a couple of empty coffee cans to hold the sanded BBs off the soil surface, for ease of painting. Here they are, after receiving a coat of oil-based primer.
Paint the entire surface with a coat of bright red paint. Allow it to dry thoroughly and then apply a second coat. I found that it took two days for the red surface to be completely dry. The two finger holes will be for the bug’s antennae . Keep this in mind as you use painter’s tape to section off a center section. The space between the two tape strips will be painted black. The curve of the ball means that the stripe will be wider in the middle. See the photo below.
Painter’s tape defines the center stripe. The tape will wrinkle due to the BB curve. The wrinkles don’t matter, as long as the tape creates a defined line toward the middle, where the black paint goes.
Picture after the center stripe was added.
Allow the black paint to dry completely and then remove the tape. Next, use sections of fresh tape to create templates for adding wing spots. My tape width was narrow, so I needed to use two strips. I decided to use a combination of large spots and small spots. I used a half-dollar coin to outline my large circles, and a slightly smaller coin for the smaller circles. Use an Xacto knife to cut the center holes out before positioning them on the BBs. For attractive dots, use care to cut a clean edge. Ragged cuts result in jagged dots. You will need a template for every dot you plan to add to your BBs. Cut them all at one time. Position them on either side of the black stripe, matching the left side to the right side, just as real ladybugs have mirror image dots on their wings. I found that it was easiest to paint the large dots first, allow them to dry and then remove their template tape, adding the smaller dots as a separate step.
Adding the largest black spots. Use care to avoid paint bleed at the edges. You want crisp dots with well-defined edges. Once the large dots are dry, remove the tape and position the smaller dots between the large ones.
Remove the painter’s tape from around the wing spots. Optional: Add two coats of a clear spray-on lacquer to make the final appearance even shinier and to prevent fading in sunlight.
Use silicone caulking, waterproof tub-and-tile sealer, or outdoor adhesive to fill the thumb hole and finger holes. Before the filler dries, insert two springs for the antenna. My neighborhood Ace Hardware had a great assortment of springs. You can choose short or long. I selected longer ones that weren’t particularly strong, so that wind would make them bobble about. Superglue a couple of wood balls on the ends of the antenna. I painted my wood balls yellow, for contrast. I also painted the thumb-hole adhesive black, so it blends into the stripe and becomes invisible.
Final step is to give your ladybug some eyes. I used superglue and google eyes purchased from a craft supply store (Micheal’s). You can paint on eyelashes or eyebrows to add personality.
Tah-dah! A pair of completed BB ladybugs, ready to be placed in the garden.


