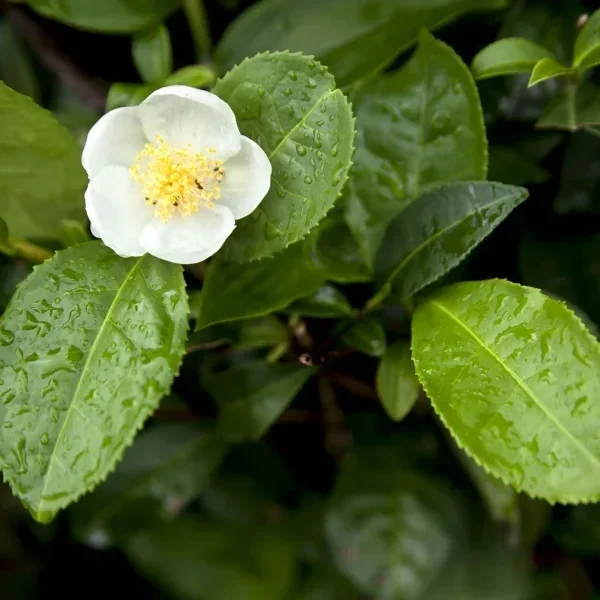
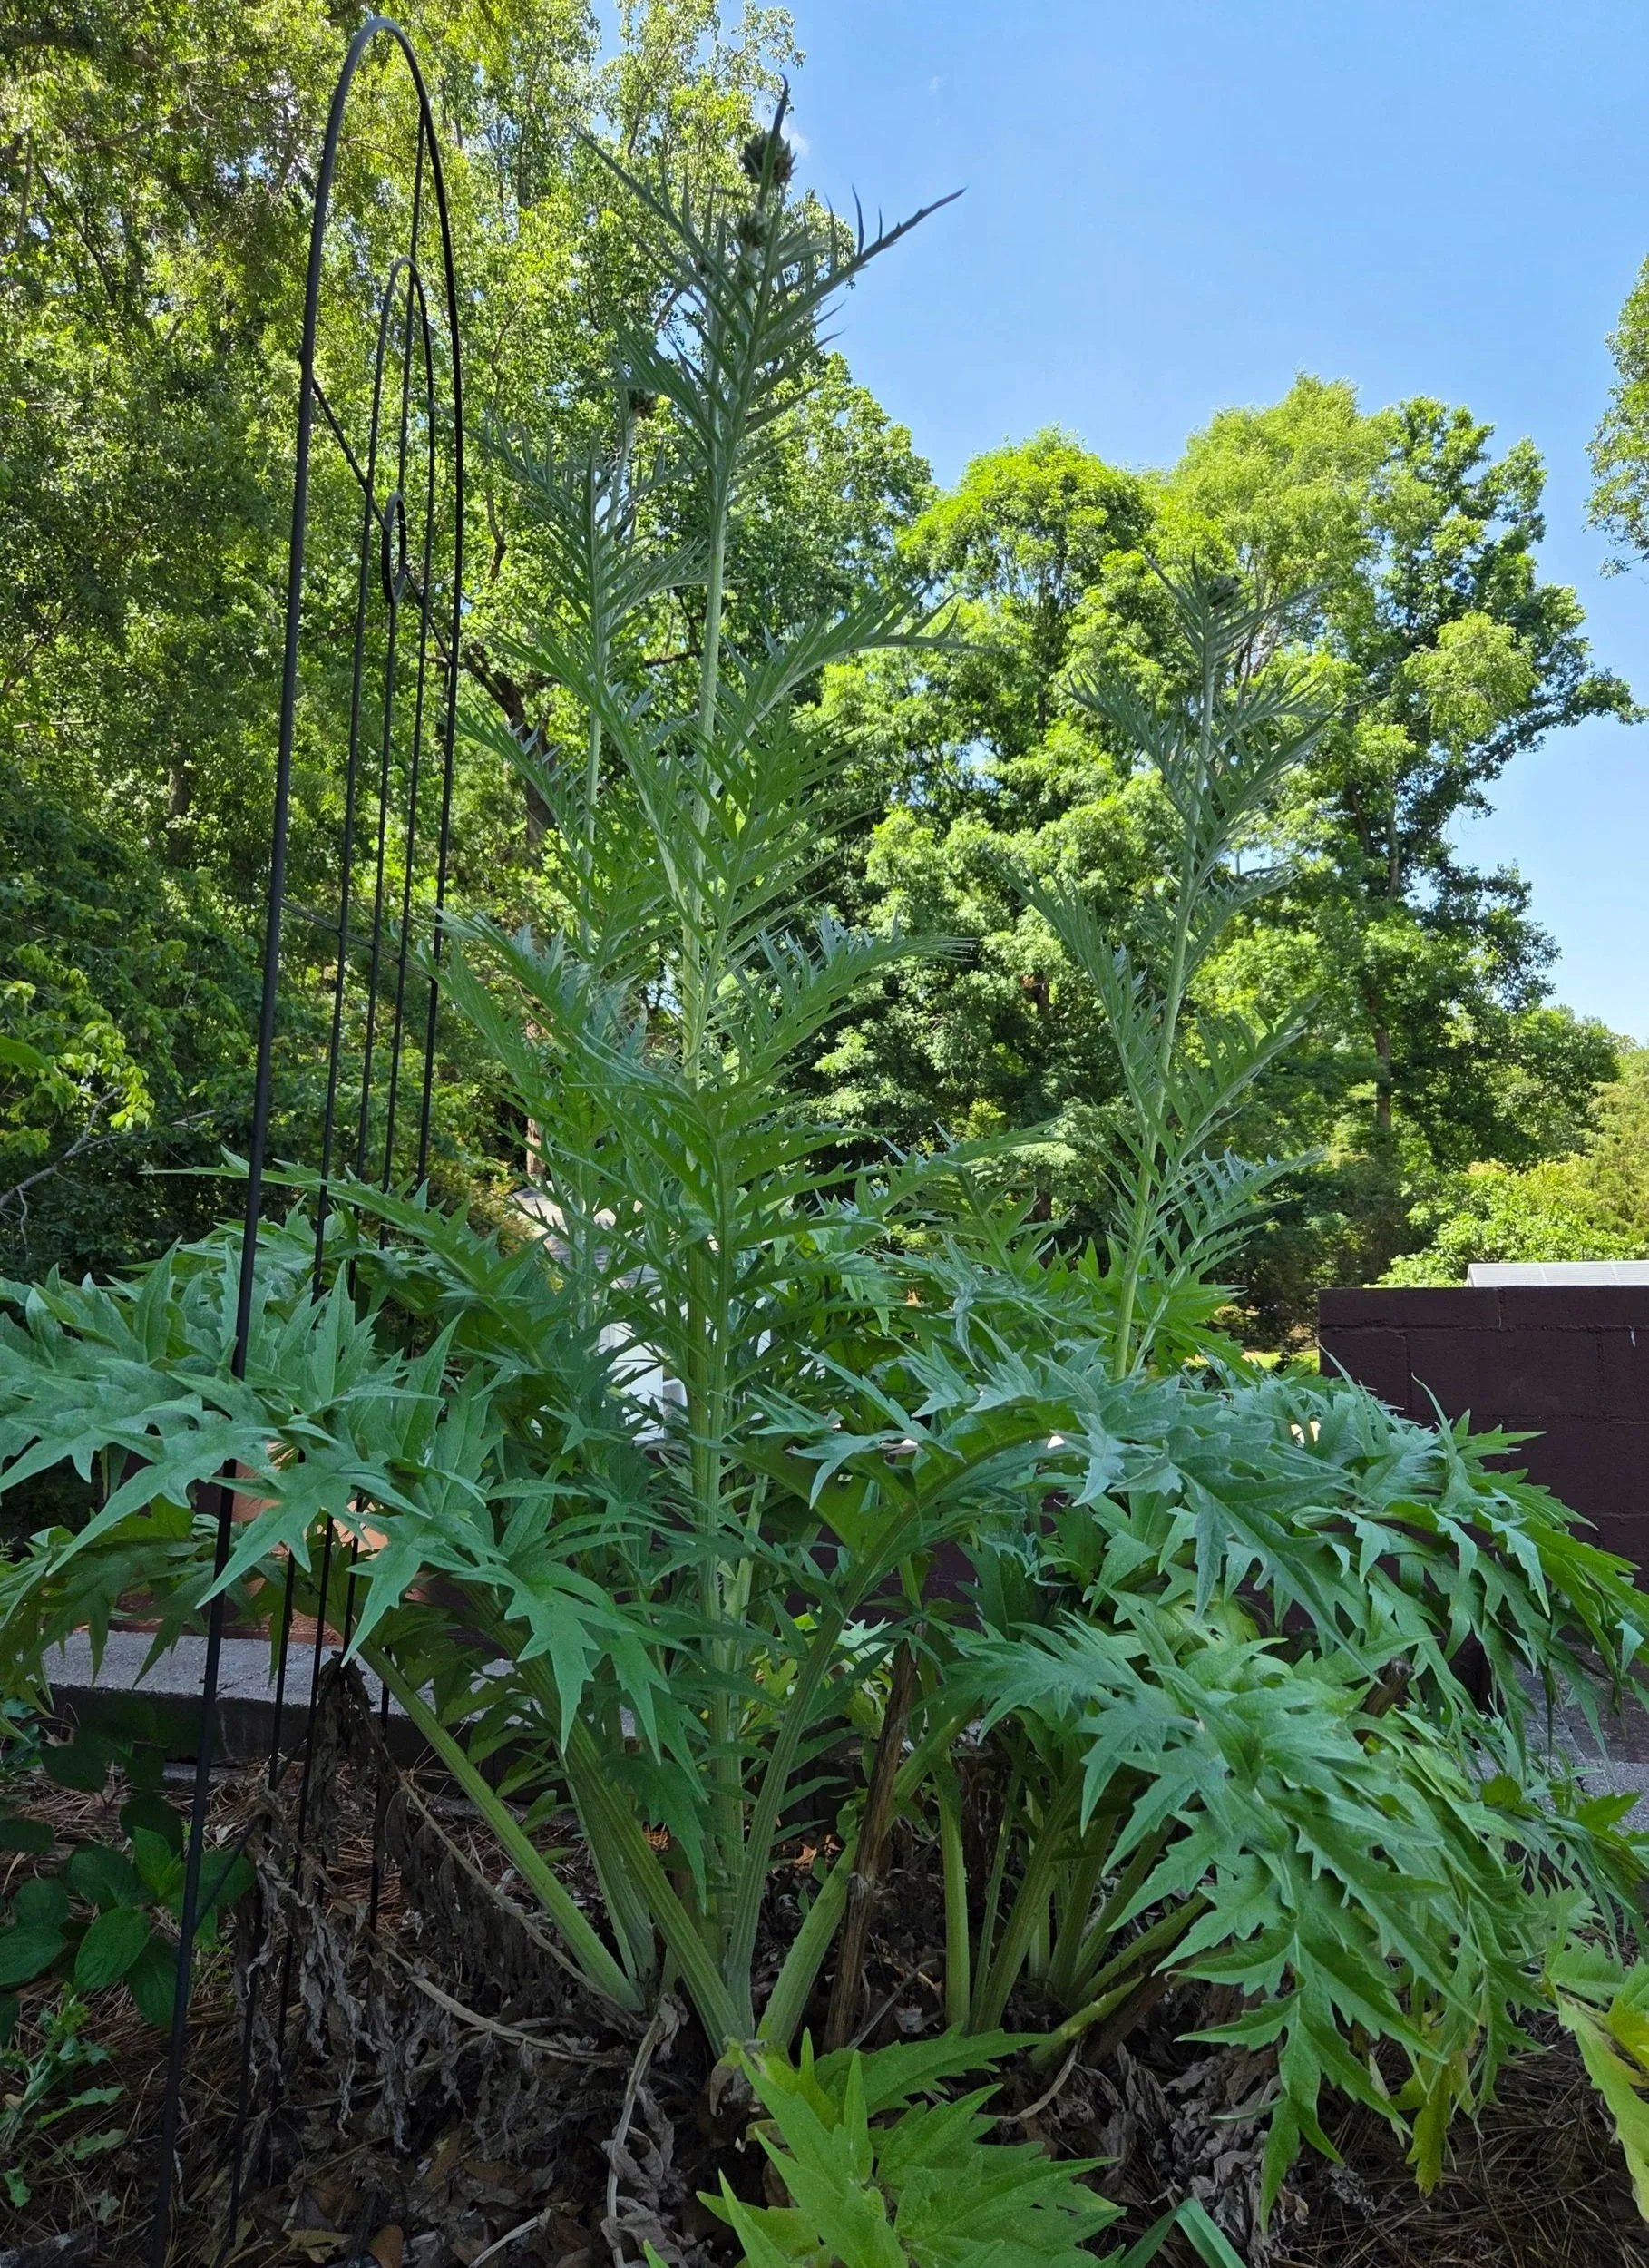
Hardy in warmer climates, Camellia sinensis also grows well as a potted plant, so you can bring it indoors during the winter if you live in a cold climate. Like other camellias, Camellia sinensis prefers well-drained, acidic soil with a pH of 5.5 or lower. The shrub needs full to part sun and grows 6 to 15 feet tall. USDA Zone 7-9.
Fun fact: The various types of tea—green, white, or black—simply depend on how you dry and cure the leaves.
How to Harvest:
Use only tender, new growth for all forms of tea. Snip the top two leaves, along with a bud. Then, the secret is in the prep:
White tea: Let the leaves rest for a few hours on a tray at room temperature, then dry in the oven at 190 degrees F. for about an hour.
Green tea: Wither the leaves for two hours. Heat oven to 300 degrees F., and dry leaves for 7 minutes. The leaves should still be soft enough to roll between your hands so the leaves curl. Spread the rolled leaves on a pan, heat the oven to 250 degrees F., then dry the leaves for 40 minutes.
Black tea: Oxidation gives black tea its dark color. Wither the leaves overnight. Roll the leaves in batches. Spread them in a thick layer in a pan, cover with a moist cloth, and place in a 100-degree oven for 1 hour. Keep the moisture level high by adding a bowl of water in the oven. Remove the cloth and bowl of water, increase the temperature to 250 degrees F., and dry the leaves for another 40 minutes.
How to Make Tea with Camellia Sinensis:
White tea: Steep a small handful of withered leaves in 1 cup of boiling water for 10 minutes.
Green tea: Steep 1 teaspoon prepared leaves in 1 cup of boiling water for 4 to 5 minutes.
Black tea: Steep 1 to 1-1/2 teaspoons of tea in boiling water for 4 to 5 minutes.
Always strain tea before drinking or place tea in a diffuser before steeping.
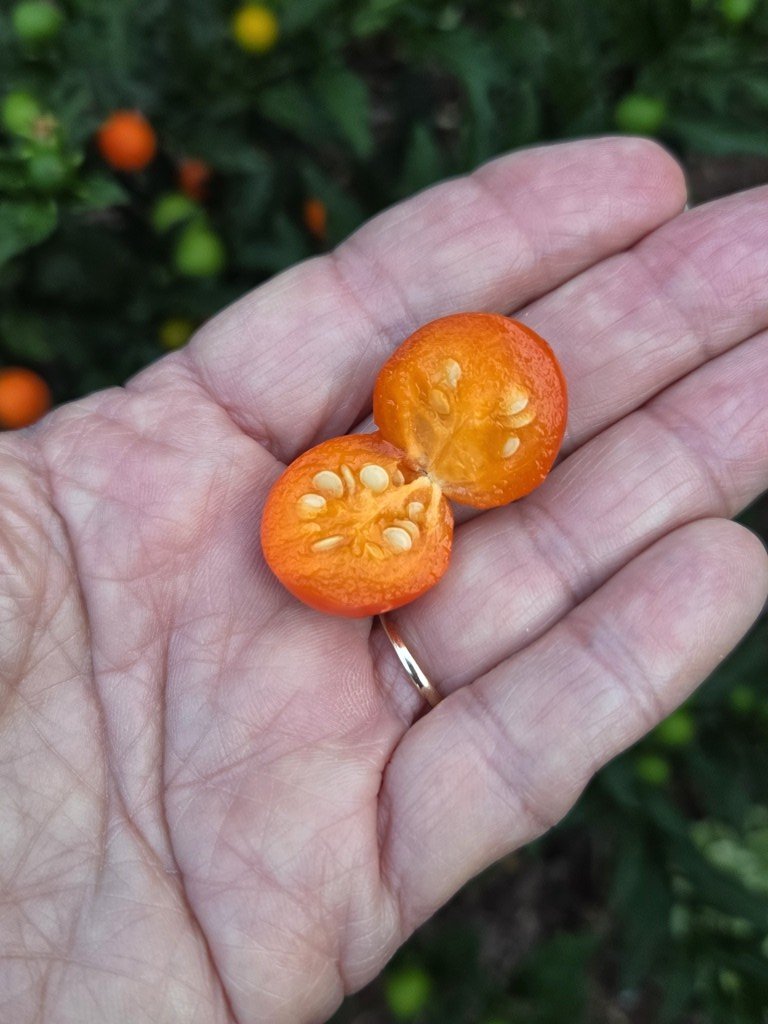
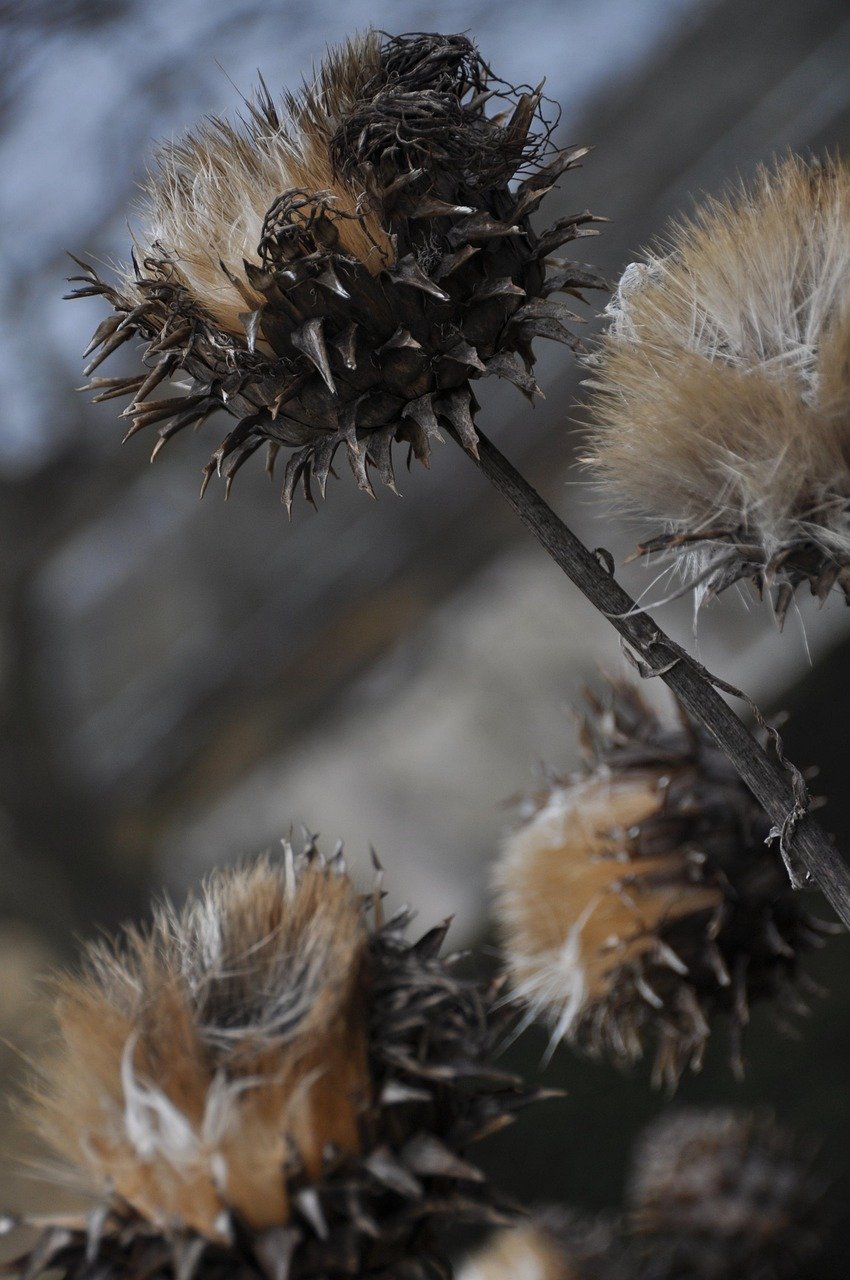
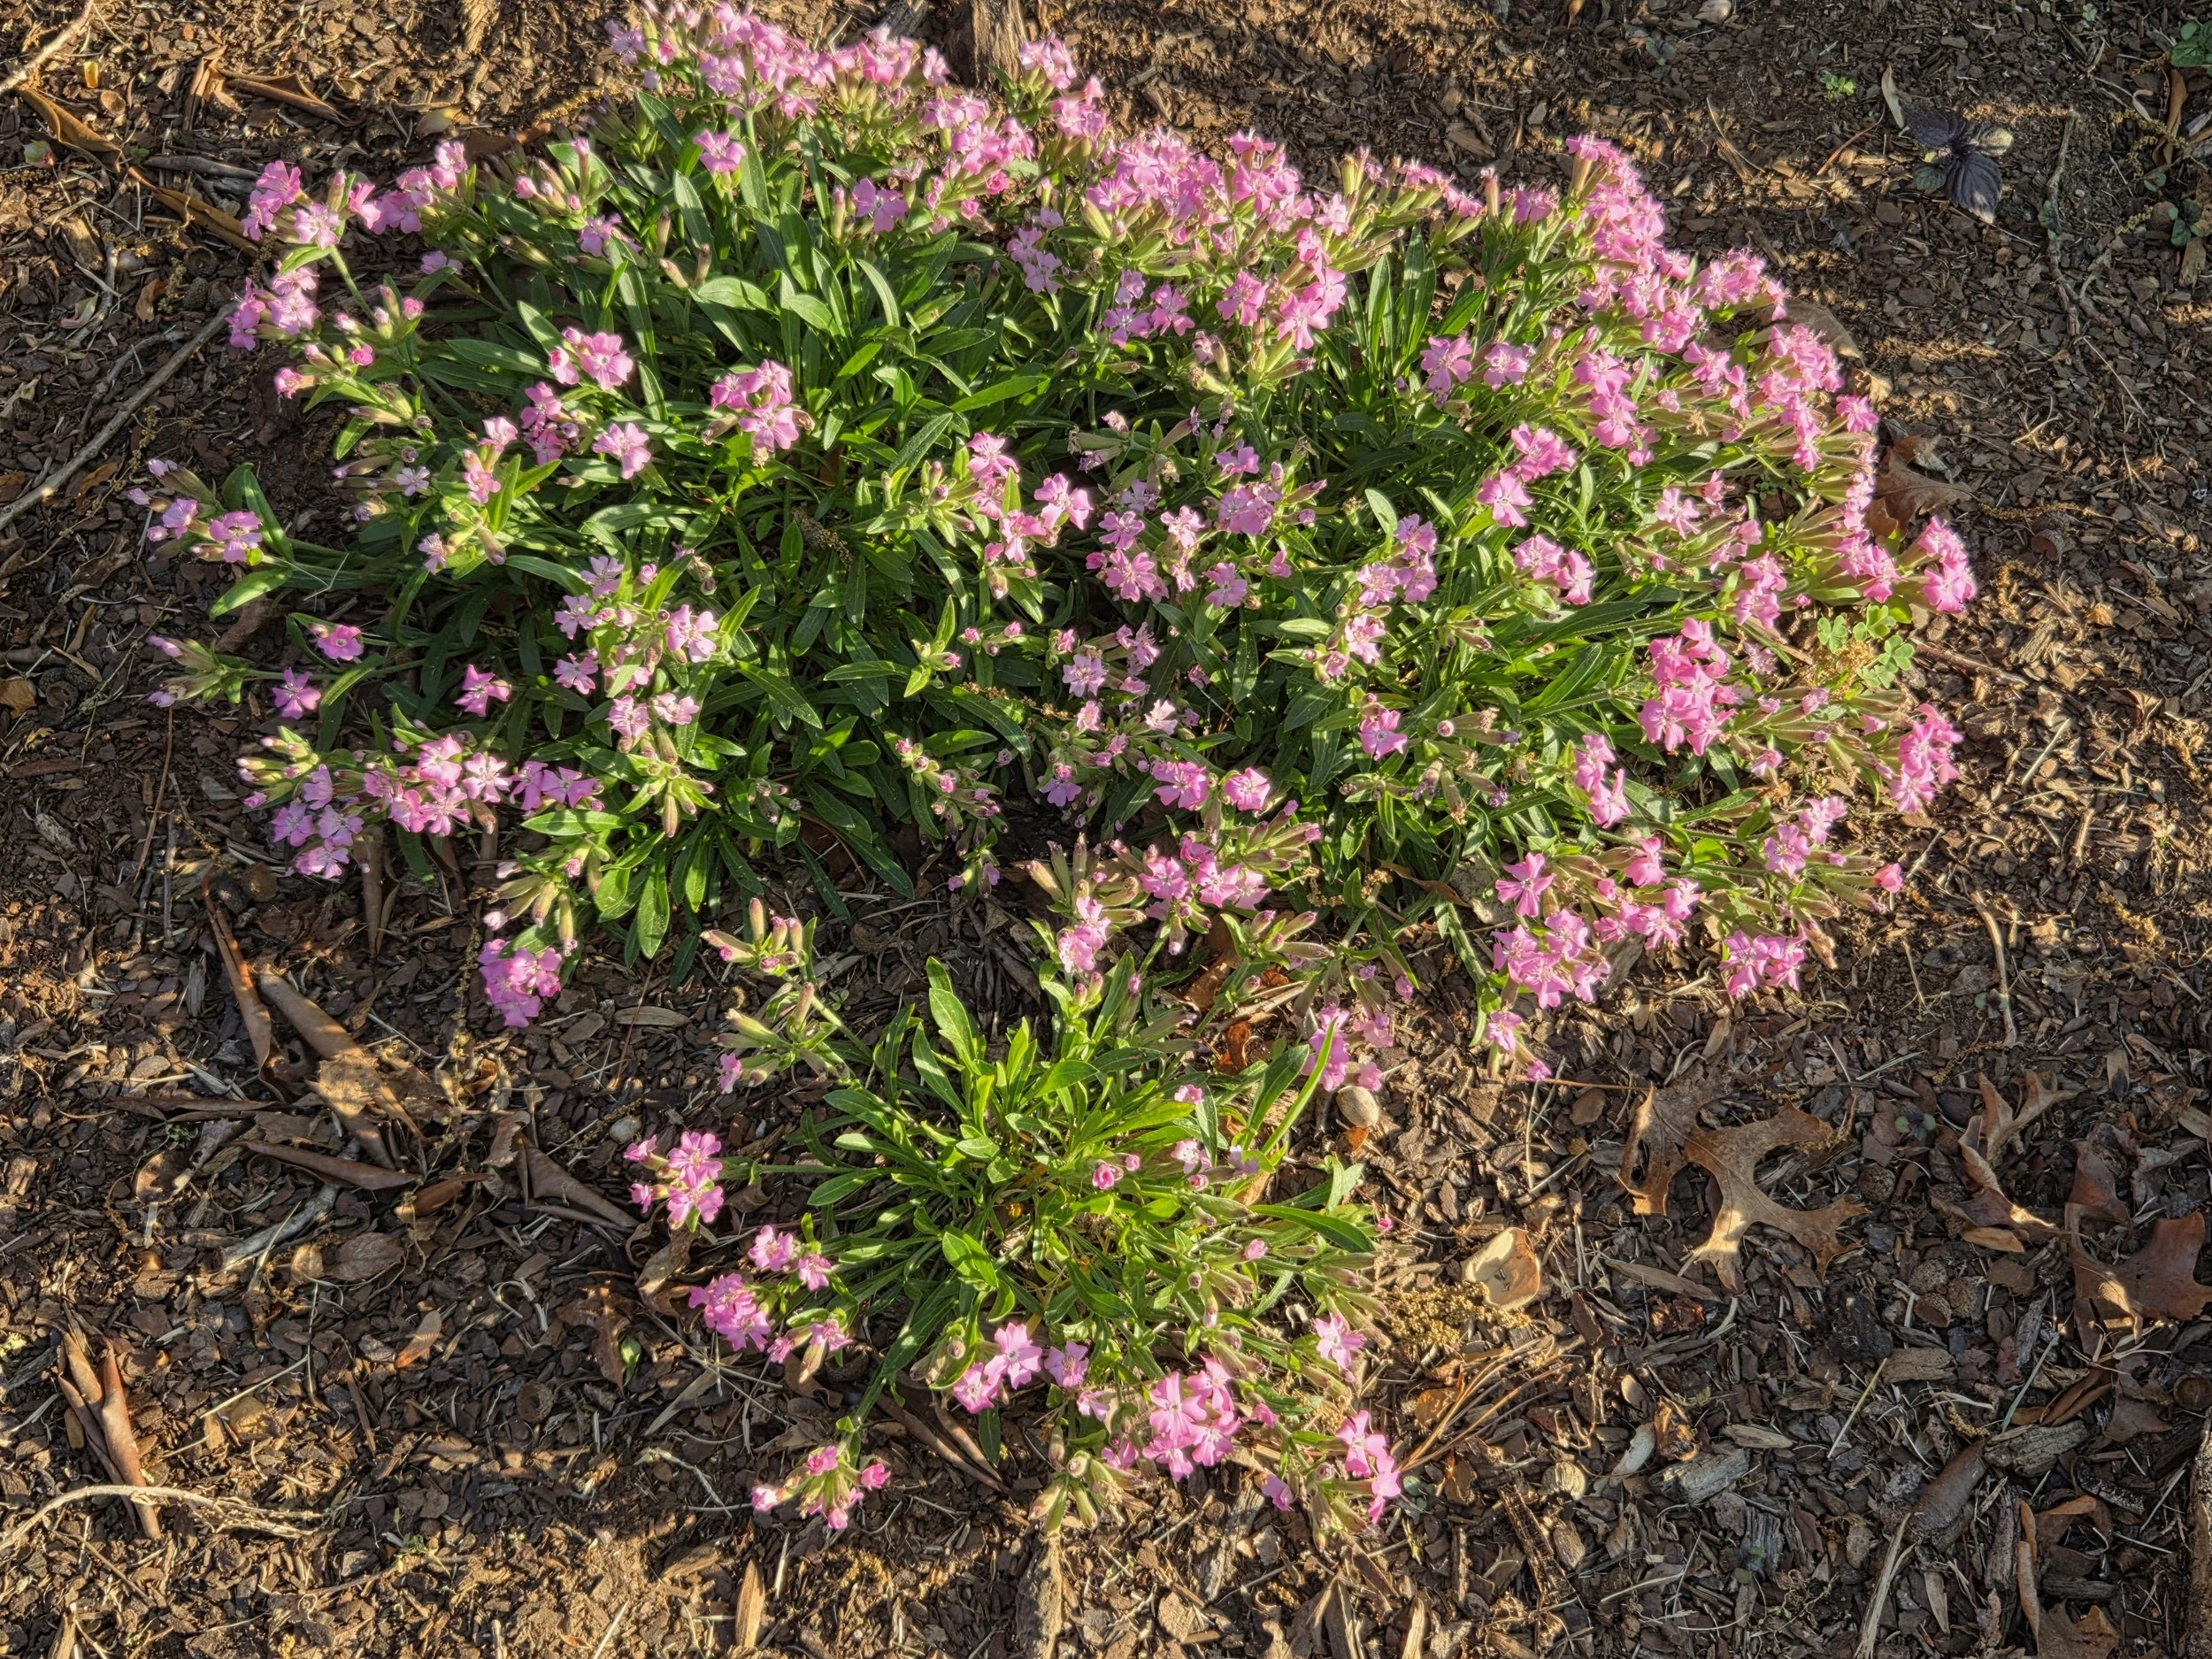
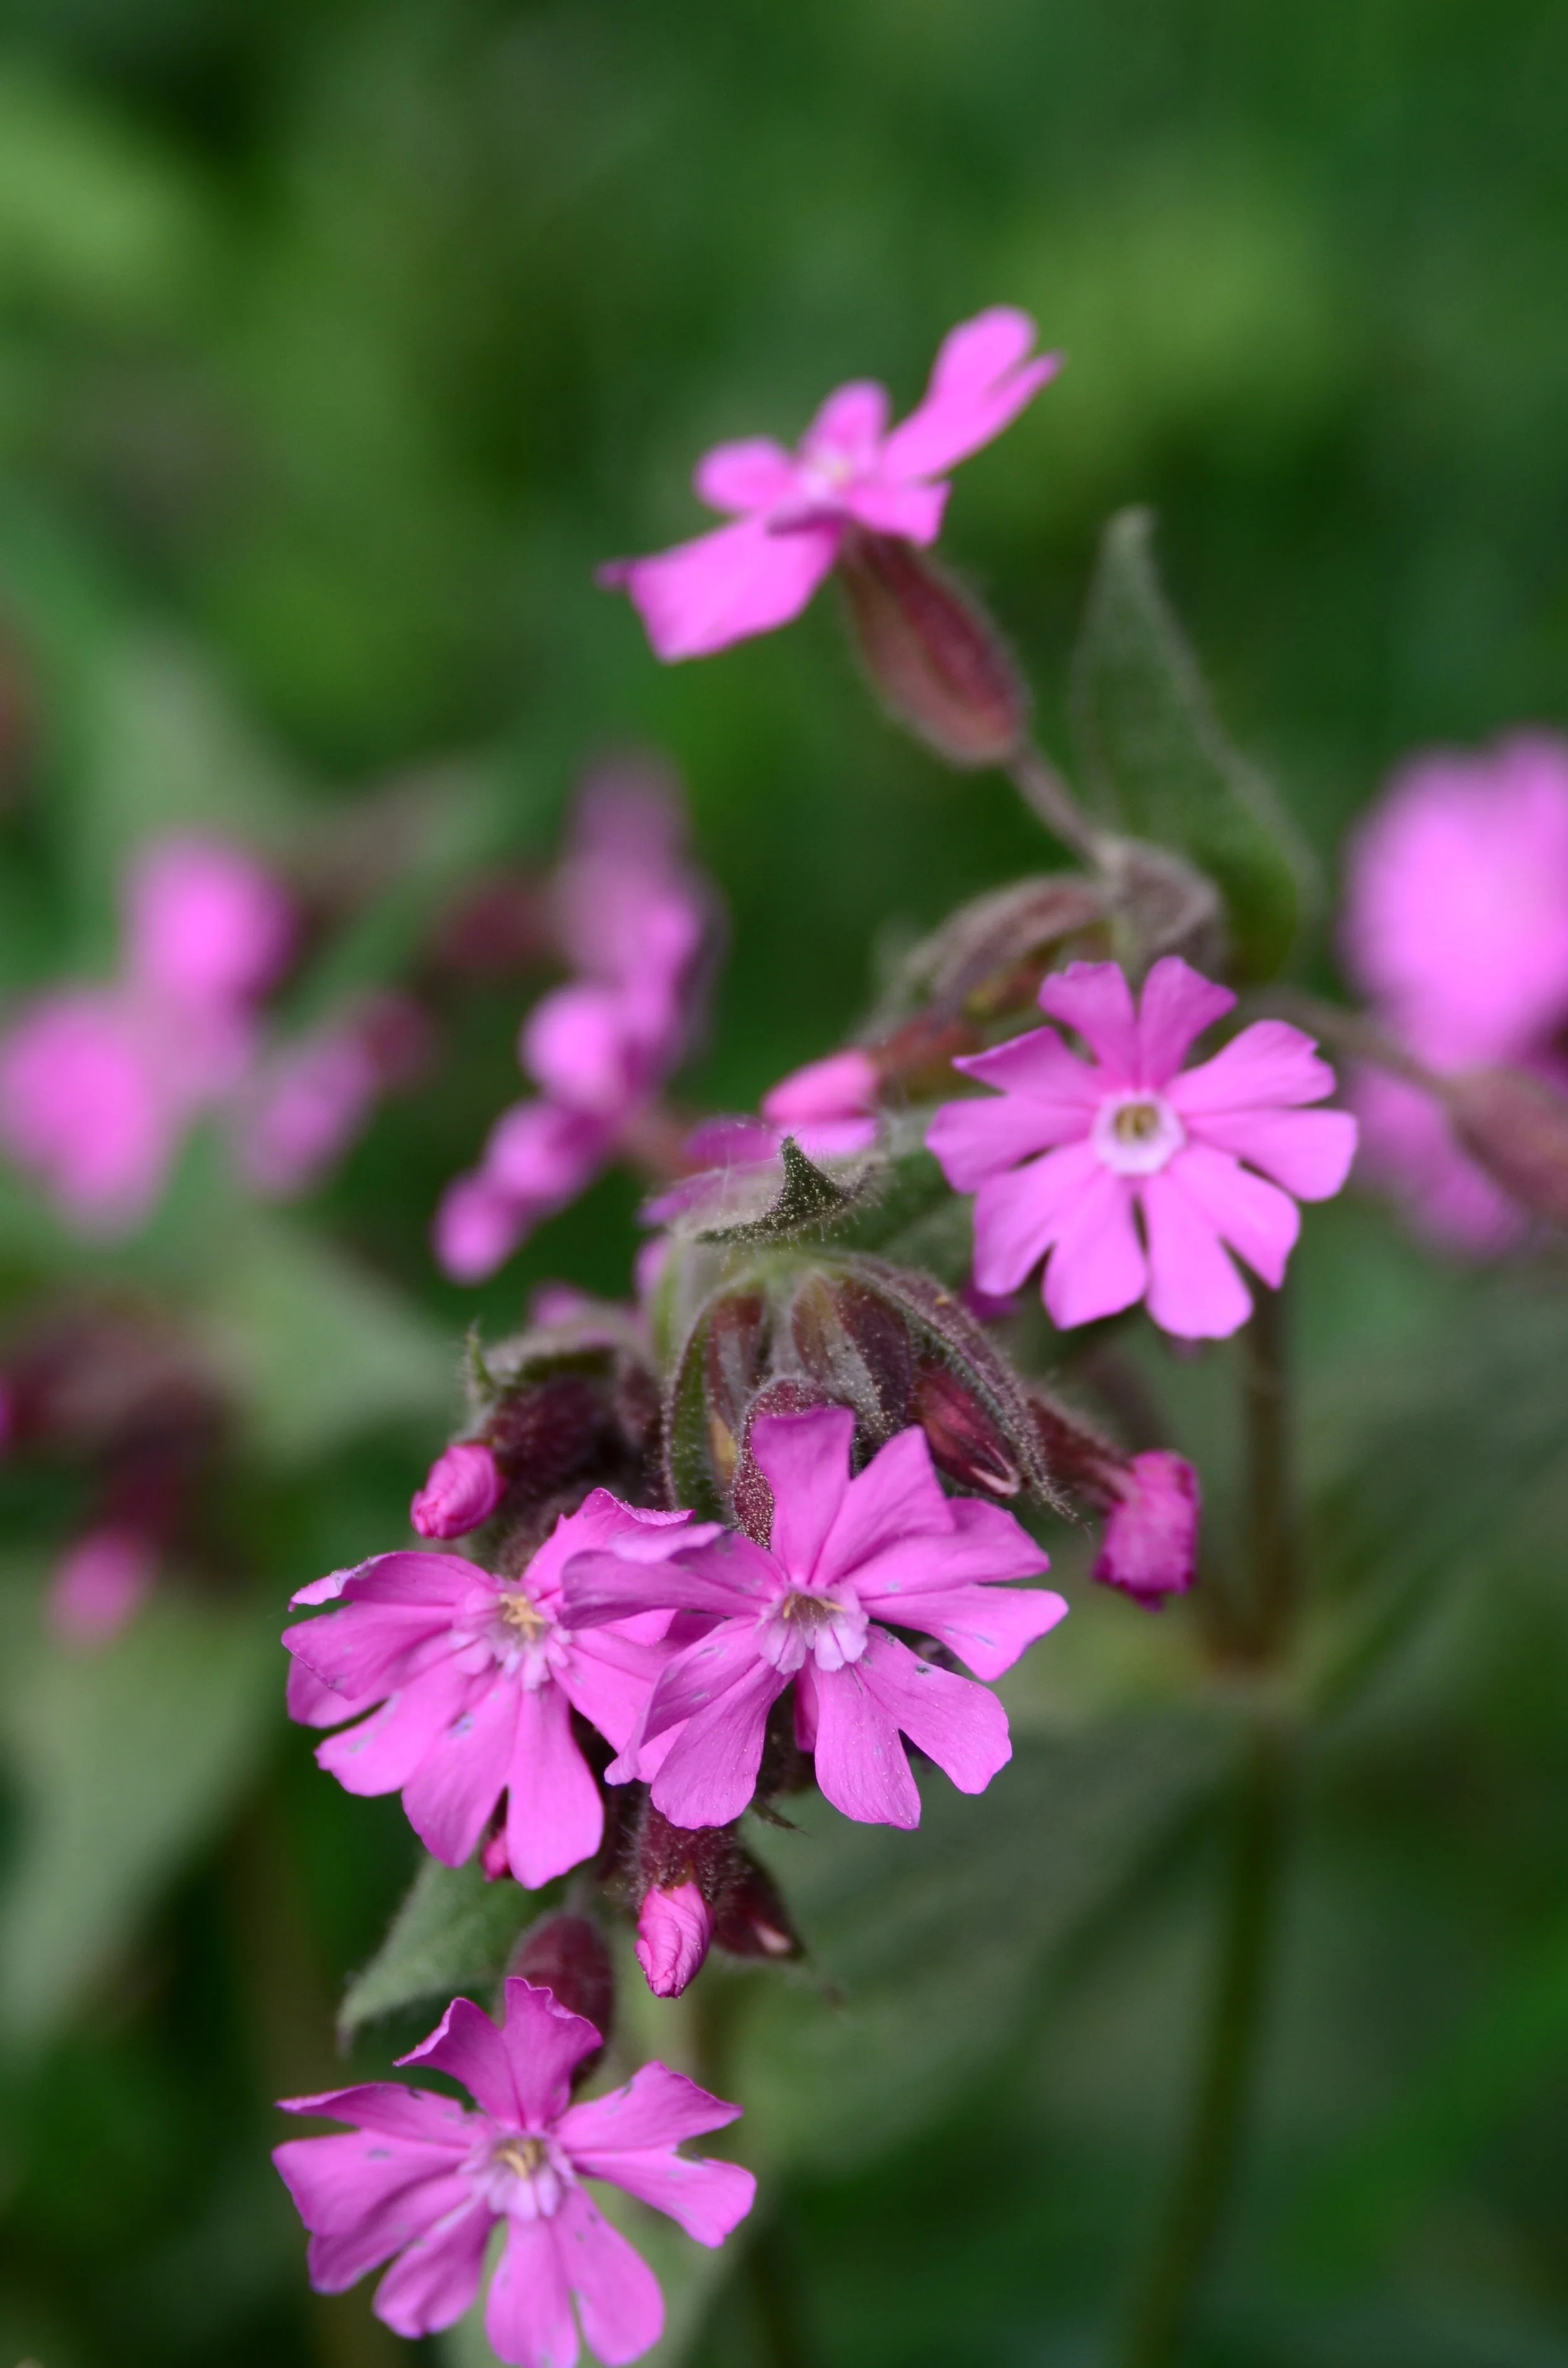
2. Rose Hip Tea
Made from the small, red-orange pseudo-fruits of rose plants like Blanc Double de Coubert, which look a bit like miniature apples, rose hip tea is rich in vitamin C, antioxidants, and flavonoids. Traditionally used to boost immune systems, it’s thought to reduce “bad” cholesterol and blood pressure, while also containing anti-inflammatory properties. Rose hip tea sports a slightly sweet flavor with a tart kick, similar to a green apple.
Rose hips form after the flower is pollinated in the spring or summer, with the hips ripening from late summer into autumn. Roses prefer rich, well-drained, slightly-acidic soil with a pH of 6.0-6.5. Most roses need full sun, while a few varieties tolerate part-sun.
While you’ll find hips on most roses, some heirloom varieties produce larger hips. Collect the hips in the fall for use in tea. USDA Zone 3-9, depending on variety.
When to Harvest:
Stop deadheading flowers in fall, allowing the hips to form and ripen on the shrub. Harvest hips when plump. Remove the hips from stems and rinse. Use fresh or dry for later use.
How to Make Rose Hip Tea:
Avoid spraying pesticides on plants that you are growing for tea.
3. Roselle Hibiscus Tea
For a tasty summertime drink, try hibiscus tea. Brewed from the deep-red sepals and calyces of roselle hibiscus, it’s full of vitamin C and anthocyanins. The bright-red beverage is a healthy, no-sugar alternative to sweet tea.
Easy to grow as an annual in northern zones, roselle hibiscus can be planted directly in the ground, or grow it in a large container to move inside during cold winters. Plants are 7 to 10 feet tall with a bushy growth habit.
Pretty flowers typically last only one day, after which a red calyx forms. Prefers full sun and well-drained soil. USDA Zone 9-11.
When to Harvest:
Harvest calyces 7 to 10 days after flowering, or when the calyx is about an inch wide. Use fresh or dry for later use. To dry, separate the dark red calyces from the seed pod and dehydrate.
How to Make Hibiscus Tea:
Steep 1-2 teaspoons dried calyces in 8 ounces of boiling water for 5 to 10 minutes. Serve hot or cold.
For the following plants, use the Basic Tea Recipe that follows.
4. Linden Tea
Not only does the linden tree look lovely in the landscape, but it also produces pretty, petite yellow flowers adored by both tea enthusiasts and bees.
For centuries, the flowers have been used in tea to promote relaxation, relieve stress, and soothe digestive upset.
While linden trees grow throughout the world, American Linden, also known as “Basswood,” is native to eastern North America. Mature trees reach 75 to 90 feet tall and 40 to 50 feet wide, so give this beauty space to grow. USDA Zone 3-8.
When to Harvest:
Harvest fully open, heavily fragrant blooms. The flowers can be used fresh in tea or dried for later use.
5. Mint Tea
If you love the crisp, sweet flavor of mint, you’ll adore this easy-to-grow herb in your tea garden. But beware: mint can run rampant over other plants. Consider growing mint in pots to contain it.
You’ll love the mint varieties available: peppermint, sweet mint, spearmint…even chocolate mint! Because mint hybridizes readily between different varieties, plants grown from seed often fail to remain true to type.
For specific cultivars or varieties, buy established plants from reputable sources. Mint prefers moist soil. Hardiness zones vary, depending on the variety.
How to Harvest:
Snip leaves in the morning after the dew dries. Only harvest up to 1/3 of the plant at a time. Rinse. Use fresh or dry for later.
Many herbs develop a stronger flavor when dried. When deciding how much to use, a good rule of thumb is 1 tablespoon dried herbs to 3 tablespoons fresh.
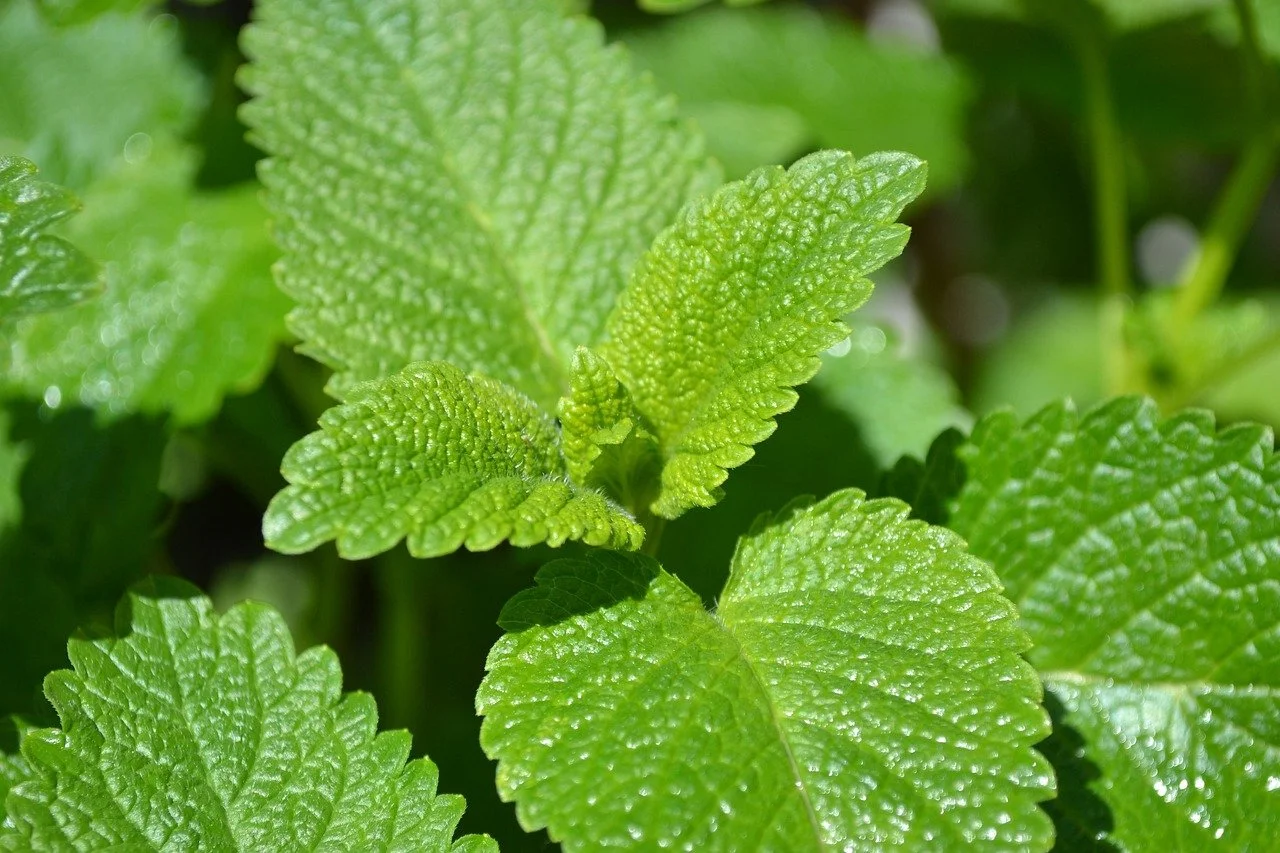
6. Lemon Balm Tea