Three Types of Celosia

If you have never started annual flowers from seed, let this be the year you begin. One of the most rewarding (easy to germinate, long blooming, humidity tolerant) is Celosia, the National Garden Bureau’s 2023 Annual of the Year. Commonly called Coxcomb, this colorful, low maintenance plant should be in every garden.

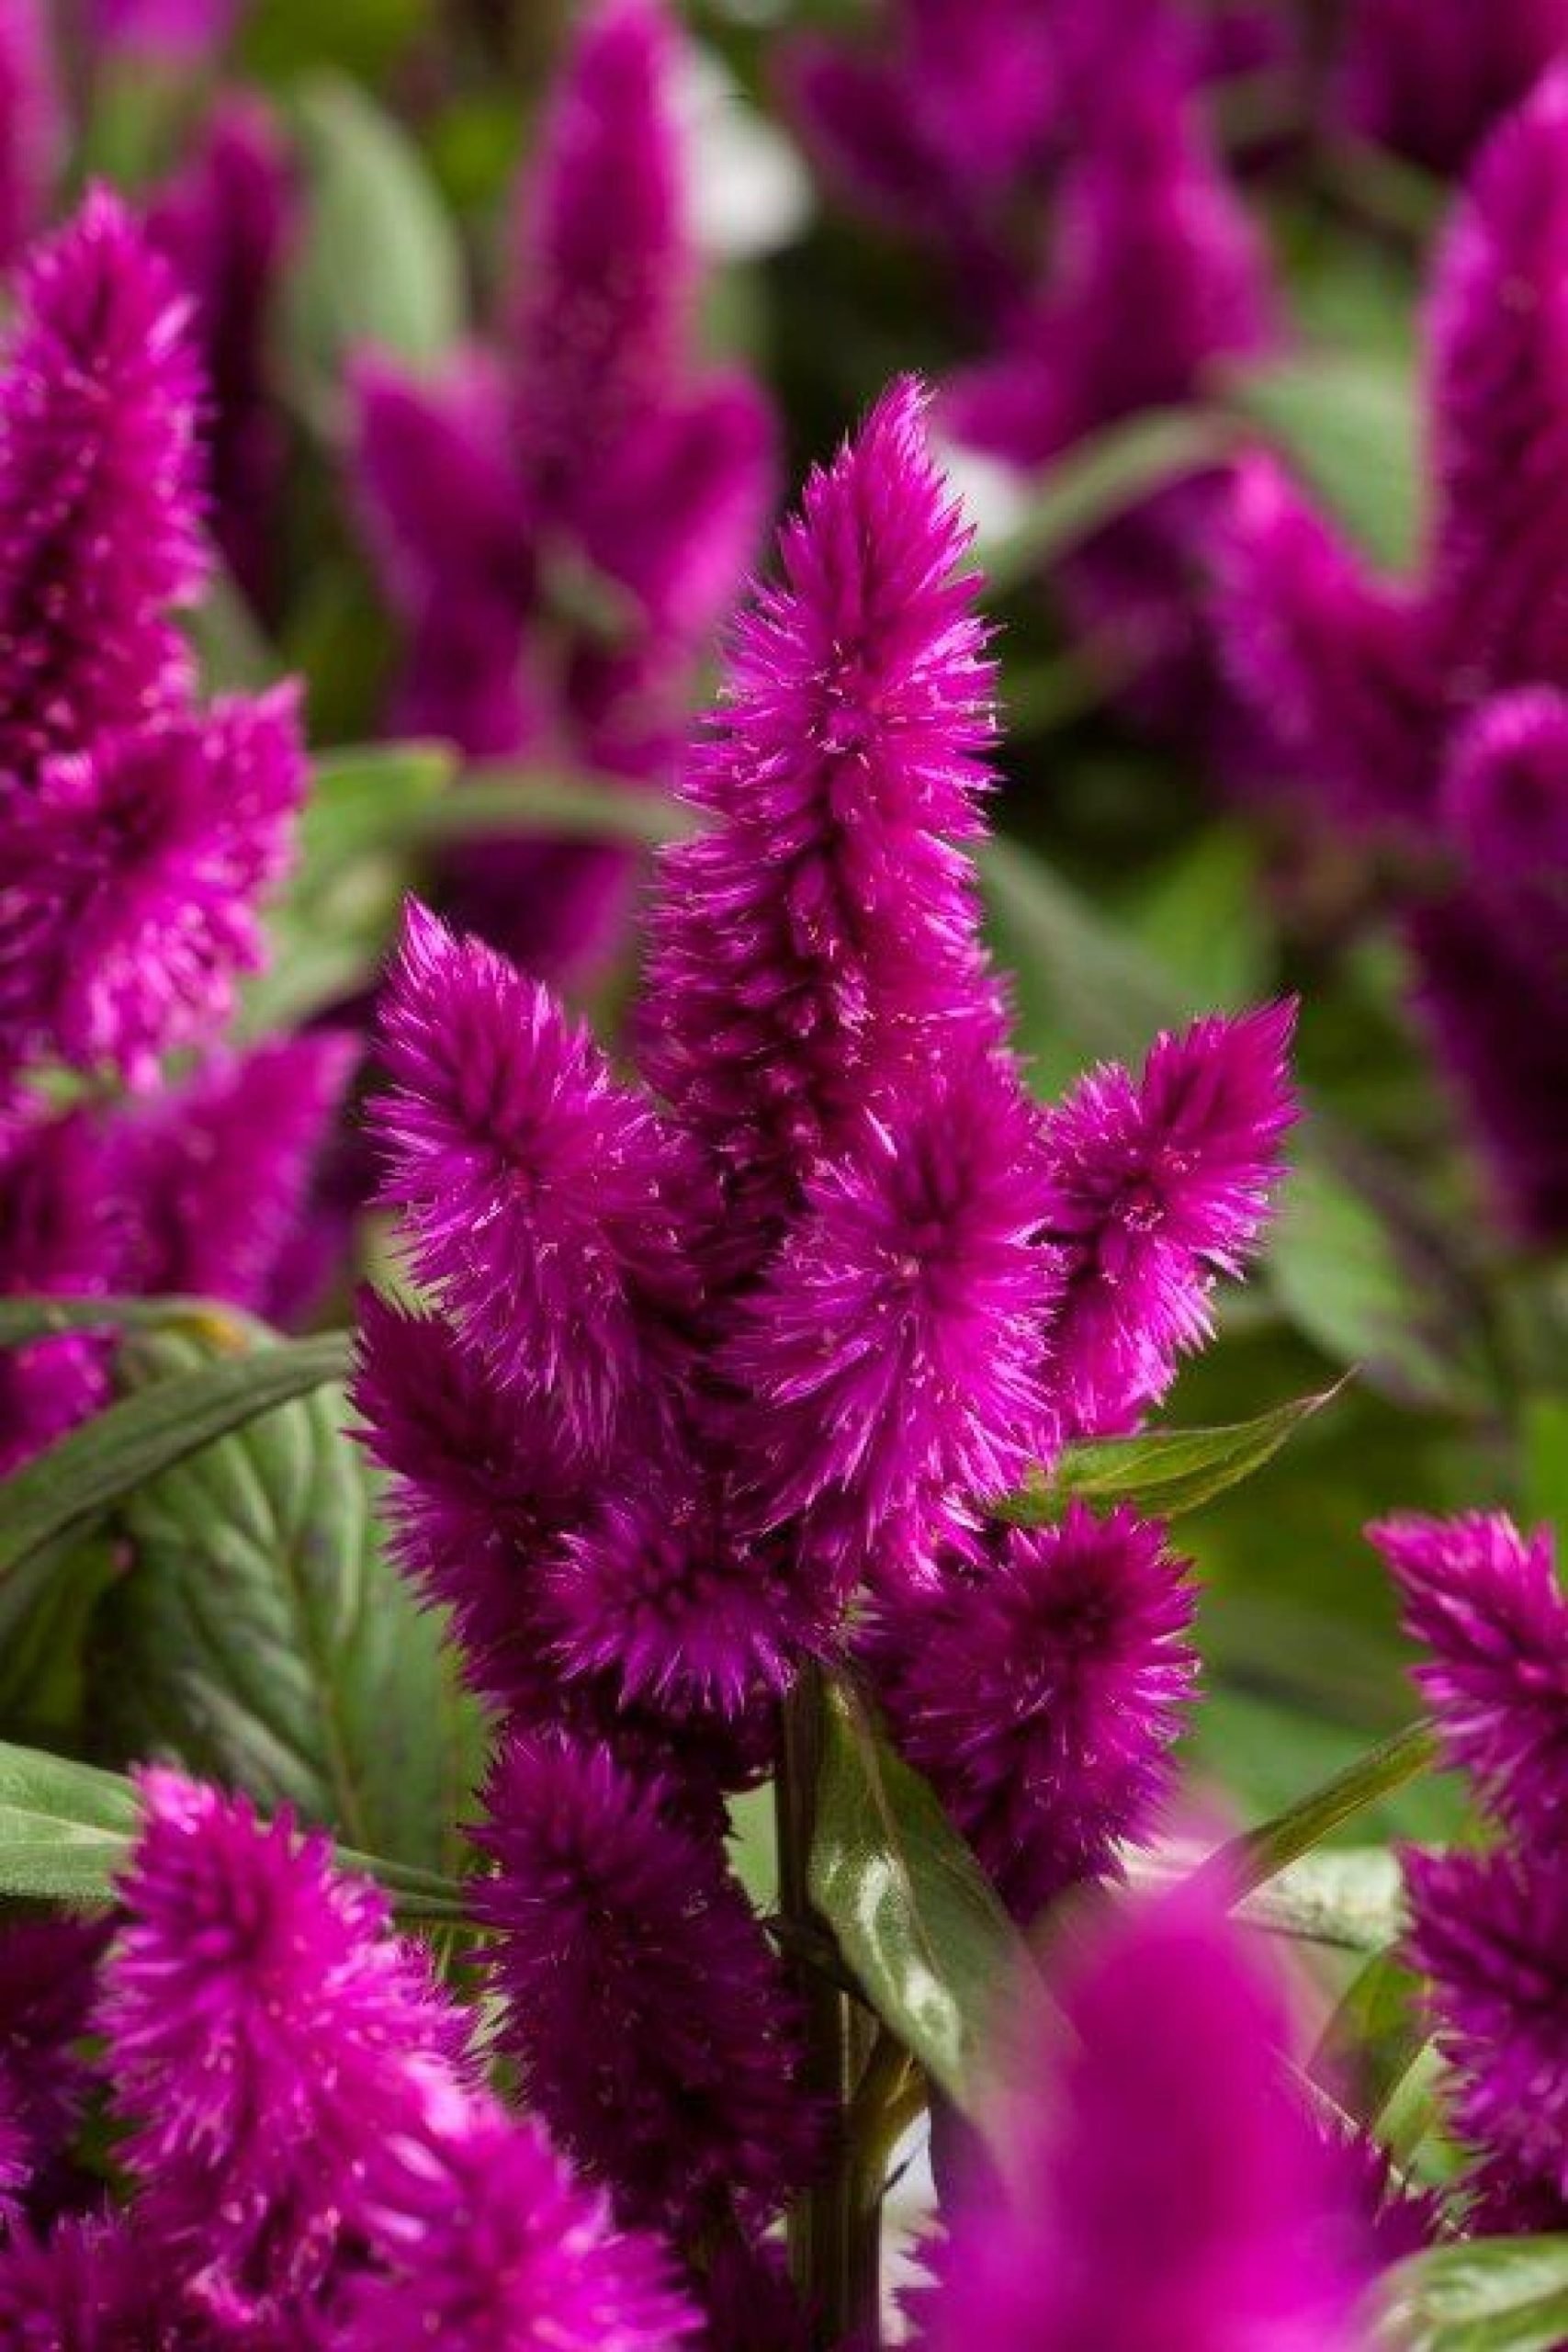
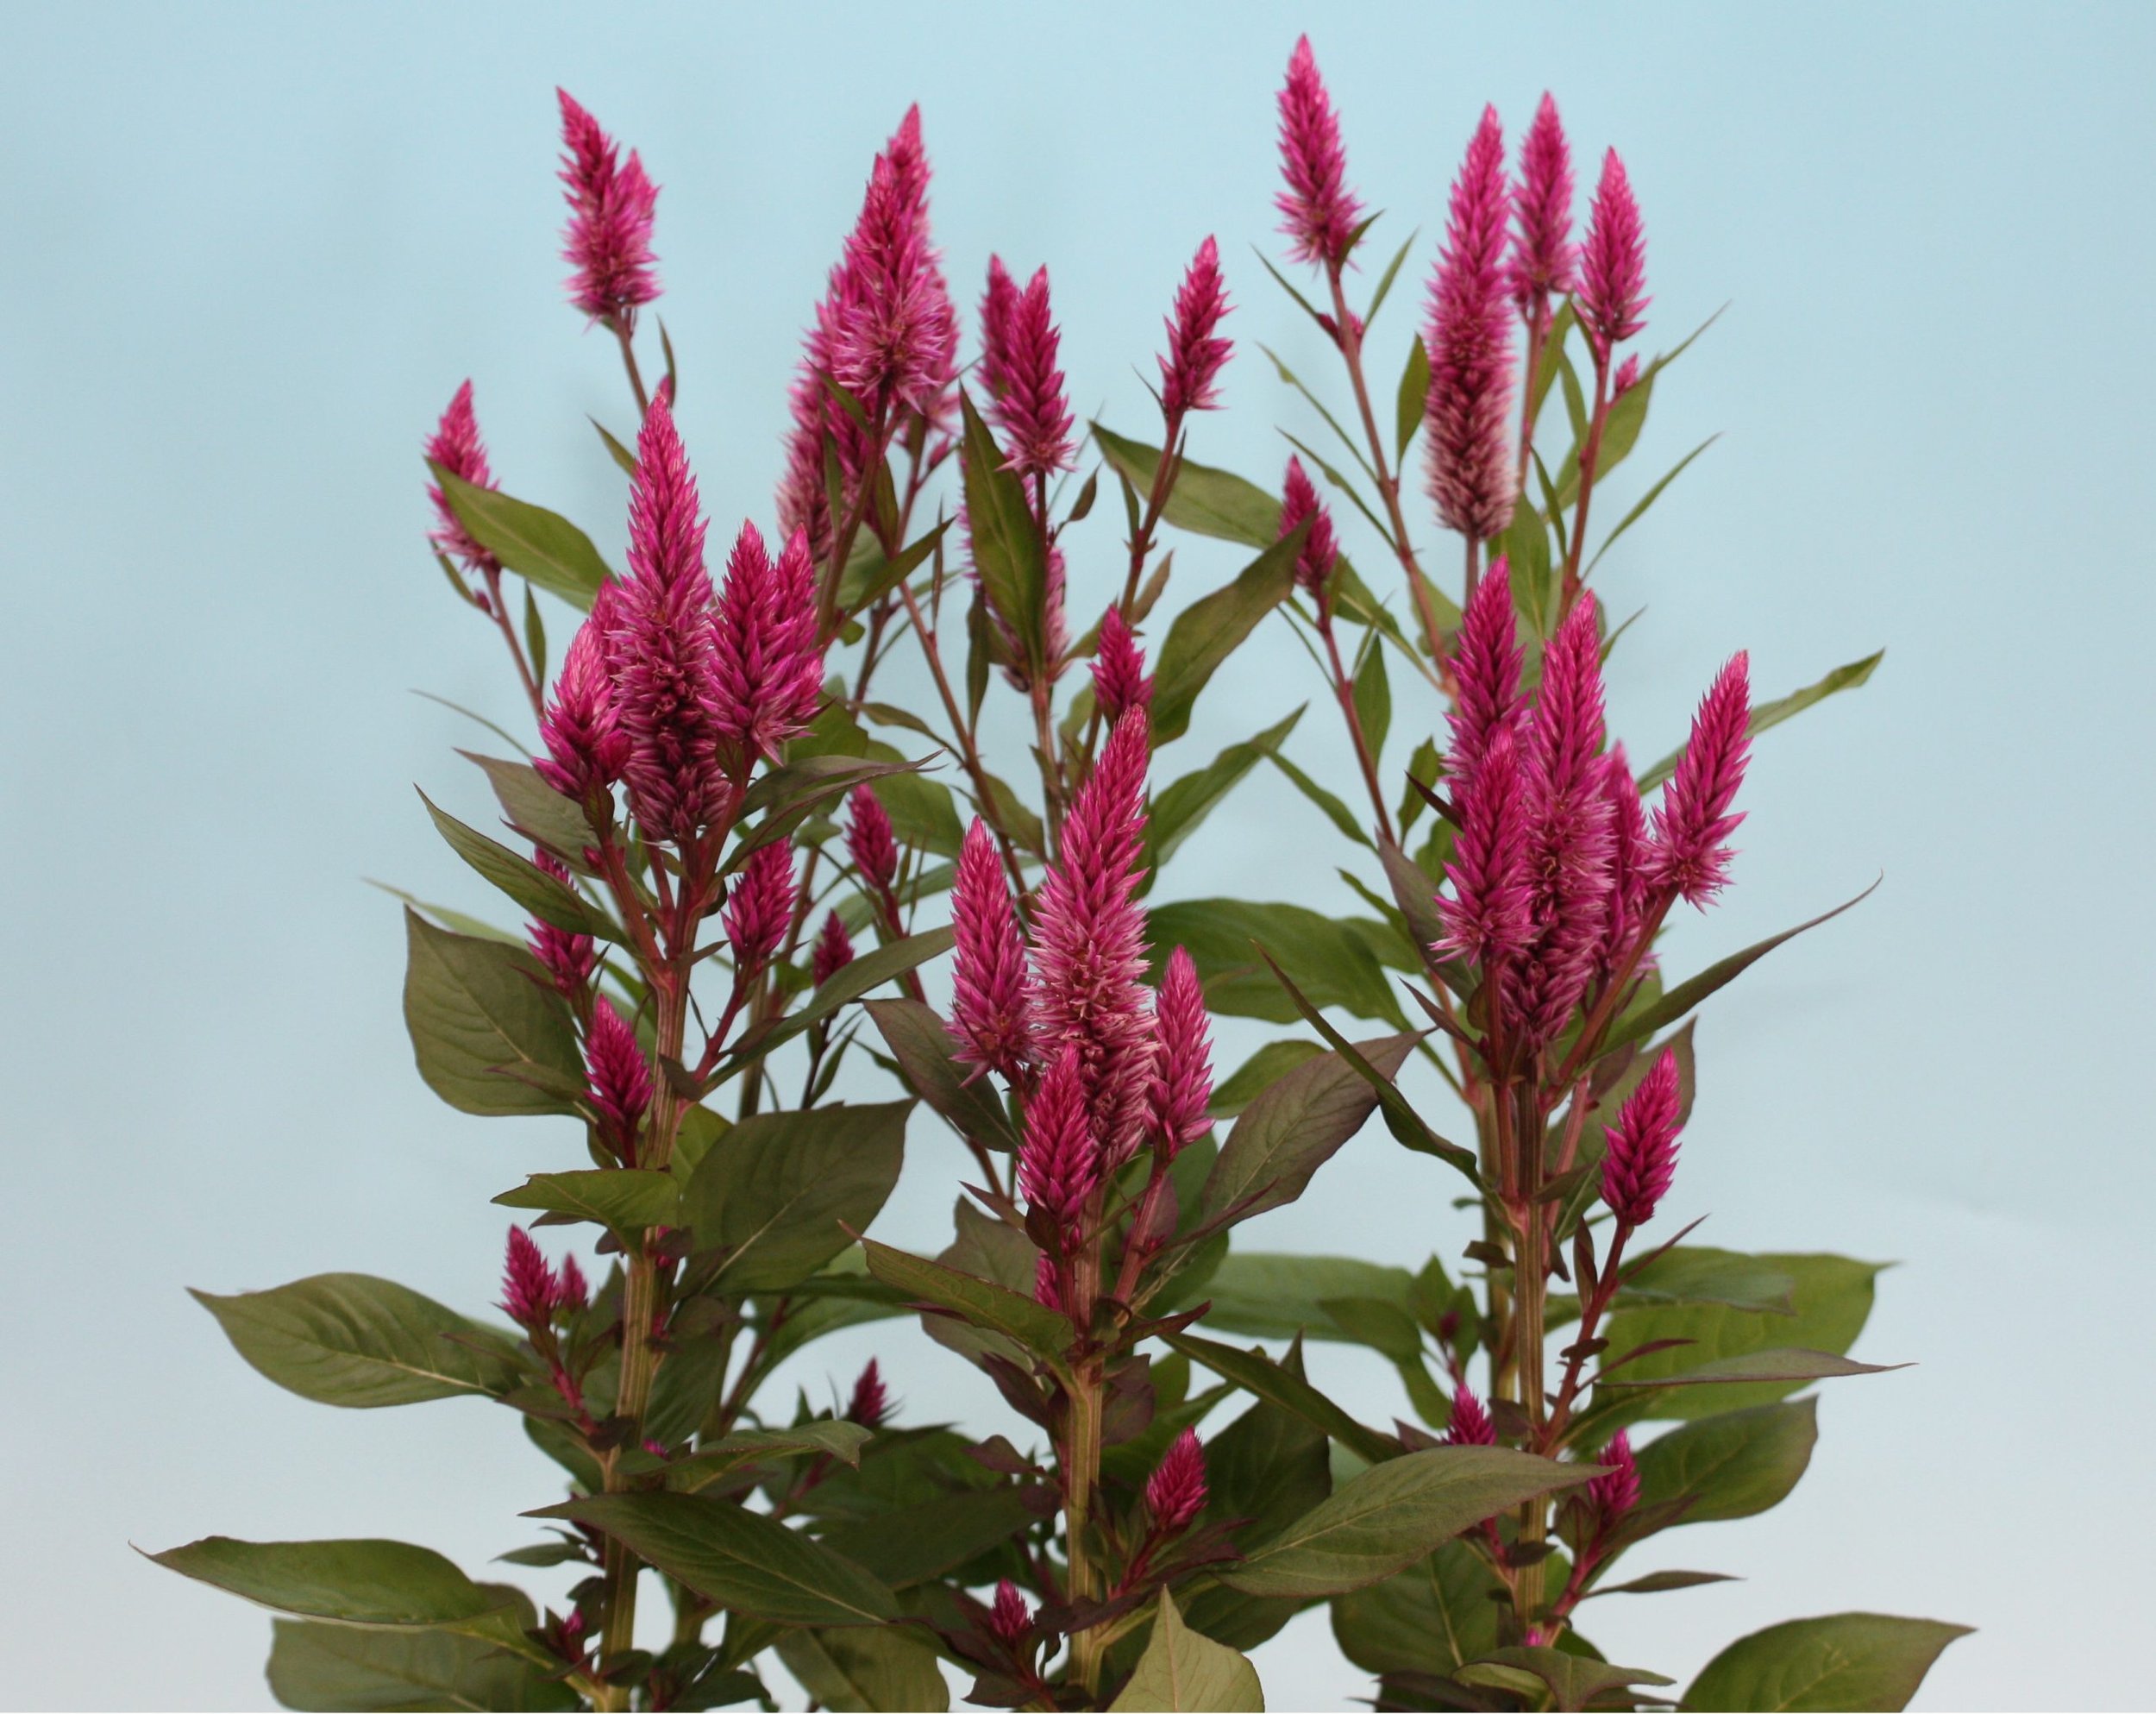
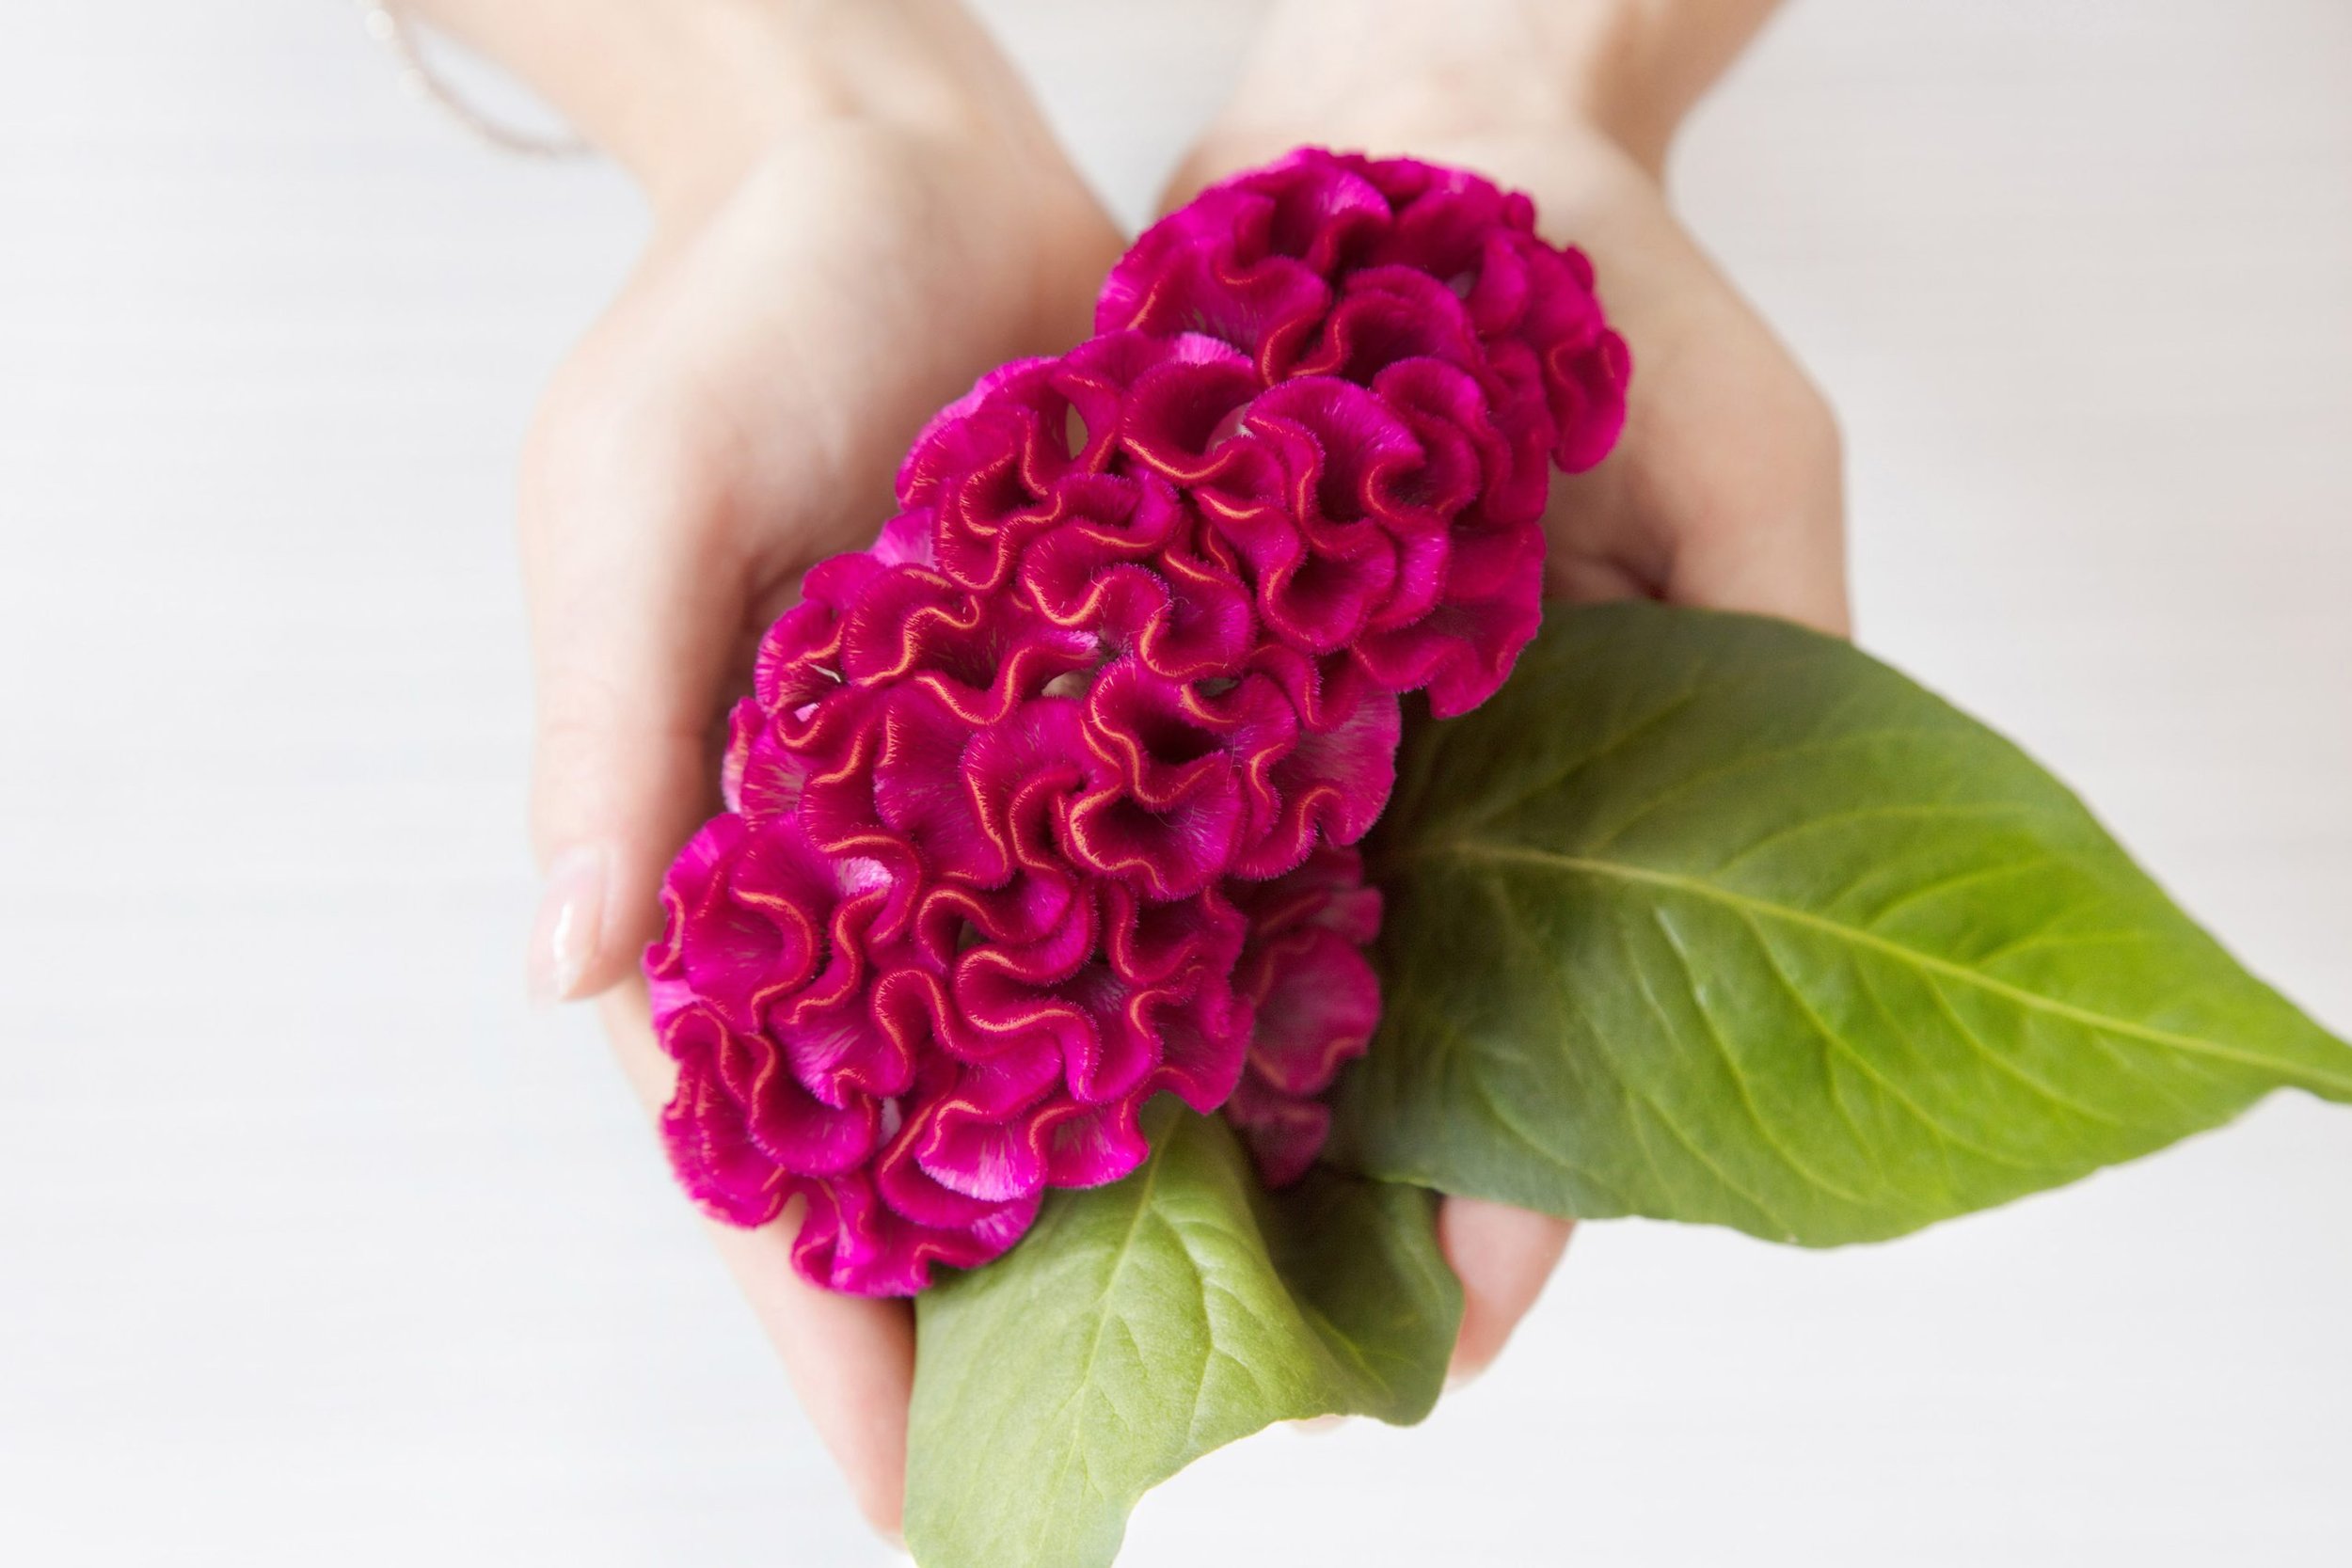
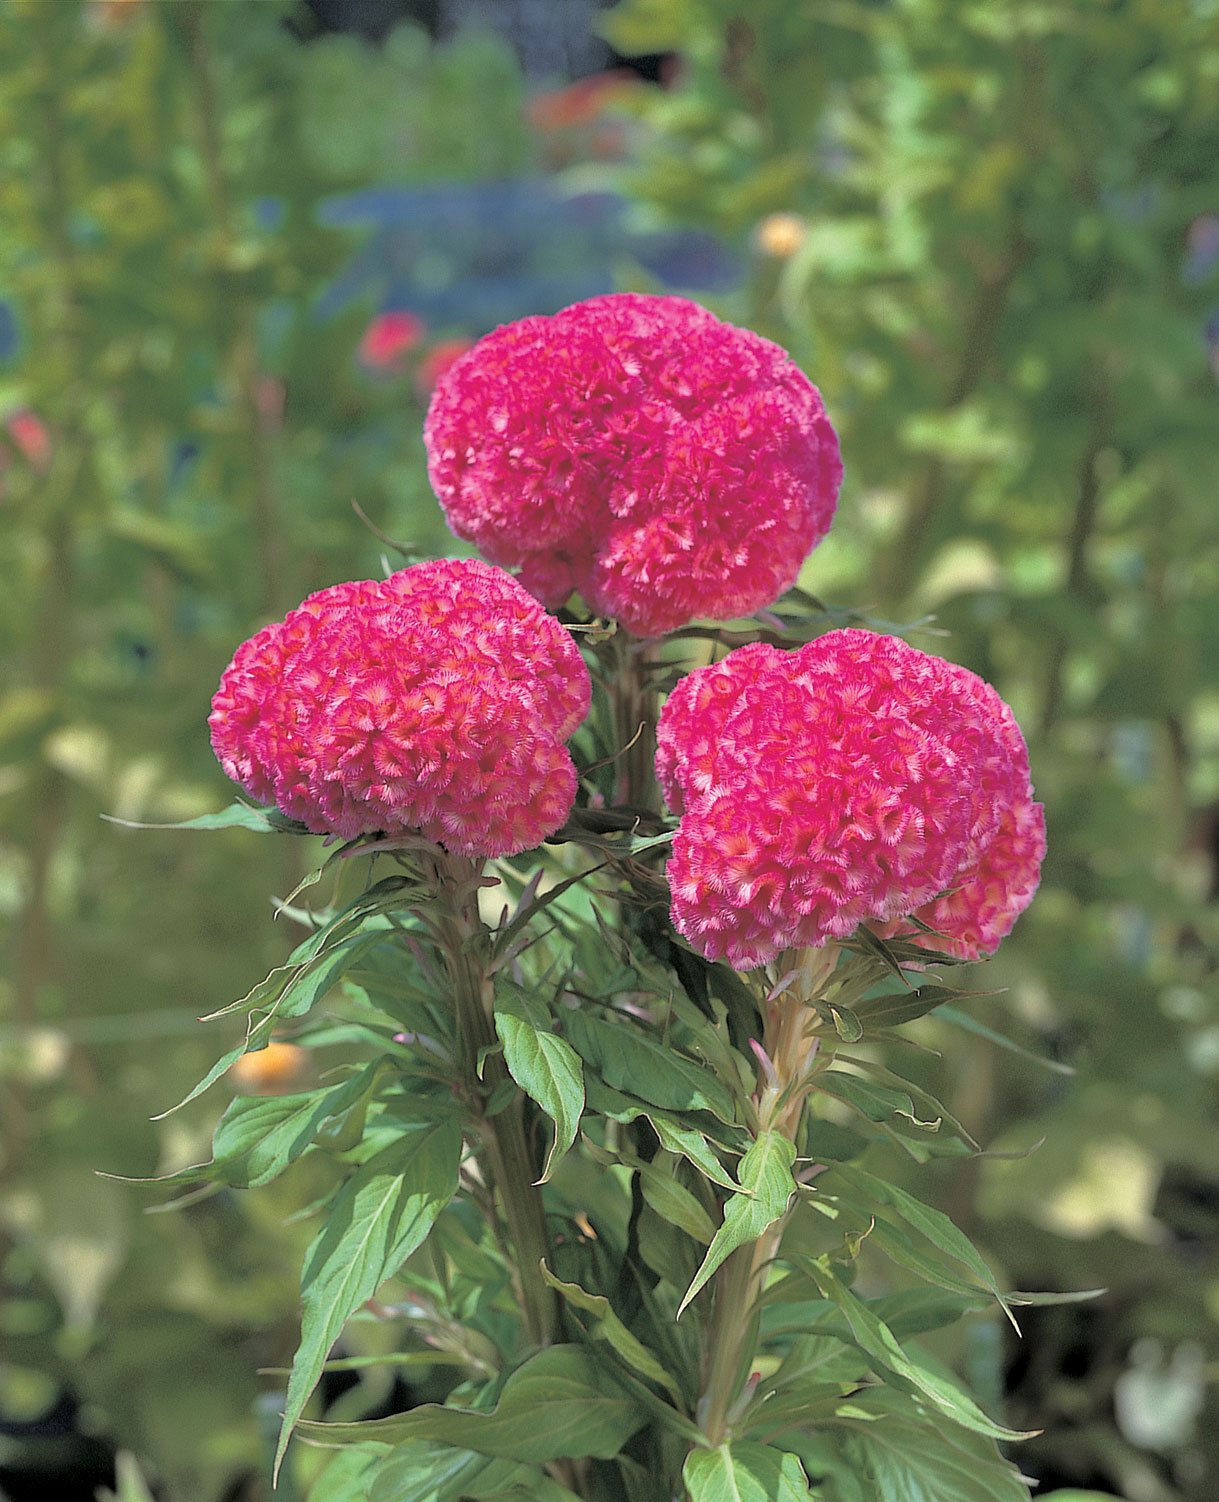
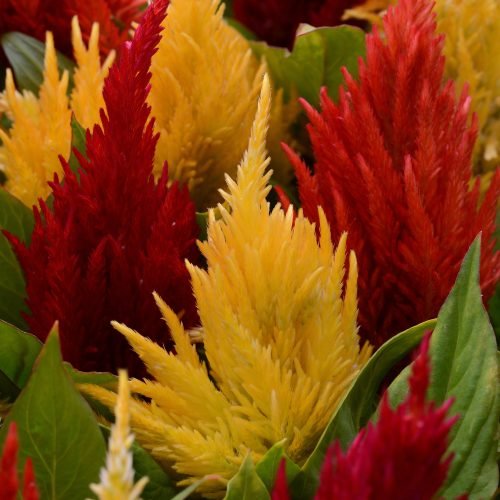
Celosia argentea (pronounced sell-OH-see-ah ar-jen-TEE-ah) blooms are grouped into three main classes. Plumosa or plume-type have flowers that look like fluffy paintbrushes. Spicata or spike-type have narrow blooms that look like spikes of wheat. Cristata or crested-type have convoluted flowers that make me think of brains or coral. All three grow in full sun or mostly sun and neutral soil, zones 2-11. They prefer moist, well-drained soil but will survive in less favorable soil if given fertilizer and water. Extended dryness will cause the leaves to wilt, detracting from the beautiful flowers that come in yellow, red, rose, pink, orange, and magenta. These are long-lasting in arrangements, and will hold their color well if dried.

Seeds are available for each of the three bloom types. Celosia seeds are small – one gram measure will contain about a thousand seeds. Start with pre-moistened seed starting mix. Tweezers are helpful in placing seeds in the center of starter cells. Cover seeds with a quarter-inch of vermiculite and maintain a temperature of 70-75 degrees. Keep the starter mix barely moist (not wet) to reduce damping off disease. Bottom water to avoid dislodging seeds. You should see signs of germination in 10 days.

Deadheading will cause the plants to produce more flower heads, but I always leave a few spent flowers to encourage self-seeding. Celosia argentea var. spicata may reseed a little too enthusiastically for some gardeners. Plants reach to 24-inches with a 12-inch spread in good soil. Taller plants may need to be staked. Skip the staking by purchasing some of the newer, dwarf cultivars, available as plants.

Celosia is a good choice for pollinator gardens and cutting gardens. It is not a space hog, and will work well in small beds. Plants look especially good when planted in masses. Dwarf types can also be grown in containers.

The accompanying photos are courtesy of the National Garden Bureau. #NGB #YearoftheCelosia

Happy New Year

No in-depth gardening information today, just my sincere wish that each of my readers will have a good 2023.

When weather allows, cut back Liriope so that emerging foliage will not mingle with last year’s tattered growth. Now is also a good time to schedule pruning for your hybrid tea roses. DO NOT prune Azaleas or Forsythia now, or you will remove buds. If a shrub blooms in early spring, wait until after flowering is complete before shaping and pruning. Dead or damaged limbs can be removed any time.

5 Hydrangeas for Season-Long Flowers

I managed to dodge Biology in high school, but it caught up to me when I enrolled in the Master Gardener education program of Clemson University. In MG class, I was taught to remember the taxonomic classification string (Kingdom, Phylum, Class, Order, Family, Genus, Species) with a mnemonic memory device: King Phillip Came Over From Germany, Singing. As a gardener, I use this mnemonic as often as I use the Pythagorean Theorem (read: rare) but one mnemonic device that is very helpful is the one I use for Hydrangea selection.

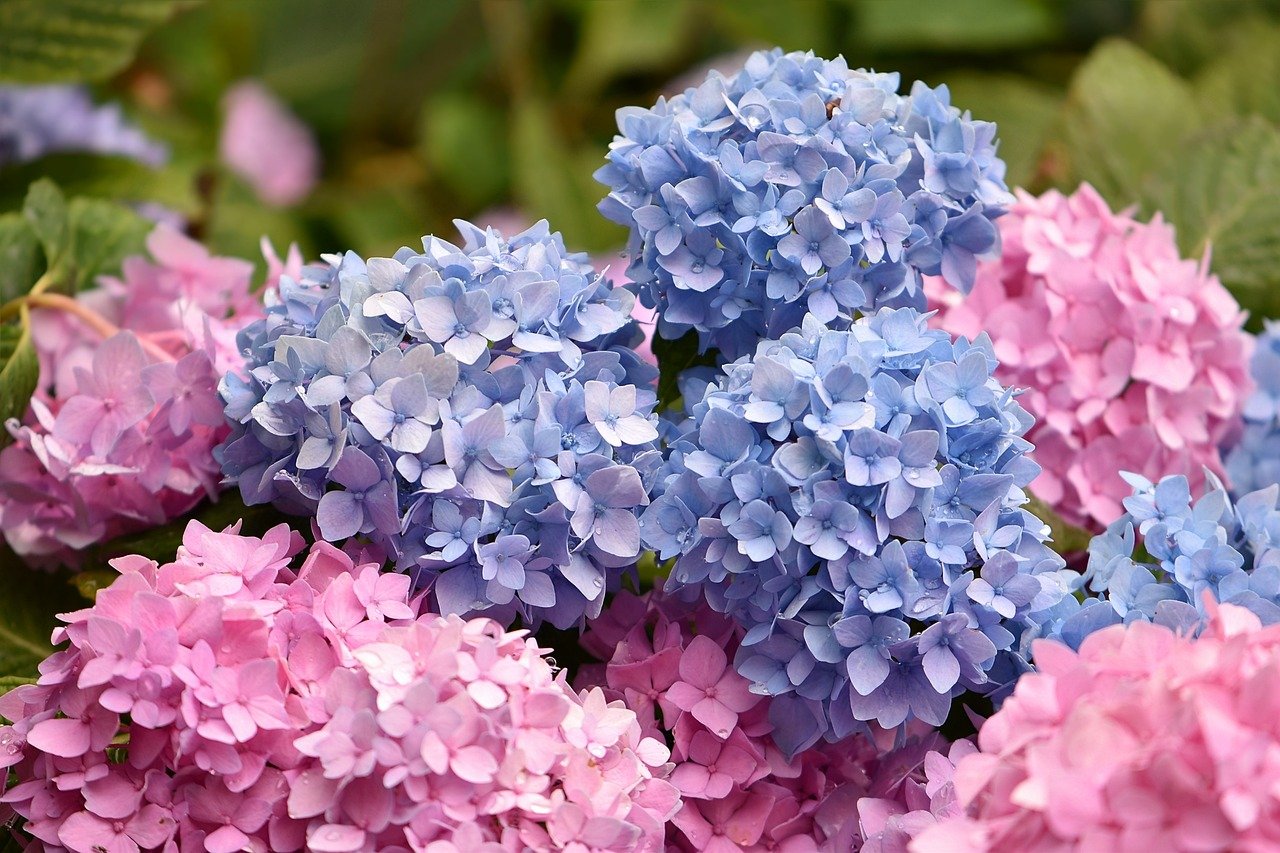
With proper choices, southeastern gardeners can have Hydrangeas in bloom for many months. Use this memory word to make your selections: ONEAL.

 O – is for Oakleafs, Hydrangea quercifolia. They have lobed leaves, unlike other Hydrangeas. These are the first to flower in my southern garden, beginning in May. I like the look of the spent blooms as much as I do the fresh ones, so I leave them in place even after they have aged to pink-tan. They provide an interesting contrast to the autumn foliage, which turns burgundy or purple. Leaves remain on the exfoliating branches for many weeks before they fall. ‘Snow Queen’ is a widely available variety. ‘Snowflake’ is my favorite cultivar, with a huge flower mass that consists of numerous double white florets. I grow ‘Little Honey’ more for its yellow foliage than its flowers. I expected ‘Little Honey’ to remain little, but she grew to five feet tall in my bed of moist, rich soil in half shade. Mature Oakleafs are wider (10 feet) than they are tall (8 feet). In the Mary Snoddy garden, ‘Snow Queen’ limbs that touched the soil rooted and three plants grew into a dense forest 30 feet wide. Lovely, although it took a decade for these slow growers to achieve that dense appearance. Grow Oakleafs in partial shade, acidic soil, in zones 5-9. A mature plant can withstand limited periods of drought.

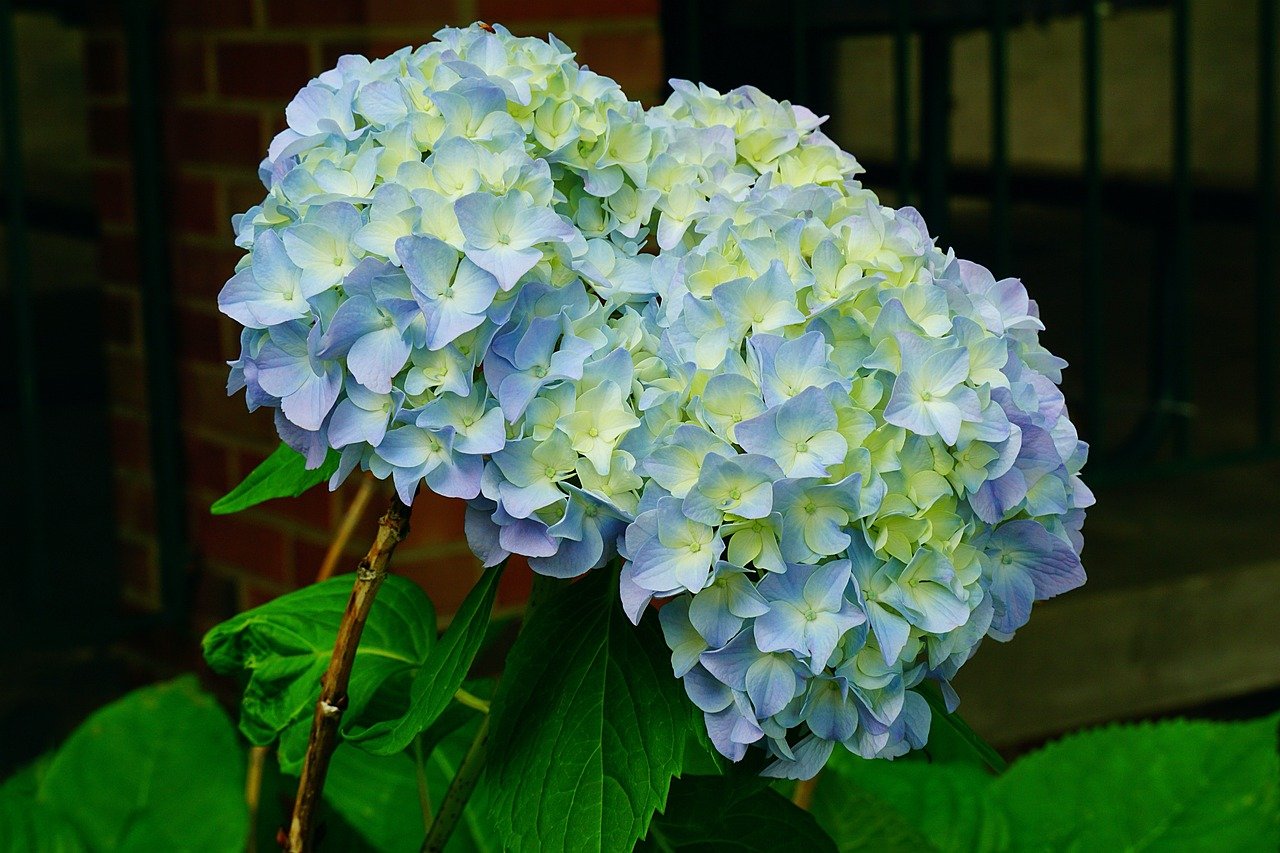
N – is for ‘Nikko Blue’ the big blue mophead still existing around many historical homes. It is Hydrangea macrophylla, which translates to “big leaves.” The flowers are exquisite, but are borne on “old wood,” which means a late freeze can zap buds and leave your flowerless during the ensuing summer. Be prepared to trot out the protective covering if a killing freeze is predicted. ‘Nikko Blue’ begins blooming after Oakleaf Hydrangea. Even with plentiful water, the wide leaves may wilt alarmingly during steamy days but will recover at the evening cool-down. Plants grow to six feet tall and wide, although they are usually pruned to be smaller. Grow these in shade or dappled light. Full sun will result in an crispy plant with few flowers.

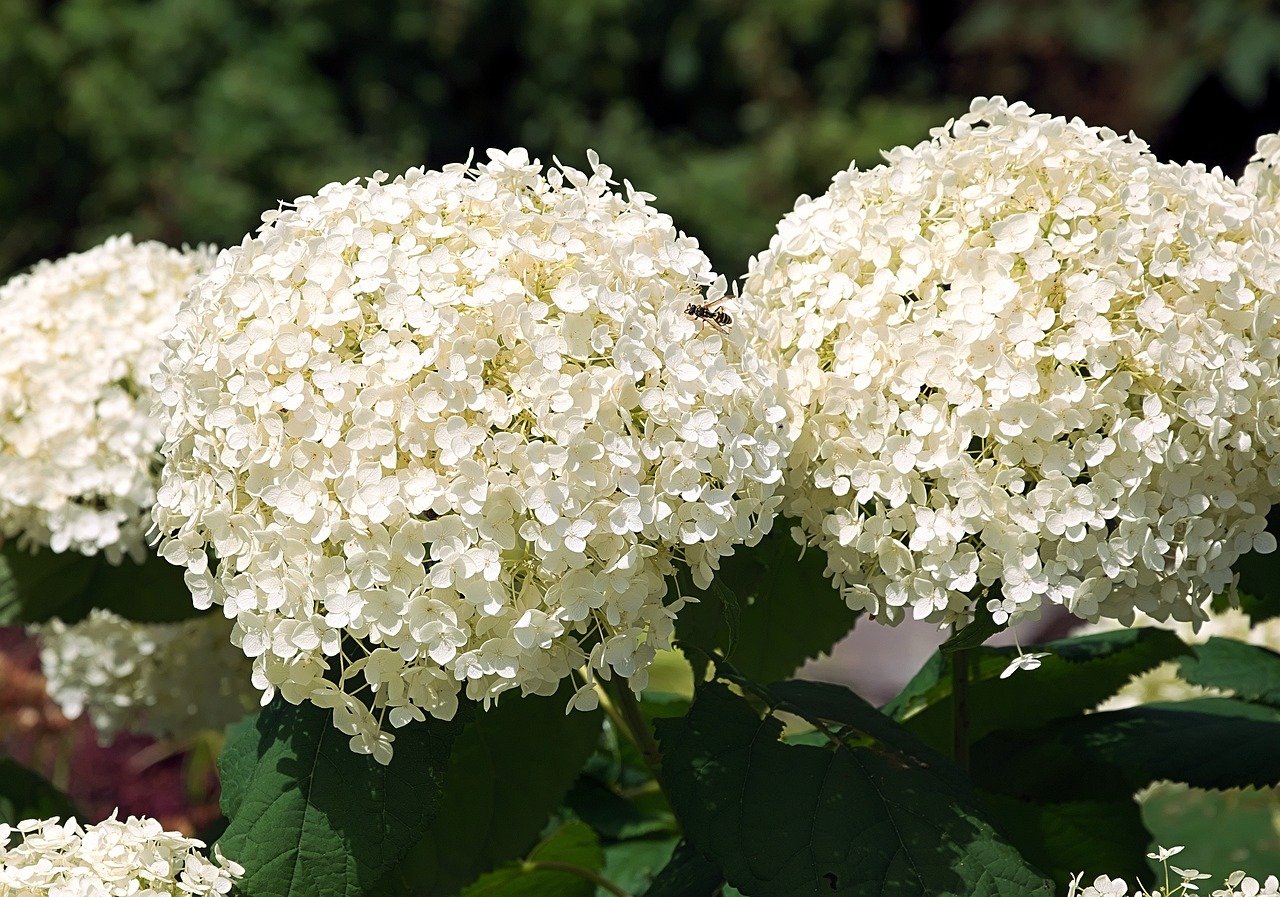
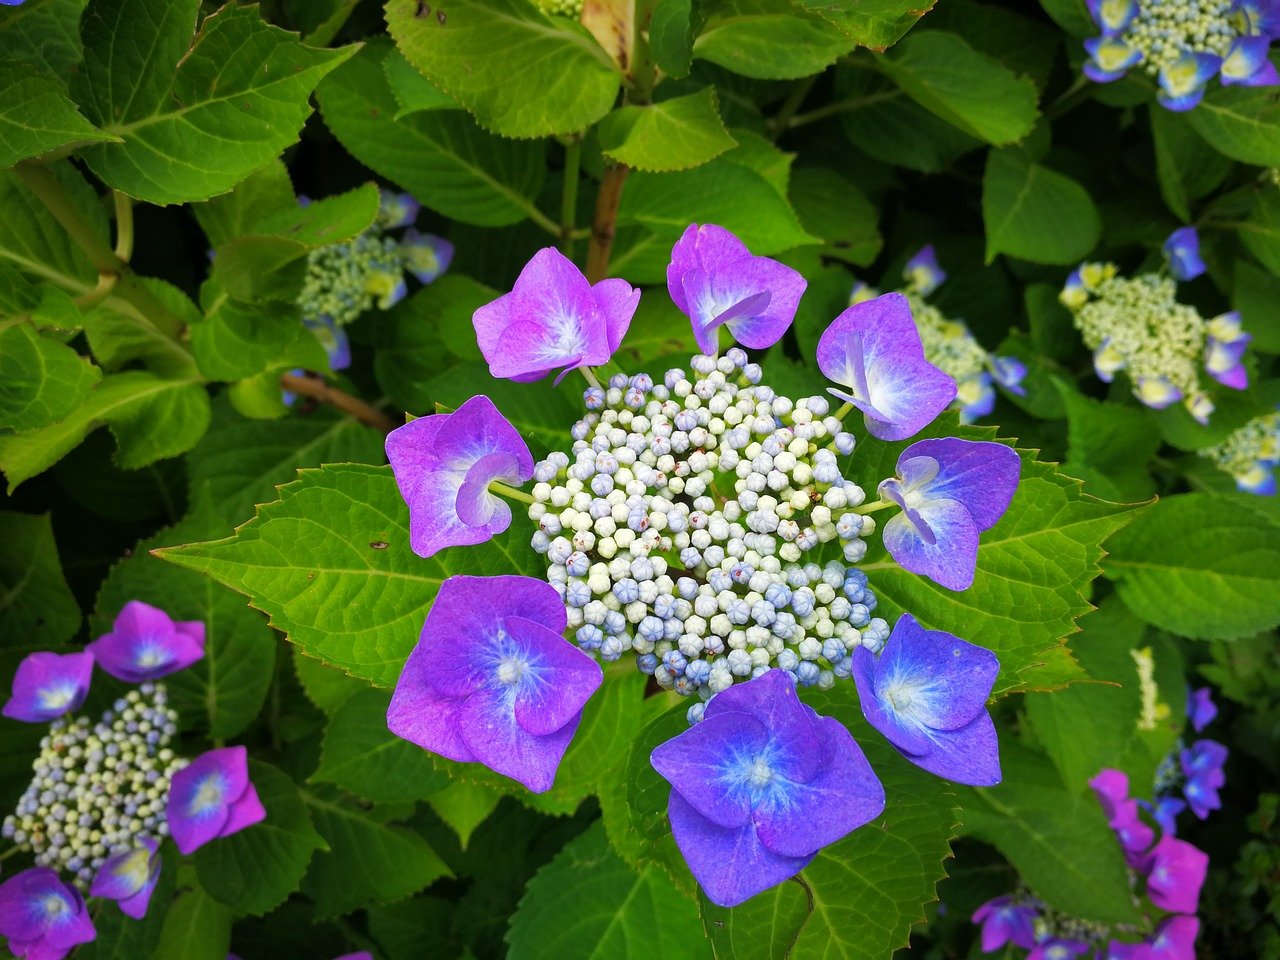
E – is for the Endless Summer® Series, the first re-blooming Hydrangea macrophylla, introduced by Bailey Nurseries in 2004. Endless Summer hydrangeas bloom on both old wood (from last year’s growth) and new wood (from current year’s growth). Thus, should a late freeze kill the buds on old growth, gardeners can still enjoy flowers a bit later in the growing season. The enormous popularity of reblooming (“remontant”) types has spurred the introduction of many more cultivars, some mopheads and some lacecaps. Lacecap flowers consist of a center of unimpressive, fertile flowers surrounded by a ring of showy sterile flowers. Rebloomers must be nurtured with good soil, adequate fertilizer and enough moisture to stimulate new growth.

A - is for Hydrangea arborescens or Smooth Hydrangea. The ‘Annabelle’ cultivar brought popularity to this species with its huge white blooms, greater cold tolerance, and more sun tolerance than other cultivars. ‘Annabelle’ has been eclipsed by newer introductions ‘Incrediball,’ and its ‘Invincibelle’ relatives, which also expanded the color choices from white to rose, pink, red, and green (at maturity). Mature plants will reach five feet in height and width. They bloom on new wood. An aggressive winter pruning (down to 12 inches or so) will keep the shrub neat. I have found that the weight of rain on the large blooms may cause stems to bend, leaving flowers in the mud. As a preventative, surround a winter-pruned plant with a simple wire tomato cage. New growth conceals the cage and provides support to keep the flowers upright, where they can be seen and enjoyed. Smooth Hydrangea flowers last a long time on the plant. Plant in moist, acidic to neutral soils, zones 3-9, partial shade to full sun (with added irrigation).

L - is for ‘Limelight,’ the most commonly grown cultivar of Hydrangea paniculata, commonly Panicle Hydrangea or Peegee. Most Panicle Hydrangeas are large, reaching to 15 feet tall and 12 feet wide. ‘Limelight’ is more compact, making it easier to incorporate into borders. Newer introductions, such as ‘Little Lime,’ ‘Pee Wee,’ or ‘Pinky Winky’ are even more compact. Most cultivars have white flowers that age to green, but ‘Pinky Winky’ is rosy pink. Grow H. paniculata in neutral to acidic, moist soil, zones 4-8, in partial shade to partial sun.

If you plant a Hydrangea in each of the ONEAL categories, you should be able to enjoy flowers from May through frost.

A quick summary on pruning: Prune H. paniculata and H. aborescens in the fall since they bloom on new wood. ‘Endless Summer’ varieties produce flowers on both old and new wood. Cut their faded flower stems to half their length to encourage new growth and buds. Prune after last bloom in the fall to control shape and height. Prune ‘Nikko Blue’ in the summer immediately after blooming. Do not trim in fall. For H. quercifolia, prune in fall for smaller, more numerous flowers.  Pruning in the spring means fewer flowers but they will be larger.  No pruning at all usually results in more numerous but smaller flowers. Unless your ‘Nikko Blue’ or ‘Endless Summer’ mophead hydrangeas have outgrown their location, there is no need to prune at all, except to remove dead limbs.  Pruning does not increase the number of blooms.  Really!
‘Snowflake’ just opening. My favorite Hydrangea quercifolia (Oakleaf), with strong stems and beautiful fall leaf color.

Old Man's Beard - Lichen, Fungus, Algae

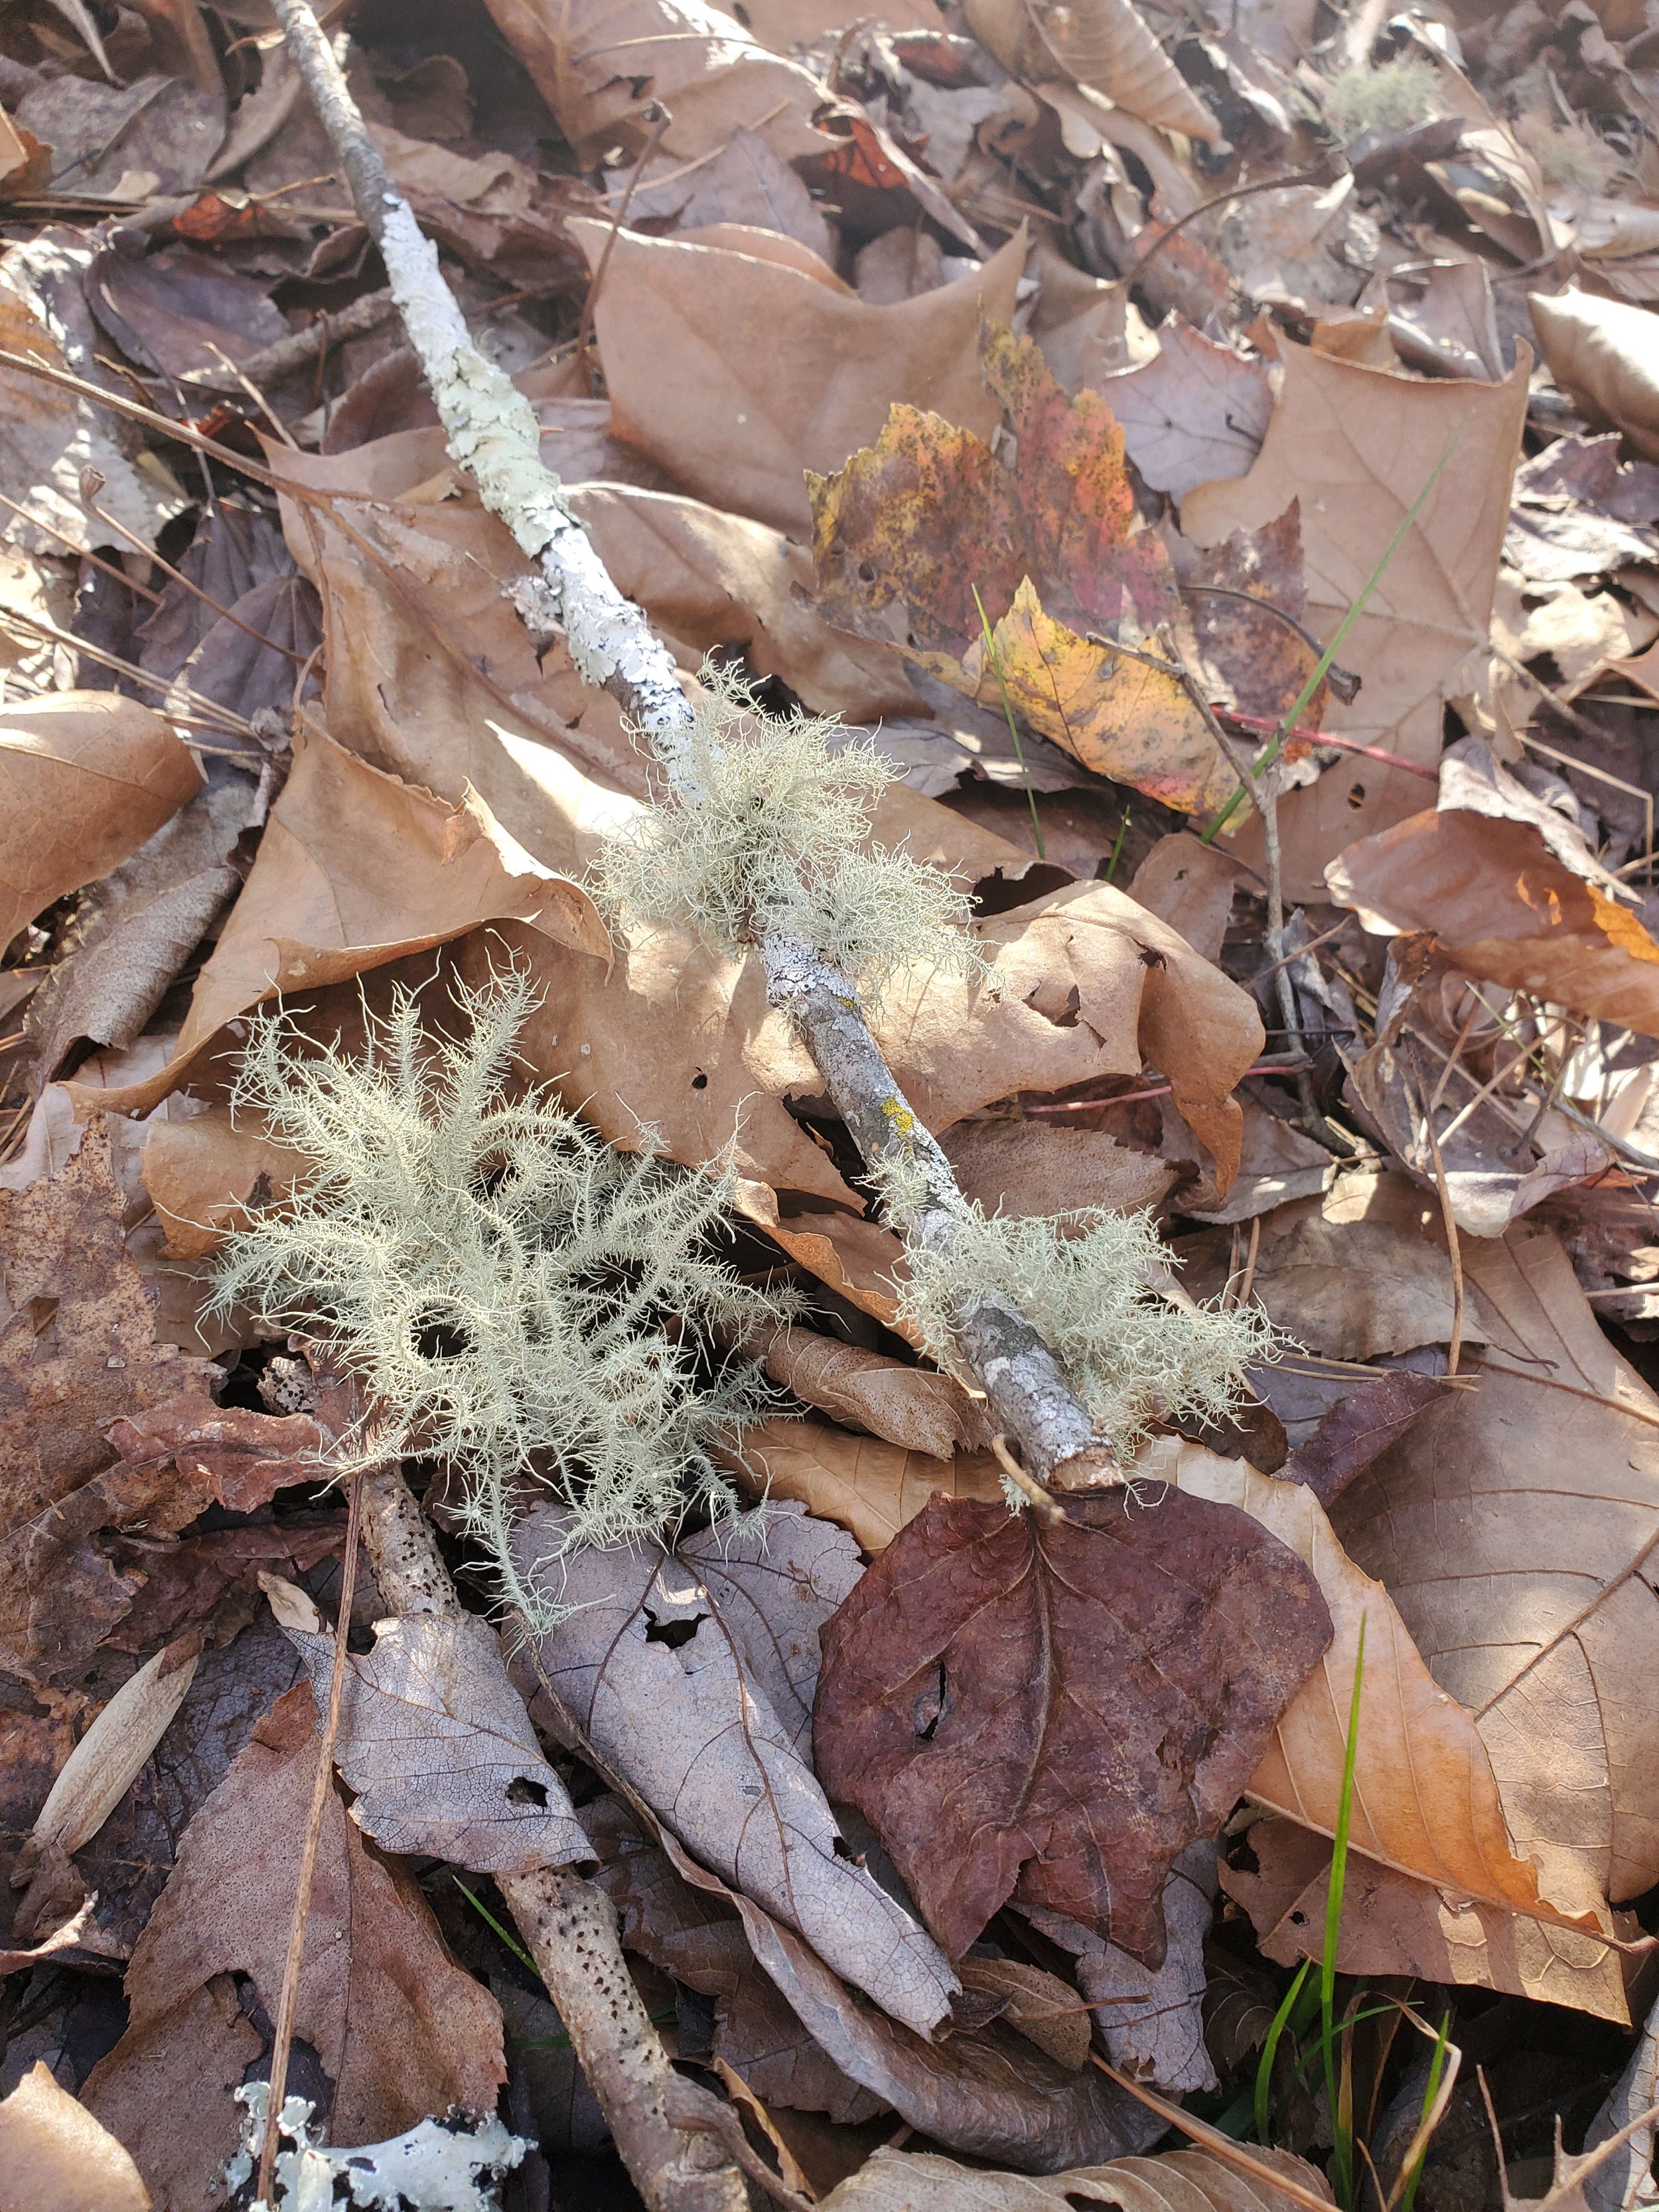
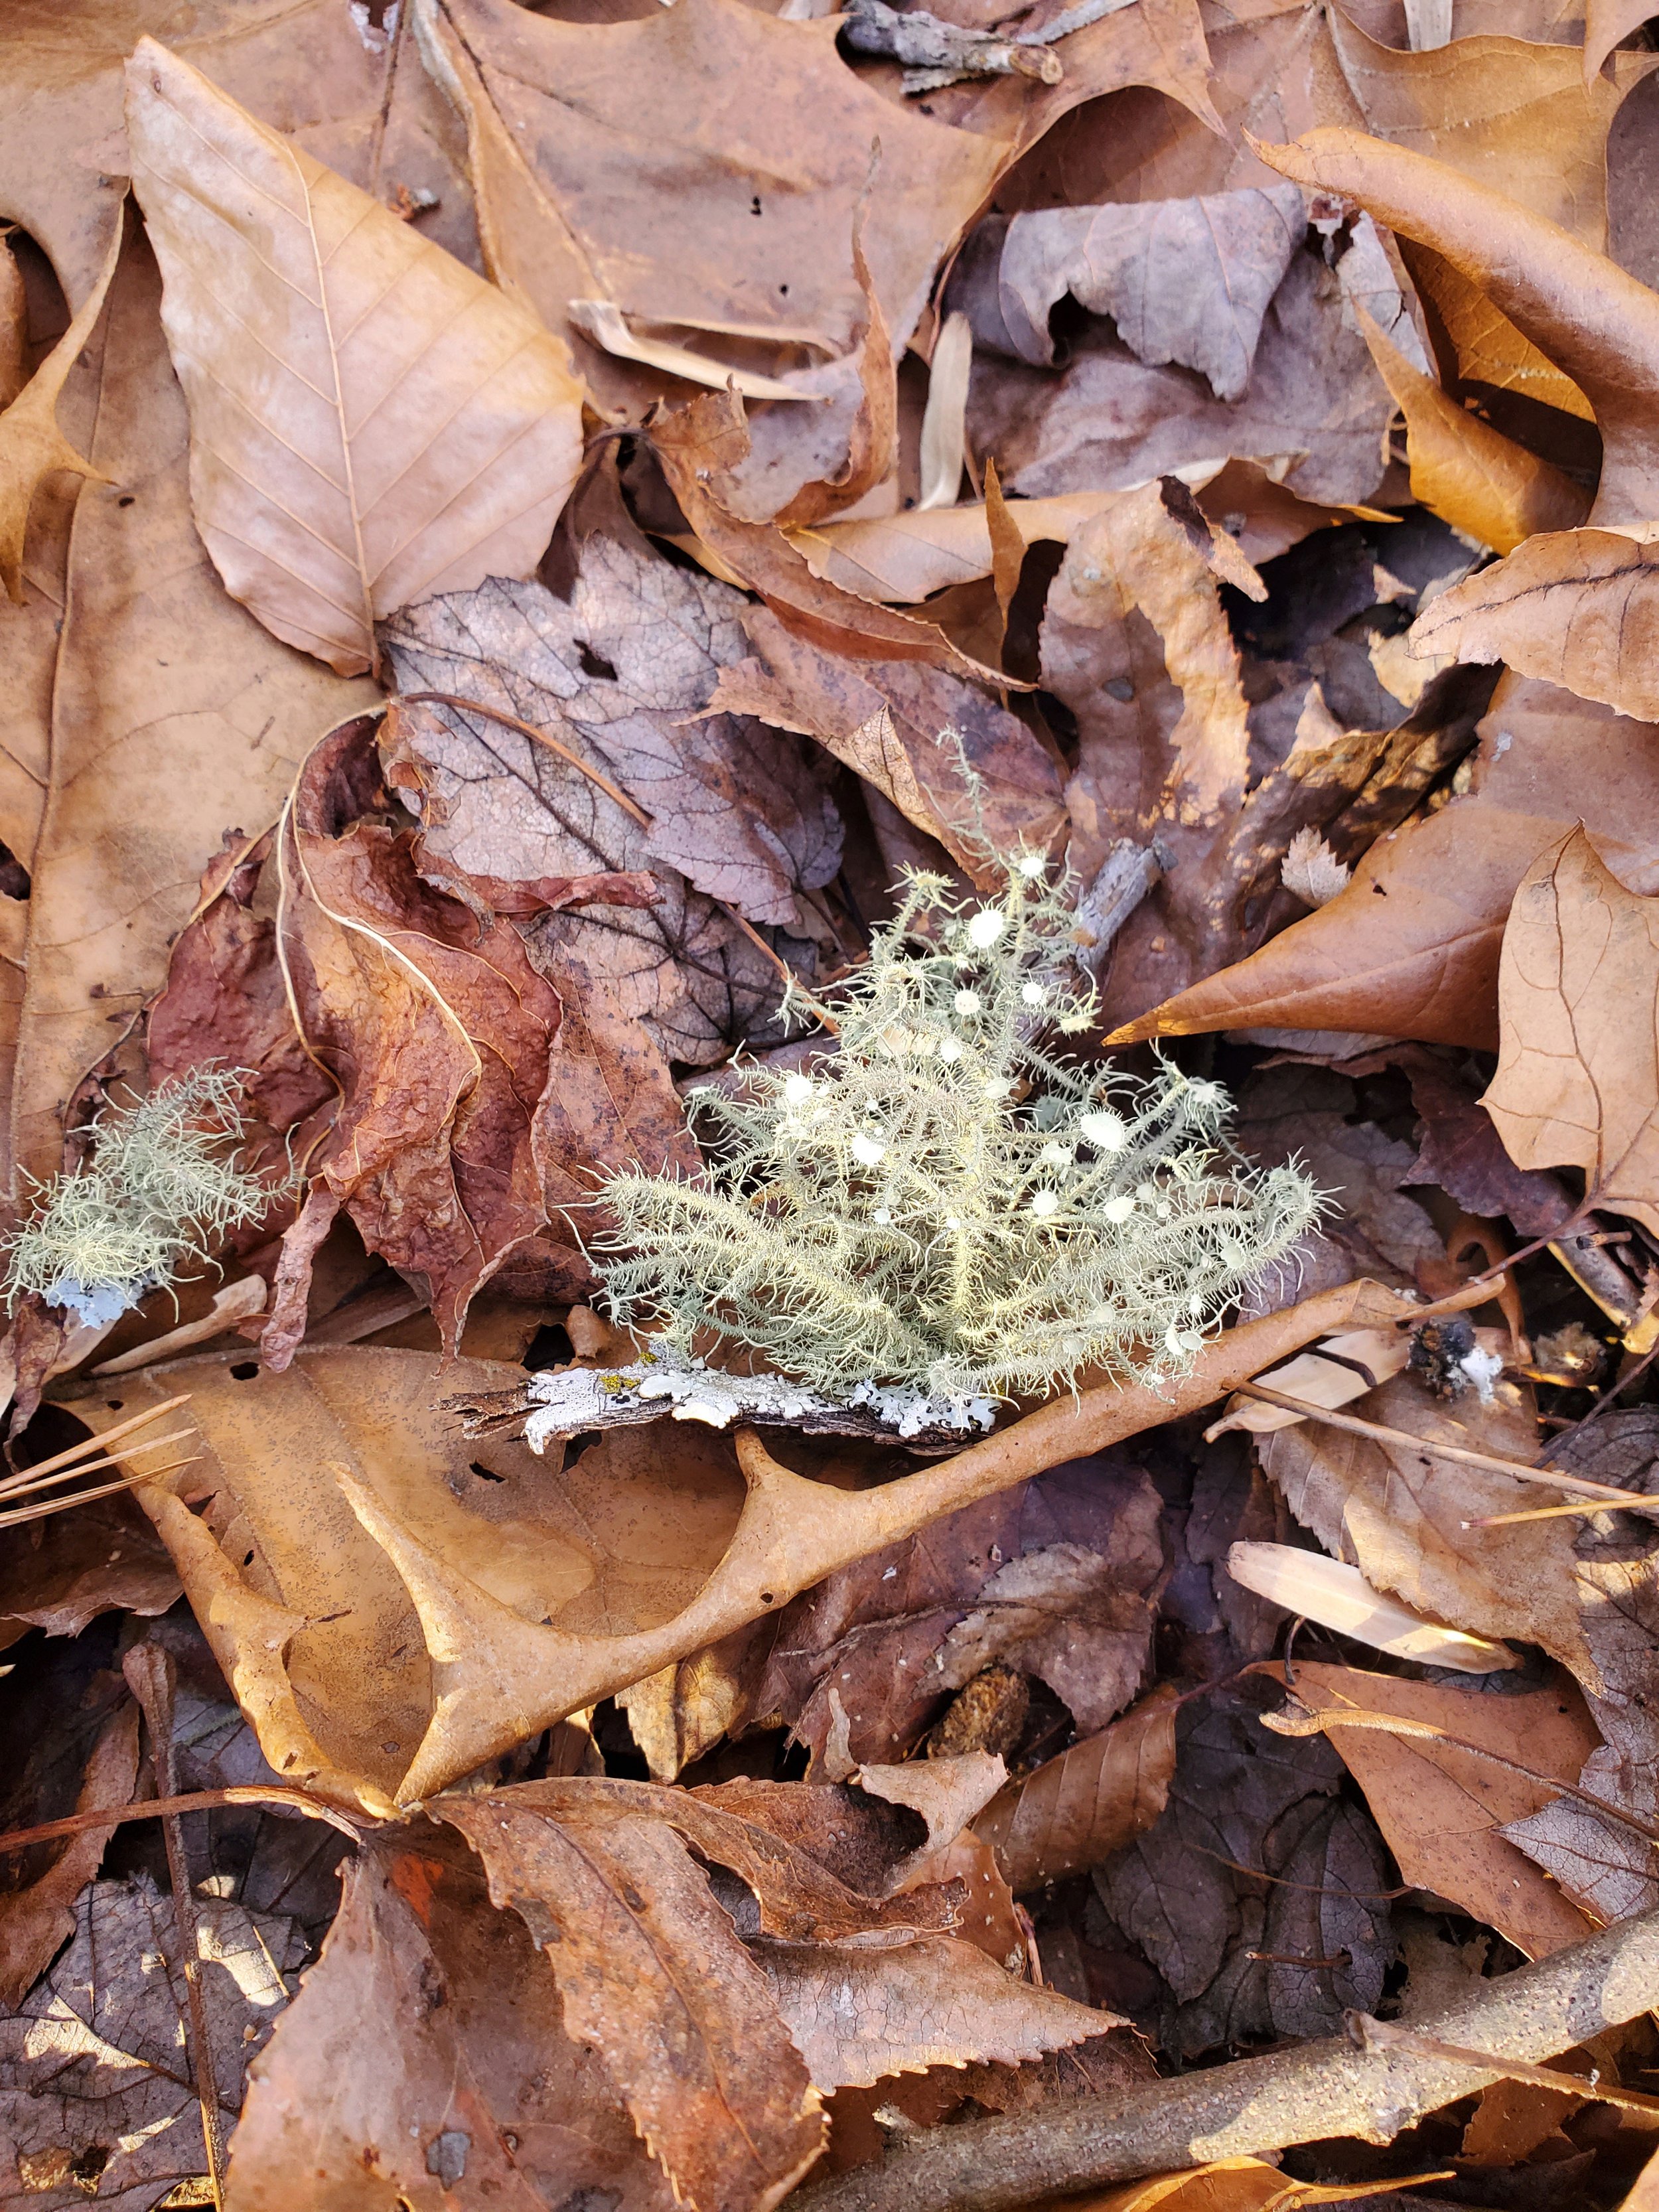
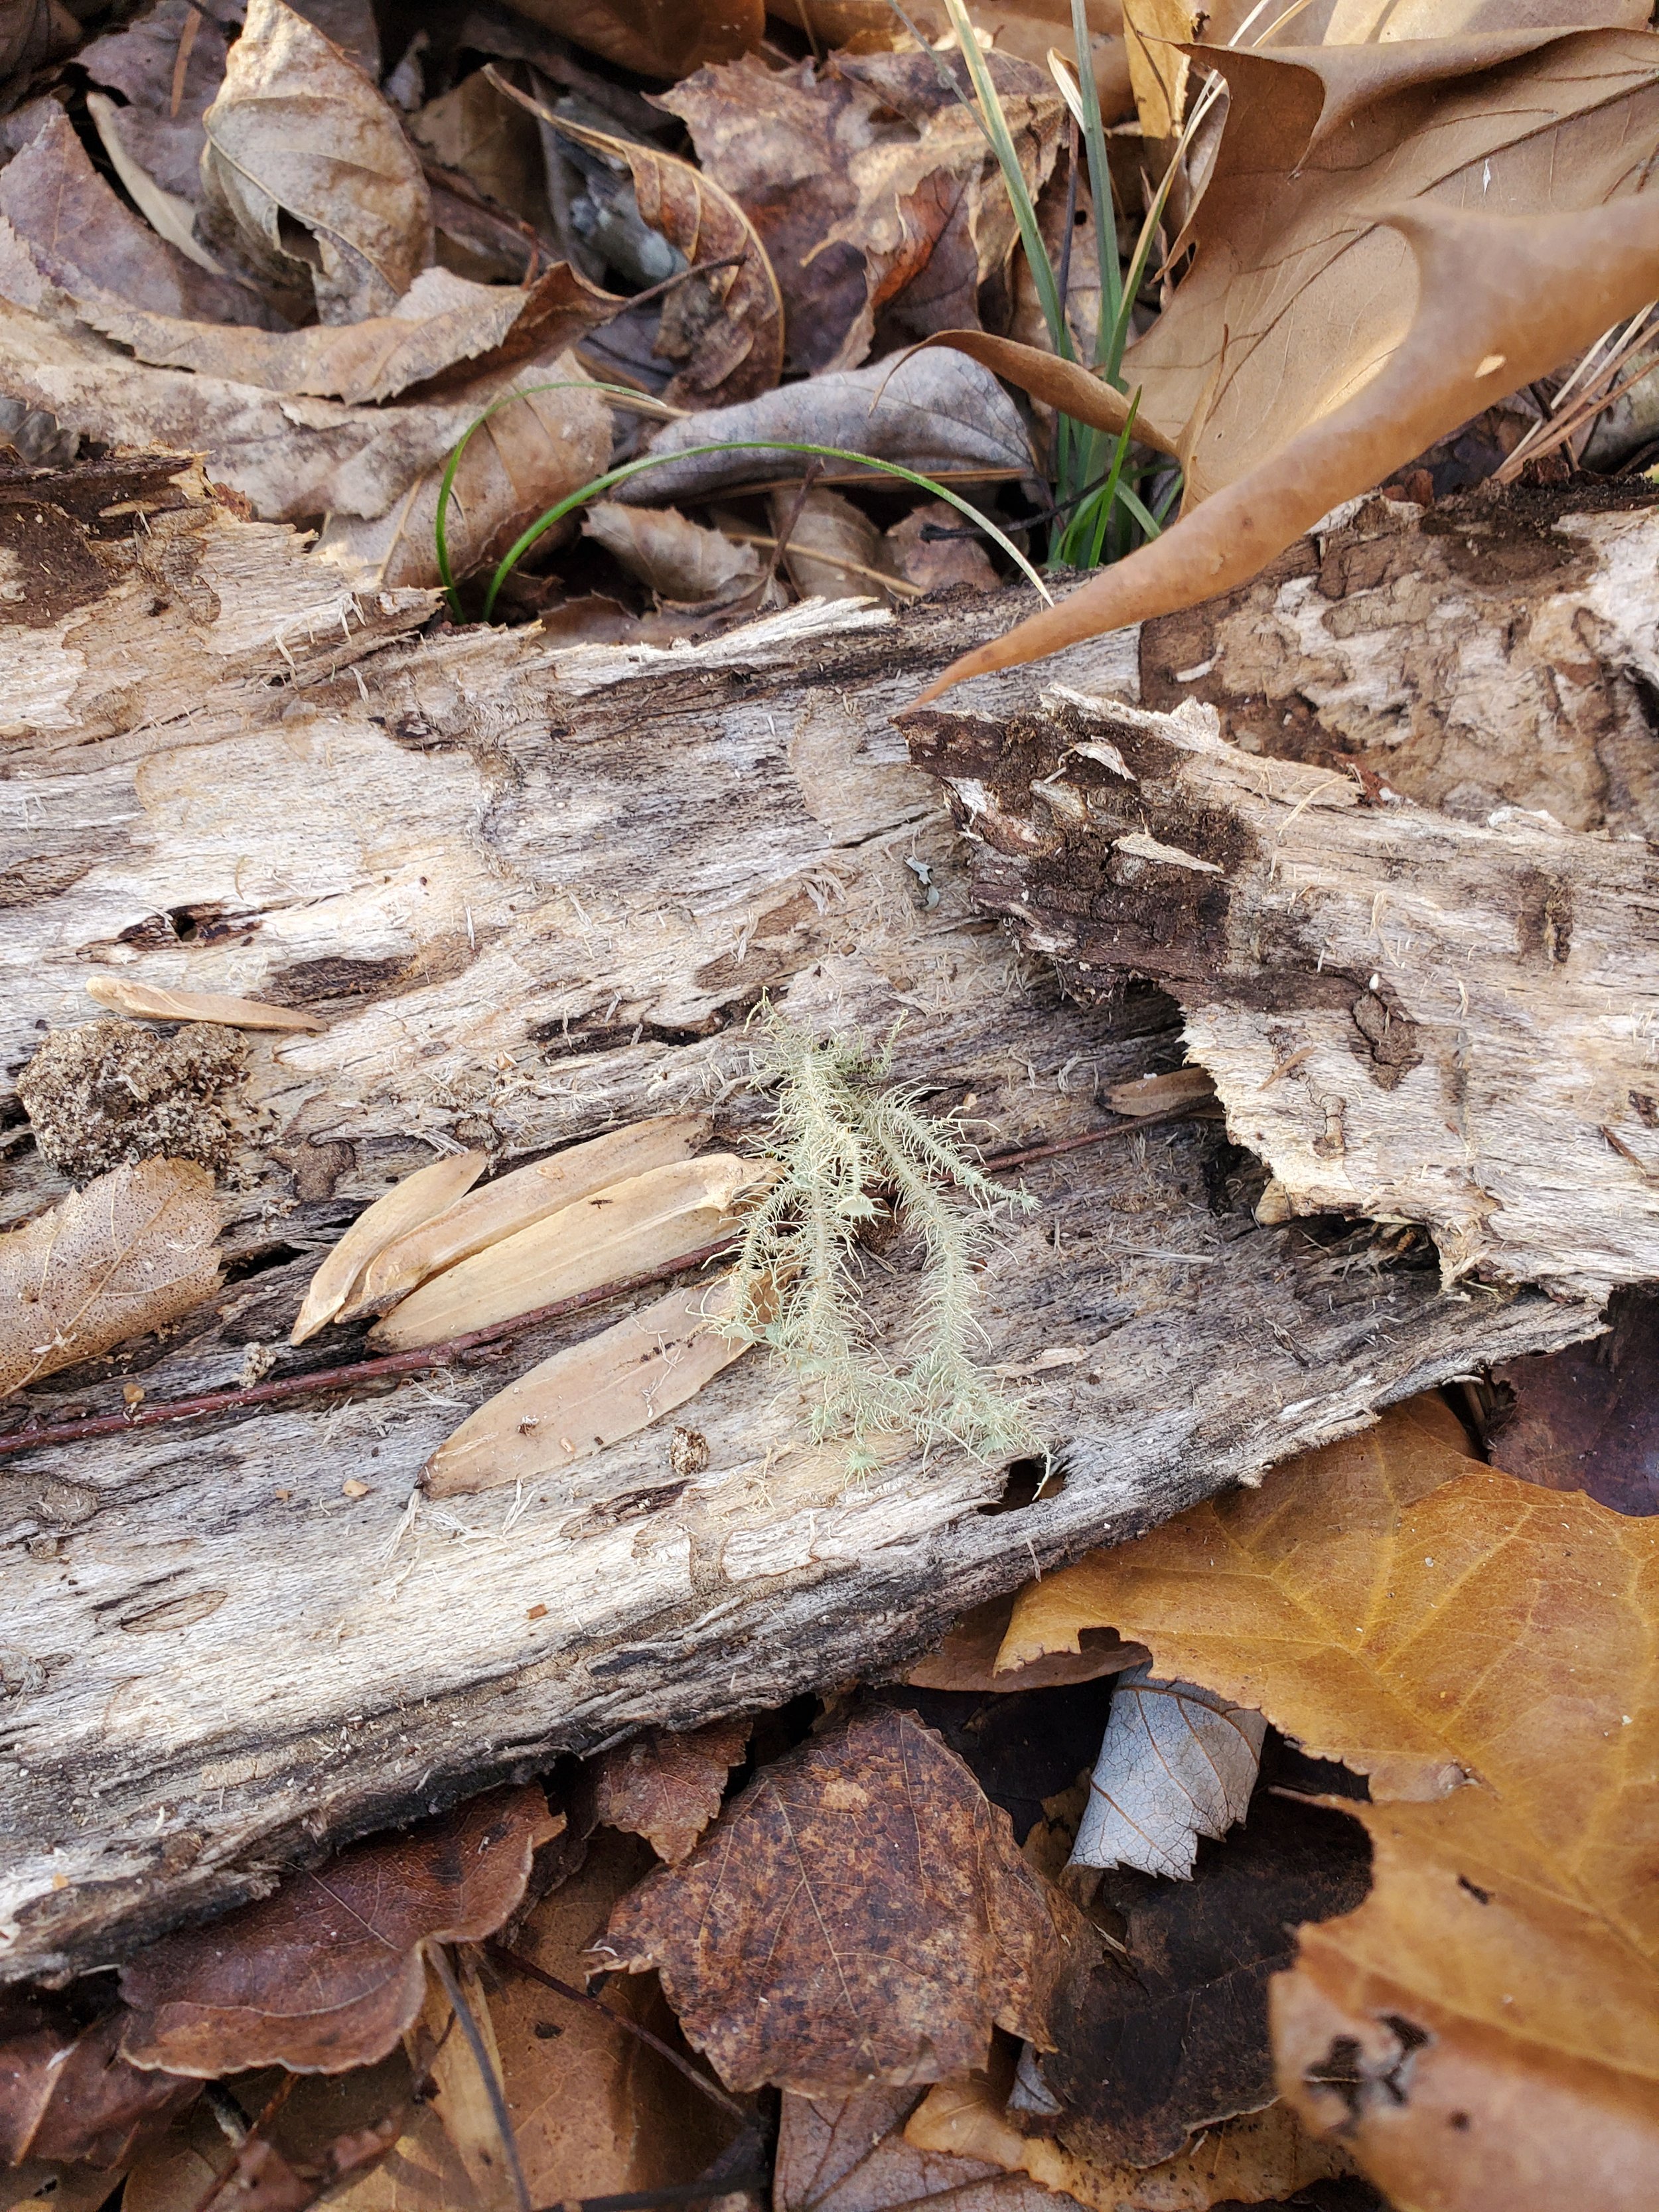
When you wander through the woods in the dead of winter, you see things that remain unnoticed during the active growing season when everything is lush and green. This week, a lovely growth on the forest floor caught my attention. It was a lichen, Usnea strigosa, whose common name is Old Man’s Beard, Methuselah’s Beard, or Bushy Beard Lichen. At first glance it appears to rest on fallen leaves, but it rises from tiny bits of tree bark.

So, what is a lichen, exactly? It is a symbiotic partnership, a fungus that lives in association with an algae. Algae produces sugars through photosynthesis. These sugars feed the companion fungus. In return, the fungus serves as a protector of its algae partner, offering protection from drought and excessive sunlight. In dry periods, the thread-like organisms appear grayish in color. When rainfall moistens it, the algae is refreshed and the partnership takes on a sage-green tint. Those rounded pads at the tips of the threads are the fruit, producing reproductive spores.

Old Man’s Beard lichen is found throughout the southeast. Other than being something cool to see in the woodlands, Old Man’s Beard can tell us a bit about our surroundings. It does not tolerate air pollution, for instance, so its presence indicates clean air. There is abundant information touting the medicinal properties of Usnea (note: I’m reporting, NOT recommending!), ranging from wound treatment to tuberculosis prevention, tonics, astringents, or diuretics. It can even be used to produce an orange dye.

Look for Old Man’s Beard lichen in oak forests, in damp, shady areas. It slightly resembles unrelated Spanish Moss (Tillandsia usneoides, an epiphyte) or Reindeer Moss (Cladonia rangiferina). If you need to confirm its identity, seize one of the threads and pull the ends in opposite directions. The green algae covering will separate from the fungus, which is a white thread in the middle. The fungus is stretchy, almost like a rubber band.

Make An All-Natural Kissing Ball

The kissing ball originated in the Middle Ages, when vines were wrapped into a circular shape and a small figurine of Jesus was placed within. Later, the vine base was replaced by a raw potato or apple. Somehow this Christmas-theme decoration evolved during the Victorian era to symbolize romance. I’ve always thought that Victorians were prudish, but they introduced hanging of a kissing ball in doorways as an invitation to smooch. Eventually balls of mixed greens were replaced by sprigs of mistletoe. Modern music by Kelly Clarkson or Justin Bieber keeps the tradition alive, albeit in a version vastly different than the original.

Mistletoe has been a part of my holiday decorating until a few years ago, when security guards at the local shopping mall suggested I stop harvesting from the mistletoe-laden (and unhealthy) trees in their parking lot islands. Rather than using artificial or preserved greenery and a Styrofoam base, I decided to revert to the historic form – a potato – and fresh boxwood sprigs. The moisture in a potato will keep cut branches moist for weeks. Unlike artificial foam, the all-natural form is biodegradable and can be tossed onto the compost pile after the holidays.

This is an easy project, even if you are not crafty. If you ever played the Mr. Potato Head game as a child, this will feel familiar. Here is my method.

Gather components: Hand clippers, ribbon, small round potatoes, greenery. Smaller potatoes are better than large ones. They do not need to be perfectly round, since adjustments are easily made in the lengths of cut greenery. Many types of greenery can be used, but the smaller the leaf the neater the finished product. Boxwood was my choice.

For the first ball I assembled, I found the boxwood stems were too soft to easily penetrate a raw potato, so I used an icepick to pre-make holes. For subsequent assembly, I microwaved the potato base for one minute, which was just enough to soften the skin without cooking the potato. 

The assembly process is best done outdoors to reduce cleanup. Cut boxwood stems about two inches long. Strip the leaves off one inch of the cut end so it will insert easily into the potato base. Either prune just the tips of branches or cut a single long stem into several sections. The raw ends will not be noticeable once assembly is complete. If the sight of a raw stem tip bothers you, touch the light-colored cut end with a black Sharpie marker and the cut will become invisible. 

Insert stems into the potato, spacing them close, until the base is covered. Adjust the amount of stem inserted to maintain a round shape. Leave a small space uncovered for insertion of a decorative ribbon and wire for hanging. I experimented with adding a decorative ribbon as the first step and then as the last step, and found that I preferred the latter.


If available, a florist pin (looks like a long staple) is a great way to attach ribbon. I did not have florist pins, so I used cable staples instead. Metal paper clips could substitute in a pinch.

Finished balls are ready to hang, indoors or out. The moist potato interior will keep the boxwood looking fresh through the holidays.

4 Steps to Keeping a Christmas Tree Fresh

Buy a fresh tree
Some types of trees retain their freshness longer than others. Balsam Fir, Frasier Fir, Colorado Spruce, or Norway Spruce will keep their needles and color longer than cedars or junipers. Both Cedar and Pine are best used as cut limbs. Cedar’s fragrance evokes the holiday spirit like no other, but it dries out quickly and will shed its sharp scales like a dandelion puffball. Pine has a lovely fragrance but it exudes sticky resin and its flexible limbs do not provide good support for ornaments. Keep cuttings hydrated in vases, water tubes, or wet floral foam, or plan to pull and replace them with fresh cut branches every week.

I’m always curious about who buys those first cut trees. You know – the ones leaning against a building two weeks after Halloween. Unless you are planning an early holiday celebration due to out of-town travel plans for December 25, leave these early-cuts for someone else.

Unless you cut the tree yourself (a fun family activity for those fortunate enough to be located where this is a possibility), there is no way to know when a tree was harvested. Test the candidate by passing a hand along the needles on a branch, like you are stroking a kitten. If a lot of needles come away in your grasp, keep looking. For smaller trees, pick up the trunk and drop it an inch or two. A loss of a few needles is fine, but if this produces a rain of shed needles, move on.

Fresh cut to help with water intake
Christmas tree lots and home improvement stores are usually accommodating with a fresh trunk cut, especially if you do your tree shopping outside its busiest weekend hours. A thin slice (an inch is fine) off the trunk will remove hardened sap and expose fresh tissue so the tree will absorb water most efficiently.

Keep it hydrated
Add water at least daily. A fresh tree may absorb a gallon or more each day. Consumption will go down as the tree ages. Do not allow the water reservoir to go dry. Contrary to abundant folklore, it is not necessary or beneficial to add bleach, sugar, vodka, soda, aspirin, or any type of preservatives. Water works best.

Keep it cool
Any cut tree will last longer if kept away from heat sources like fireplaces or heater ducts.

Sage Smudging: Science or Silly?

We did not host guests this Thanksgiving, so there was no roast turkey at the Snoddy place, hence no need for harvesting sage to flavor the traditional dressing (or stuffing) accompaniment.

Today, a quick peek into my herb garden revealed a beautiful sage plant. Its good condition was a surprise, since I plunked it into a corner of a raised bed in spring and promptly forgot it.

My past use of culinary sage has been limited to the Thanksgiving meal. It was planted as a deterrent to marauding deer and rabbits. I decided to search the internet for other uses. What an eye opener! I was unfamiliar with “sage smudging,” and what I learned was fascinating. Smudging, simply put, is the burning of plant material to produce smoke and aroma.

Burning sage was practiced by Native Americans (and perhaps Ancient Greeks, Egyptians, and Romans). The intent (varies by source) was either a spiritual ritual, a purification practice, a healing rite, an attempt to rid spaces of insects, or to “dispense negative energy.”

There are two main types of sage used in smudging, White Sage (Artemesia) or Culinary Sage (Salvia officinalis). Other plants used for smudging include cedar, rosemary, and lavender. The internet has several prayers or incantations for use as part of smudging rituals. Some sites had very specific instructions. According to one, “Use a match to light it at the bottom. You never want to blow on it, because that is blowing your spirit away.” Other sites discourage smudging by non-Native Americans, labeling the practice as cultural appropriation. One source gave instructions on the inclusion of sage smudging as a part of marriage ceremonies.

So, is there any proven science behind smudging? More than 30% of Americans use medicines or practices that fall outside standard pharmacological standards. WebMd.com was non-committal: “While sage burning might offer a kind of metaphysical or spiritual cleansing, its medical virtues haven't been well-studied. Very little research has been done on burning sage in general, and there isn't much evidence to confirm what it might do for your health.”

While the activity is not widespread, there are YouTube videos on how to smudge properly. And any time you can purchase Sage Smudge Sticks on Amazon, it is safe to assume that is moving from esoteric to known.

Here is a piece of wisdom. Let the curious beware. After my research into the practice of smudging, I got plenty of popups on other sites and advertisements related to holistic healing, acupuncture, mysticism, even a few links which appeared to have some connection to witches.

Culinary Sage or Common Sage, Salvia officinalis, is a woody sub-shrub native to the Mediterranean. It has soft gray, narrow leaves that resemble a greener version of Lambs Ears. ‘Berggarten’ is a cultivar with wider leaves. Bees and butterflies love sage’s spikes of tiny lavender, blue, or pinkish flowers. Plants are grown from seeds, cuttings, or division. They are perennial in zones 4-8. Grow sage in full sun and well-draining soil. Plants are deer and rabbit resistant.


This happy sage plant is hanging out with neighboring oregano and cattnip.

Turkey Tail Fungus

November is a perfect time to talk about turkey tail fungus, Trametes versicolor. (“Versicolor” means “many colors.”) Turkey tail is common, found growing on hardwood stumps and downed logs across North America. It is pretty, with bands of muted colors that resemble an expanded, look-at-me turkey’s tail. Unlike many fungi, the turkey tail is tough, with a texture more like leather than your garden-variety, tender mushroom. It grows in damp, shady areas.

Turkey tail typically grows on dead wood or bark, so if you spot it growing in your garden, take it as a message that the host tree is unhealthy. This may be the only warning message you receive before stormy weather takes the tree to ground. Turkey tail feeds on the lignin and cellulose in dead wood, but the rate of lignin consumption is faster than the cellulose consumption. As a result, a community of the fungus may engender stringy white rot. (A fungus which consumes cellulose faster than lignin will produce a reddish rot.)

Communities of the fungus can be large – the one shown in the accompanying photo spread eight feet on a downed tree trunk. The host is located a few feet away from a creek and is under the shade of tall trees. A nearby trunk also hosted the fungus, but it was several weeks older and the warm colors had faded to several shades of gray. Young specimens can have bands of pink, rose, gold or blue. These fungi can be found year-round, but are most often seen in the fall.

False turkey tail (Stereum ostrea) has color bands similar to the true turkey tail fungus, but it has a smooth underside, while the true version has a rough underside.

Turkey tail is both attractive and useful, as it breaks down fallen trees and helps keep the forest floor cleared of limb litter. It is not considered edible by humans — not toxic, but not tasty.

Wishing all my readers a happy Thanksgiving. We have so many reasons to feel grateful!

A colony of Turkey Tail on a fallen tree.

Turkey tail, with my hand shown to show scale.

Pokeweed: Friend or Foe?

Whether you call it Poke Salet, Poke Salad, Pokeberry or Polk Salad, if you grew up in the south, you probably know the lush green leaves and shiny purple berry clusters of Phytolacca americana.

It is either a weed or a feature plant, depending upon your outlook. In early spring, Phytolacca (pronounced fy-toh-LAK-uh) leaves emerge, their bright green marking a sharp contrast to surrounding shades of gray and brown. It is in these early, tender stages that some people consider the leaves to be edible, with a few caveats. The leaves contain toxic compounds that are removed through placing them in boiling water for a few minutes, then discarding the water. This blanch-and-repeat cycle is performed two or three times to remove the bad stuff, after which it bears some resemblance to cooked spinach.

My mother would harvest spring young leaves and serve them occasionally, topped with diced onion, chopped boiled egg, and a sprinkle of bacon. I never ate them because (1) hey, it was green, and (2) anything that required such effort to disguise the flavor must have been nasty-tasting. When I grew older and learned of its poisonous nature, I accused her of trying to kill us all, a charge she never denied.

Clusters of pokeweed’s unimpressive spring flowers turn into bright green berries which mature into deep purple fruit. The shiny fruit contrasts with the plant’s red stems, a pretty combination. The affection Mother lavished on this native wonder in spring turned to disgust in autumn when birds ate the ripe fruit and decorated cars, walkways and laundry on the clothesline. Birds love the berries and are unaffected by the poison therein. Unfortunately, birds spread those seeds around, so many consider pokeweed to be invasive.

Several years ago, an excellent nursery in North Carolina offered a variegated Phytolacca as well as a chartreuse yellow type. I was tempted, but my husband scoffed at the idea of purchasing a weed, variegated or not. His opinion must have been widely held, because the plant is no longer offered.

Pokeweed grows six to ten feet tall, in sun to part shade. It looks best if it is pinched back several times when small, to produce a denser, branched plant. It is a herbaceous perennial with a fat taproot that allows it to withstand drought and thrive in almost any soil.

Tony Joe White, a Louisiana native, wrote and performed “Polk Salad Annie,” a song made famous by Elvis Pressley. YouTube’s on-screen text during Tony Joe White’s 1970 live UK performance says, “Polk salad is eaten by poor rural communities in the Deep South.” Despite being a hard-rock fan from birth, I loved the twangy song and as a child, I would always chime in on the chomp-chomp portion.

Partial lyrics:

…Every day before suppertime,
she’d go down by the truck patch 
And pick her a mess of polk salad,
and carry it home in a tow sack.
Polk Salad Annie,
the gators got your granny,
chomp, chomp, chomp, chomp…

(Fun fact: Louisiana is home to more than 2 million alligators.)

Ripe fruit is a shiny purple. Photo by Goran Horvat from Pixabay

Unripened pokeweed berries. Photo by Jan Haerer from Pixabay

Big, tough pokeweed tubers resist removal.

One of my gardener friends grew pokeweed in a container.

Garden Pause - Plan a Holiday Cookie Swap

Temperatures are dropping, rain is falling, and Christmas décor is overflowing retail store shelves. When gardening chores are slowing down, it is a perfect time to plan a holiday cookie swap. Here are my recommended steps for a successful swap, based on personal experience.

Select a date and time. The choice between daytime or night and between weekday or weekend will dictate your choice of invitees. I prefer to host holiday cookie swaps in late November or very early December. This helps avoid conflicts with Christmas parties and allows guests to enjoy goodies before the inevitable sweet-fatigue that sets in after a few dozen gatherings. By January, most of us do not want to see decorated sugar cookies, no matter how pretty they are.

Develop the guest list. In my opinion, the ideal group size is fifteen or fewer. Since each participant will be asked to bring two or three cookies per guest, a larger group size requires more kitchen time than some people want to commit. I once attended a too-large swap. By the time I finished mixing, rolling, cutting, baking and decorating gingerbread men for 35 people, I (illogically) hated the hostess and each of the guests.

Invitations can be written (check online for cute invites) or emailed, but should spell out specific instructions. Here is the language from my last swap invite:

  • Please seal your cookies in zip bags, one large cookie or a couple of small cookies per bag. The number of bags needed will be provided once all invitees have confirmed their attendance.

  • Clearly mark any cookies with nuts (for our friends with food allergies).

  • Homemade cookies are preferred. You can bring cookies from the bakery, but we will talk about you behind your back.

  • Please provide a yes or no response by [date].

  • If you have extra cookies, feel free to bring them along to share as refreshments.

  • Non-cookie snacks and beverages will be provided.

  • Casual holiday attire is preferred.

Prepare the swap site and a container for each confirmed attendee. Ideally, swap containers will be in a different room or on a different table than refreshments for the event. Prepare a container for each guest to take home. I like the “shoebox” containers available in red, green, or clear in many dollar-type stores, but holiday tins work well too. Clearly label each guest’s container with a large-lettered card, “These cookies go home with [name].”

Provide hot and cold beverages. Cocoa, coffee, tea, sodas, and water are good for daytime events. For night time, add alcoholic choices like sangria or punch. Provide non-sweet refreshments. Fresh fruit and savory treats like crudites, cheese and crackers, or a hot seafood dip make a nice contrast from all the sweets.

A couple of optional items: You can ask each guest to identify which cookies they brought. You can also ask that they bring printed copies of their recipe, so guests can duplicate their favorites. To prevent no-shows, send a reminder email or text to each confirmed attendee two days before the event.

If invitees ask for recipe recommendations, steer them away from soft icings and towards firmer cookies like shortbread, brownies, turtles, snickerdoodles, or gingerbread men.

Decorate the swap container table with colorful linens, fresh flowers, fragrant greenery. Have plenty of zip bags available for guests who ignore the instructions. Crank up the holiday tunes and enjoy a fun event!

This gingerbread man looks a little startled at his future. A sandwich-size zip bag is the perfect means of keeping cookies fresh.

A sample invitation from a past cookie swap, with 14 participants. Each person brings 13 cookies, since they will not give themselves a treat.

This is the “swap” table, with a container for each guest to take home.

Lovely Loropetalum, Chinese Fringe Flower

Amidst all the warm colors of autumn leaves, the deep burgundy or wine-colored foliage of Loropetalum provides a wonderful contrast.

When Loropetalum became widespread in garden centers in the late 1980’s, their deep burgundy foliage and hot pink flowers immediately became popular. White flowered, green-leaf varieties exist, as do variegated leaf cultivars, but neither are as widely grown as the burgundy-leaf forms. Unfortunately, many of the early introductions grew much larger than their labeled mature heights. Warm nights and the long growing season of the southeast result in taller-than-anticipated shrubs. When used as foundation shrubs, these early introductions required aggressive pruning to restrict size. Several cultivars that were labeled at a three-foot maximum height grew five feet or taller. (If I sold you one of these during my sales stint in a garden nursery, please accept my apology. It was a mistake through ignorance, not malice.)

Shearing Loropetalum into tight orbs or square-edged hedges ruins the graceful arching shape. Taller cultivars (‘Zhuzhou Fuchsia’ is a robust one) can be limbed up to tree forms that rival Crape Myrtles, without the concrete-staining problems of Crape Myrtle seed-pods but also without the lovely exfoliating bark of the Myrtles.

Burgundy-leaf types can take on green tints in the hottest part of the summer. ‘Jazz Hands’ is a cultivar with variegated foliage. New growth is splashed with pink and white. With age, foliage shows less and less variegation, so plan to prune annually to force colorful new growth. The variegation shows best when seen up close, so site your specimens where they can strut their individuality.

Evergreen Loropetalum (pronounced lor-oh-PET-ah-lum) is hardy in zones 7-9. It is heat tolerant, easily transplanted, and not choosy as to soil type, although it may show chlorosis in alkaline soil. Avoid boggy soils. Established shrubs are drought tolerant. They are rarely browsed by deer.

Heaviest bloom occurs in spring, but flowers appear sporadically during other months. Similar to Witchhazel, Loropetalum flowers have strap-like petals that give rise to the common name Fringe Flower. All forms bloom on old growth, so if you trim to generate fresh variegation, be aware that flowering will be reduced.

Check plant labels before purchase to ensure the selected cultivar will suit the planned location. If your site is tight, assume shrubs may exceed the stated dimensions.

shrub with pink bloom and dark burgundy foliage

Strap-like flower petals look like tufts of fringe, leading to the common name Fringe Flower.

Burgundy foliage shrub

Unpruned shrubs have a lovely, arching stem structure.

Spirea, One Tough Shrub

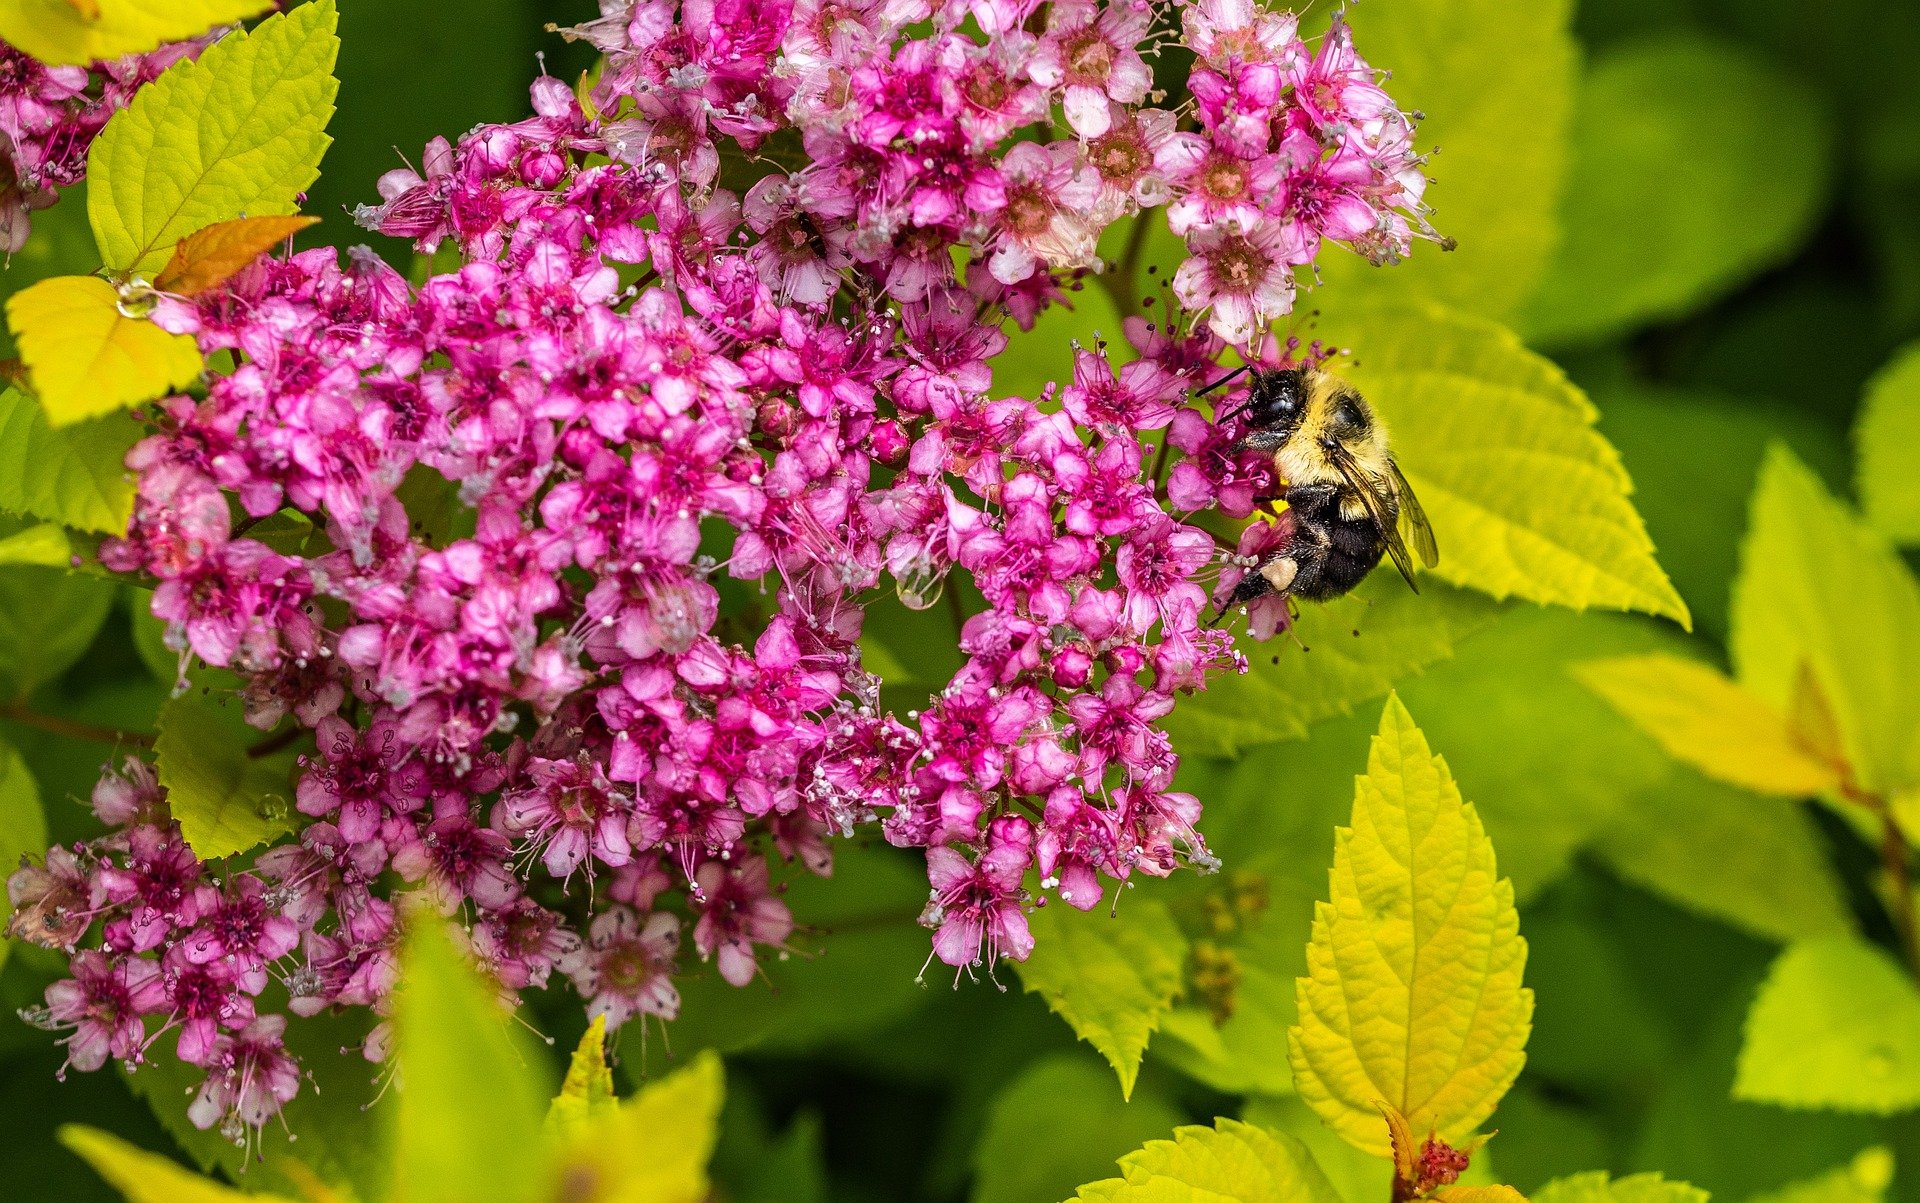
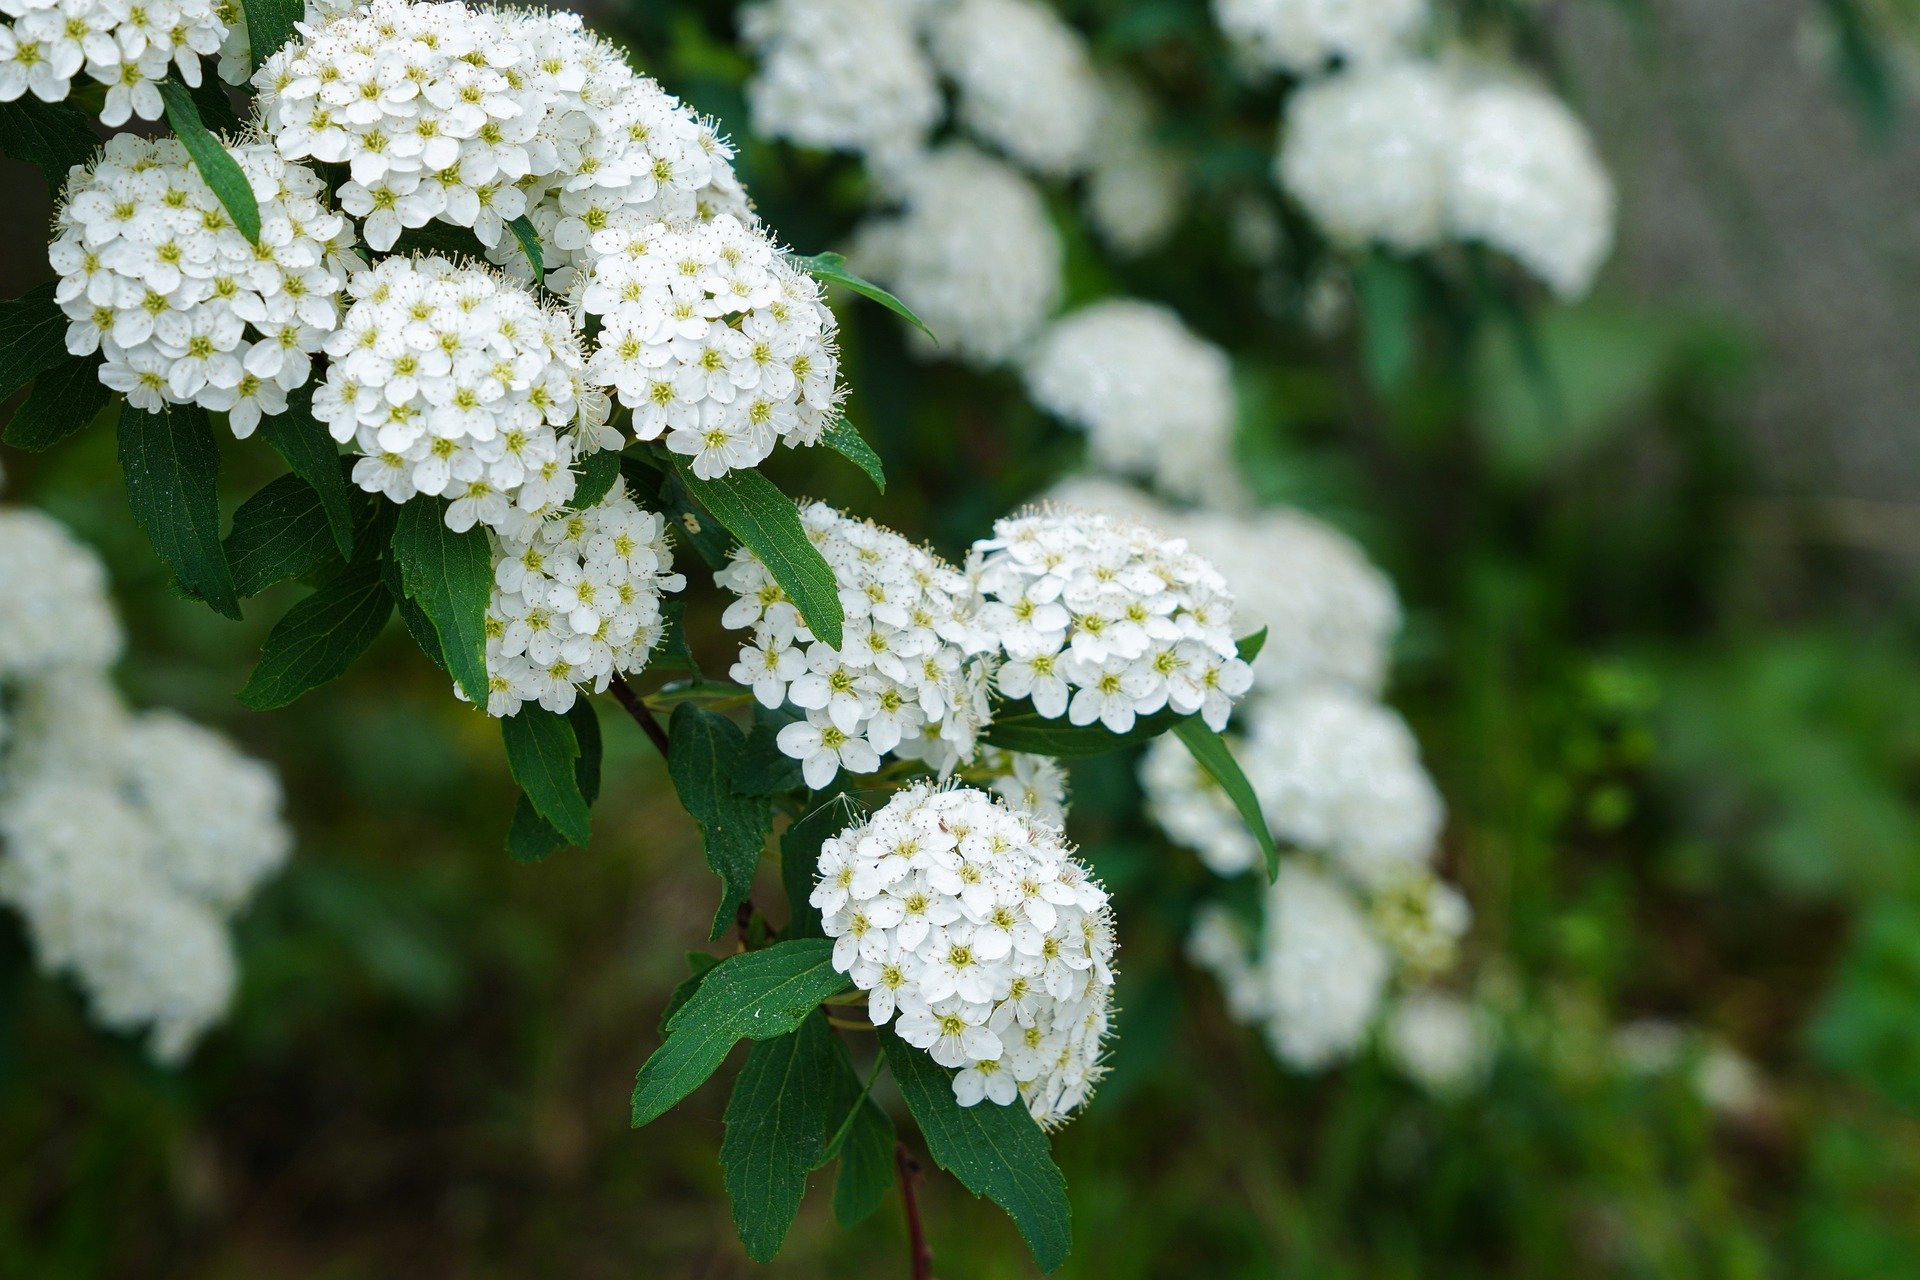
Spirea (pronounce spy-REE-ah) is a tough-as-nails, fast-growing deciduous shrub. The garden of my childhood home had two varieties, one with flat-topped clusters of rose-pink flowers in summer and the other with long, arching branches dotted with clusters of white blooms along their length in early spring. The latter was identified by my mother as Van Hootie. I now know that it was not Spirea vanhouttei, but was actually S. prunifolia, commonly called Bridal Wreath Spirea.

There are numerous (40+) species within the Spirea genus, but all are hardy in zones 5-8 (at least), prefer full sun, and are tolerant of all soil types. Newer cultivars have been introduced with brightly colored foliage. ‘Goldflame’ and ‘Limemound’ make good specimens or foundation shrubs, with eye-catching yellow or chartreuse foliage on a smaller stature plant (3 feet or less). I am especially partial to a recent Proven Winner gem, Double Play® Candy Corn® Spirea. In early spring, new growth emerges red, then changes to yellow. After the change to yellow, new growth emerges orange. It is not uncommon to see all three leaf colors at the same time, and when the rosy-purple flowers appear – Oh My! It is like Mother Nature has given us a terrestrial rainbow.
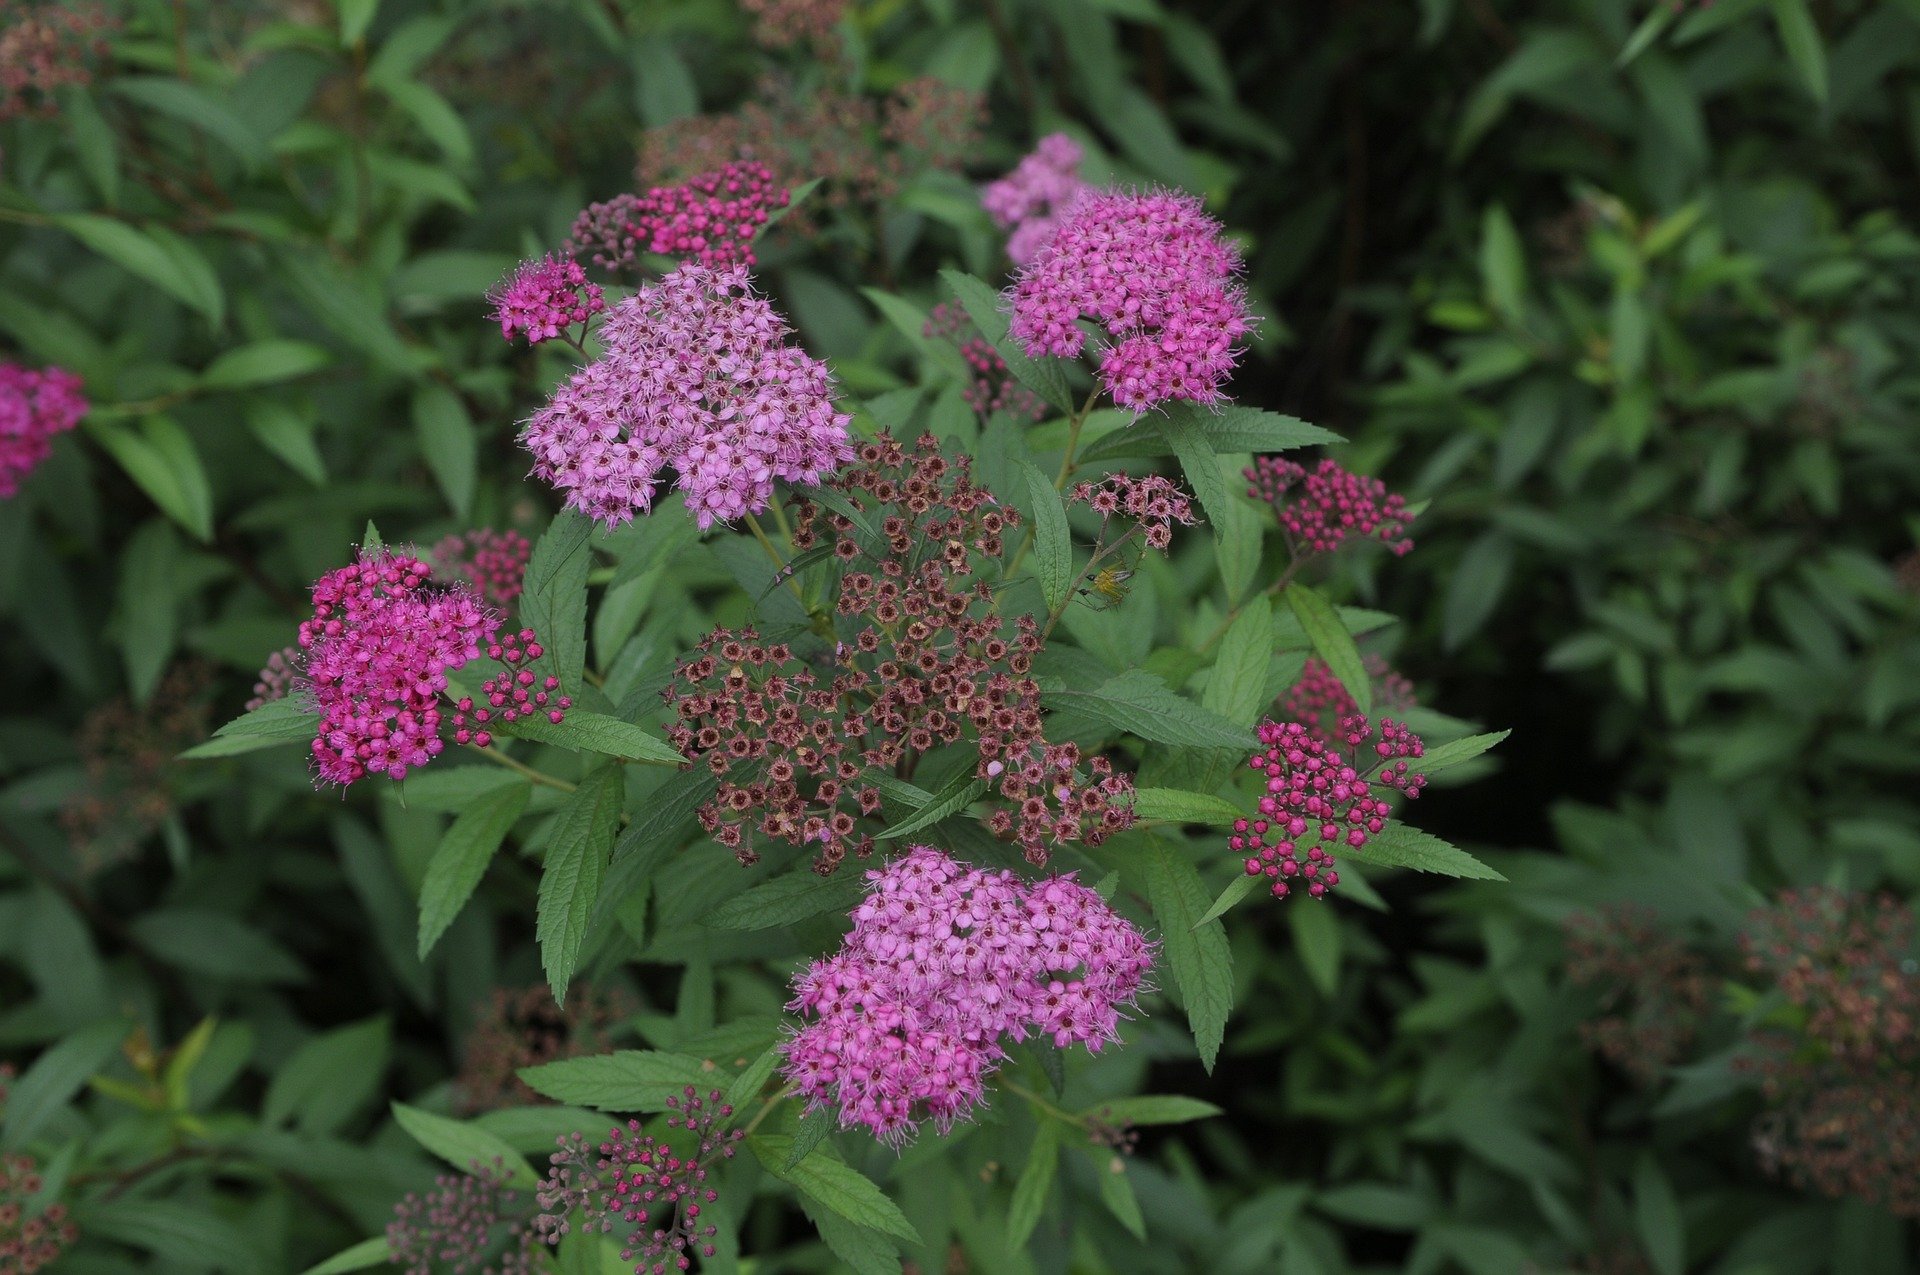
Spireas bloom on new growth, so prune in winter to increase spring flowers. Those flowers attract butterflies by the score, and deer usually leave them alone.

Garden Trends and New Plants for 2023

I have given myself permission to be a bit lazy with this blog as I recover from a heart procedure earlier this week. (No hiking through the woods to discover new plants/insects/fungi.) Instead, I want to share some of what I learned about trends at last week’s Fall 2022 GardenComm (formerly Garden Writers of America) conference.

First, the craze for dark-foliage plants (Chocolate Mimosa (Albizia), Black Mondo (Ophiopogon), and burgundy Chinese Fringe Flower (Loropetalum)) may be subsiding. Demand for white or ivory-variegated plants is on the rise. Especially eye-catching at the conference was a Calla, Zantedeschia 'Frozen Queen,’ with mostly white foliage and deep carmine-rose flowers, and an Elephant Ear with pink and white veins, Colocasia esculenta Royal Hawaiian® 'Waikiki.’ The Elephant Ear made me think of a super-sized Caladium.

The second trend was a surprising move among younger (Gen Z) gardeners away from naturalized or meadow gardens towards more formal, structured grounds with a strong Greek influence in statuary. Expect to see more boxwoods and stone archways.

Finally, the National Garden Bureau released the “Year Of” plants for 2023: The Perennial of the Year is Rudbeckia; the Shrub of the Year is Spirea; the Houseplant of the Year is Orchid; the Bulb of the Year is Amaryllis; the Annual of Year is Celosia; and the Edible of the Year is broccoli.

Three new plant introductions that you will want to check out are Hydrangea paniculata Puffer Fish™ (like ‘Bobo’ but with puffy, pure white flowers that age to lime green); Coneflower Echinacea ‘Raspberry Beret’ and a groundcover Shasta Daisy, Leucanthemum superbum ‘Carpet Angel®, that gets only six inches tall but has the same white daisy flowers as the tall variety. Check them out online and look for these beauties in garden nurseries in spring

Easy, Pretty Tatarian Aster

Asters adorn the fall garden with clouds of blue blooms that show to advantage against yellow goldenrod, orange pumpkins, and the warm shades of autumn leaves. The Asteraceae family was one of the largest until those pesky taxonomists got involved. With their penchant for genetic accuracy, they reclassified North American asters into Symphyotrichum, Eurybia, and a number of smaller classes. For an exhaustive (mind-numbing) discussion of Aster’s new family tree, consult the University of Waterloo’s research report by clicking HERE.

Today’s feature plant, Tatarian Aster, was formerly Aster tataricus and is now Crinitaria tatarica (pronounced krin-ih-TAIR-ee-ah tah-tair-IH-ka). Tatarian Aster is a perennial wildflower with soft lavender-blue, star-shaped flowers held in flat-topped groups. The flowers have 7-20 petals each, arranged around a yellow center. Bees, moths, and butterflies love them. They provide a nectar meal for migrating Monarch butterflies.

Tatarian Asters grow in zones 3-9, in any soil type and almost any pH, and require full sun exposure. Plants are resistant to heat and humidity. They may gain heights of up to six feet, but rarely need to be staked unless they are grown in very fertile soil with plentiful moisture. Unless you enjoy staking, take a Tough Love approach to growing this perennial. Plants grown in rich soils with plentiful moisture can spread aggressively.

The height of Tatarian Aster means it is a good back-of-the-border feature. It is especially pretty when grown along the sunny edges of woodlands, paired with Miscanthus, Muhlenbergia, or other grasses. Deadheading spent blooms will lead to a lengthy flowering season, from late summer all the way to freezing temperatures. In winter, cut the dead foliage back to ground level.

Tupelo, A Honey of a Tree

Tupelo, also known as Blackgum, is among the first trees to show fall color. Summer leaves are a pretty, shiny green. In autumn they turn fiery red, which you may have deduced from cultivar names like ‘Red Rage,’ ‘Wildfire,’ and “Firestarter.’ A few leaves will have yellow, orange or purple highlights. In spring, the nectar-rich flowers are a butterfly favorite but blooms are so small they are unnoticeable to humans. In late summer, female trees produce deep blue or purple fruit, a treat for turkeys, songbirds, bears, opossums, and raccoons. Honeybees produce a high quality, pale honey from Tupelo nectar.

Tupelo (Nyssa sylvatica, pronounced NYE·suh sil·VA·tuh·kuh and mispronounced by me 100% of the time as NISS-ah) are native to the eastern US, and are hardy in zones 3 through 9. They prefer a moist, acid soil in full sun, but are adaptable to wet or dry locations, are wind- and salt-tolerant, are fire resistant, and will withstand some shade. They grow in sand, clay or silt soils.

While deer may nibble the tender new shoots in spring, they leave mature trees alone. The straight species and older cultivars may suffer from leaf spots, but this does not seem to harm the tree. ‘Red Rage’ and ‘Green Gable’ cultivars are resistant to leaf spot problems.

These are slow growers but can be induced to speed thing up by the addition of water and fertilizer. Mature height is typically 30 feet with a 20-foot spread, but in favorable habitats they may reach 90 feet or more. Tupelo Tower™ is a narrow cultivar, only 15 feet wide at maturity. A weeping cultivar is available, as is a variegated form, but I have not found those in local nurseries. A super-cool cultivar, ‘Zydeco Twist’ has gnarly, contorted limbs that make one think of Harry Lauder’s Walking Stick, an unrelated plant.

Although leaves can be confused with those of common Persimmon (Diospyros) trees, Tupelo limbs emerge from the trunk at a 90-degree angle, which (along with their dark, blocky or ridged bark) makes trees easy to identify in winter. Tupelo leaves are clustered on short, smooth limbs, “spurs.” Persimmon leaves are not shiny, and occur all along the length of the limb. Tupelos have a tap-root structure that means they transplant best when young.

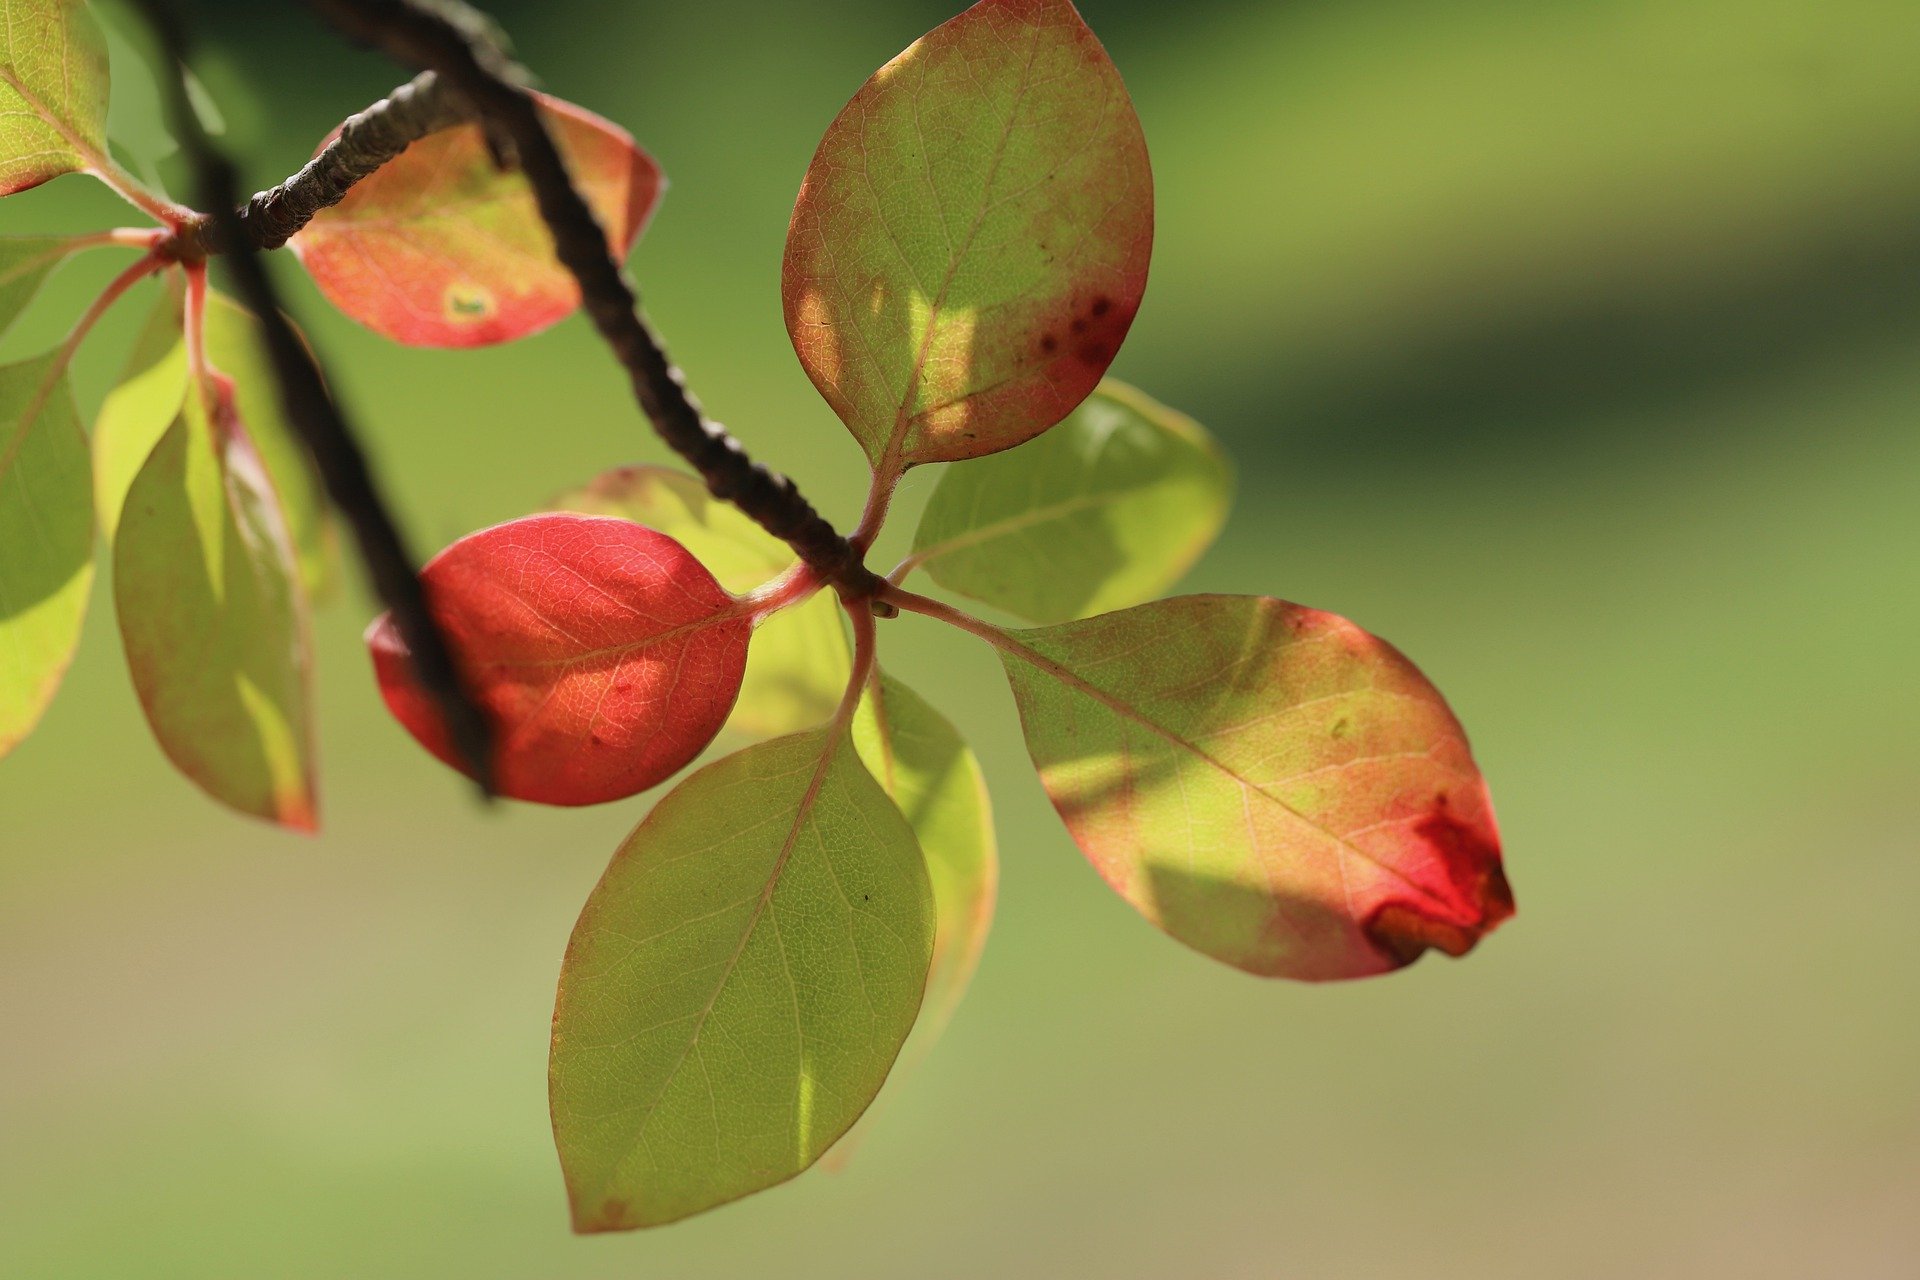
Brilliant fall color

purple berries in palm

Tupelo fruit

The beginning of autumn color change

Mushroom Brains

I found a brain while I was walking through my woodlands this week. At least I thought it was a brain. Or a pile of cooked egg noodles, which seemed just as unlikely as a brain, since civilization is at least a half mile away in all directions. Research indicated that it was a natural growth in the genus Sparassis, an edible fungus known as cauliflower mushroom. The very helpful www.MushroomExpert.com provided a key on how to distinguish the various species, but also described a “look-alike” species, Podoscypha aculeata.

My particular specimens (I found another nearby) are Sparassis americana. A fairly rare fungus, it sprouts from the roots of pine trees, not trunks, and is an indicator of brown root rot below the surface. This means I need to keep an eye on the host trees, and will have them removed when declining health warrants.

Www.Foragerchef.com describes the cauliflower mushroom as “one of the most delicious wild mushrooms you can hunt…a choice edible species.” The authors give specific instructions on cleaning (cumbersome process with lots of references to hidden insect larvae) and several recipes, ranging from soups to cauliflower “steaks.”

In the interest of science and from innate curiosity, I made a personal sacrifice for the collective benefit of my readers. As a result, I can tell you that there are marked differences in definitions of “delicious.” Edible, yes, but not something I would praise as a delicacy.

If you decide to forage for these or any other wild mushrooms, please be certain of the identity before you consume them. Several common mushrooms have deadly look-alikes.

Cauliflower mushroom looks like a pile of cooked, curly egg noodles.

White fungus growing at base of pine tree

The angle of this photo is deceptive. The fungus is larger than a softball.

Muhly Grass for Autumn Color

Autumn colors are orange, red, yellow, rust…and pink? Across the southeast, Pink Muhly Grass (Muhlenbergia capillaris, pronounced mew-len-BERG-ee-ah or mew-len-BER-jee-uh) is reaching its peak. We do not usually think of grass as a flowering plant, but there is no mistaking the decorative value of pink Muhly. Its feathery plumes float like clouds of pink cotton candy. A white-flowered form is available also but is harder to find than the pink variety. White varieties bloom a little later than pink forms.

 Mulhy is easy to grow in full sun, zones 6-9. Native to North America, it will grow in sandy, rocky, or clay soil. Avoid constantly wet soils. It is not troubled by insects or diseases, and is highly resistant to deer damage. Plants grow up to four feet tall and  three feet wide. Established plants are heat and drought tolerant. The narrow leaves sway gracefully in breezes. Flowering begins in autumn and is followed by attractive seed heads that persist through winter, providing food for birds. The purplish-pink form ages to a creamy tan color and the white form ages to an attractive gray.

 A standalone plant is attractive, but mass plantings of Muhly are gorgeous. Two pairings that are particularly attractive: Pink Muhly with purple-leaf Loropetalum,  or White Muhly paired with purple-flowered Mexican Salvia (Salvia leucanthemum).

 Plants may need to be divided every three years or so to avoid dieback in the centers. Give clumps a cleanup cut in late winter or early spring, before new growth starts, but do not cut so short that the crown is damaged. While some other grasses may become invasive, Muhly is well behaved and makes a perfect addition to the low maintenance garden.

Pink Muhly Grass used as an edging

Blooms look like cotton candy

Discouraging Deer

When I see deer in our woodlands or along the driveway, my heart softens. Those big soulful eyes, alert ears, graceful movements. I feel compassion for wild creatures that are being forced by commercial development and the housing boom into smaller and smaller native habitats. When I observe their destruction in my garden, however, my empathy disappears. I have learned to regard them as large rodents.

The deer mating season (the “rut”) begins with the onset of cooler weather here in the deep south. Male deer rub the fuzz off their antlers by scrubbing them against tree trunks. Thin bark trees are vulnerable to damage that may be fatal. In the Mary Snoddy garden, it seems deer bypass large oaks and tough hickories while targeting dogwoods, figs, and peach trees. When they are not rubbing against trees, they are eating, eating, eating. And rather than dining on the tasty plants in our woodlands, they choose to snack on whatever grows in my flowerbeds, borders, and vegetable garden.

Common but unproven discouragement strategies range from the hanging of shiny foil streamers in trees to playing a radio in the garden to using motion-activated sprinklers. Once deer have become accustomed to any of these, their initial value as a deterrent falls to zero.

Here are some coping strategies:

  • Protect vulnerable tree trunks with wire wraps or protective cages.

  • If allowed, consider erecting protective fencing. Deer are amazing jumpers, so fences will need to be eight feet or taller. Two shorter fences can be installed, one a couple of feet inside the other, so that deer do not have a good landing pad between. Electric or solar fences protect vegetable gardens, but they are not attractive.

  • Deer are creatures of habit. They follow the same trails every day. Do not plant tempting trees or shrubs along their regular paths. If you must plant one of their favorite snacks along their route, try surrounding it by plants deer avoid.

  • Spray with deer repellant products. There are many commercial products available and numerous recipes for homemade concoctions. I have had limited (read: no) success with most of these, and human hair had no discernable effect. Likewise, hanging bars of stinky soap in my trees was not a deterrent. They gnawed on the bars of Irish Spring in my fruit trees. The only repellant product that succeeds in my garden is Milorganite (a type of fertilizer derived from sanitized human waste), and it must be reapplied after every rain. An added benefit of having dogs is that deer avoid the area where the pets take care of bathroom business. Perhaps they smell the dogs as predators?

  • Select plants that deer do not favor (examples: Rosemary, Yew, Boxwood), and avoid those they prefer (examples: Hosta, Daylily, Indian Hawthorne). The NC State University Cooperative Extension has prepared an excellent report of Deer Resistant Plants for southeastern gardens. Click HERE for the full text.

Mother and fawn. Photo by Jerry King, Reidville, SC

A young male. Photo by Jerry King, Reidville, SC

Light reflects in the eyes of nocturnal-dining deer, giving them a spooky appearance.

Garden Geek Speak: Buffer pH

Summer is winding down, and it is time to start thinking about next year’s garden. One of the smartest things a gardener can do is to submit a soil sample to the nearest extension office. For a nominal fee, a University lab will evaluate your soil and provide a list of recommendations on amendments.

Why test soil now instead of next spring? Many southeastern beds, borders and lawns need an application of lime (limestone) to adjust the pH of the soil. Without a correct pH, plants cannot efficiently absorb available nutrients. Lime works slowly. Obtain your recommended application rate now, apply it after the end-of-summer cleanup, and allow fall season rains to carry it into the soil where the adjustment process will take place during winter.

Because my gardening beds are not located near each other, they have different needs. I select three areas each year for soil testing. Recommendations are geared toward the plants grown in the test area, so my blueberry beds will have one set of recommendations, my shade garden (hostas and ferns) will have another, and the perennial beds on a rocky southwestern slope will have yet another. Next year I will select three different areas for testing. While you could test annually, I find that once every three years is sufficient.

Fortunately, the University-generated amendment recommendations are spelled out in terms almost anyone can understand. For instance, here is the recommended zinc application for new pecan trees: Use 1 pound of 16-4-8 or 1½ pounds of 12-6-6 fertilizer distributed in a 25-square-foot area around the tree. Make this application immediately after planting and again in June or July. The following February, apply 4 pounds of 16-4-8 or 5 pounds of 12-6-6 fertilizer for each inch of trunk diameter (measured 1 foot above soil surface). Pretty clear, yes?

There is one item on the soil analysis which is confusing. There is one number for Soil pH and another number for Buffer pH. The two numbers are not the same. What is the difference? Simply put, Buffer pH measures a soil’s resistance to change. A soil with high clay content will take a different quantity of product (lime, sulphur or aluminum) to effect pH change than a soil with high sand content. The soil pH meters sold in garden centers can provide a measurement of soil pH, but they cannot give an application rate based on soil structure.

Don’t waste time and money with guessing. I learned this the hard way. After applying 10-10-10 fertilizer to my beds for years, my first soil test indicated a phosphorus level that was off the chart. (I like to blame Martha Stewart’s garden book recommendation for Triple SuperPhosphate, but the fault is all mine. Her Connecticut soil needed phosphate. My South Carolina soil did not.) Out of balance soils take time to correct. It took several years before my excessive phosphorus dropped to a normal level. Before I knew better, the addition of 10-10-10 always made my plants look better short-term as they took up the available nitrogen. Nitrogen leaches out quickly, so as soon as the first flush of growth subsided, plants looked a little unhealthy and I added more 10-10-10 or 17-17-17, making the imbalance worse. While it seems that a fertilizer “with added micronutrients!” should be superior, it is only better if your soil actually needs those micronutrients.

Following the instructions provided, gather a soil sample and stick to the resulting recommendations. It is important to follow good sampling technique so that the resulting recommendation is accurate. As a side note, it is usually unnecessary for homeowners to pay extra money for a lab-generated Organic Matter Test. It sounds like it should be useful, but this measurement is used by farmers to calculate how much herbicide they need for crop treatment.

When spreading lime or fertilizer in a narrow bed, perhaps one surrounded by lawn or patio, it is difficult to use a mechanical spreader without getting the product where you don’t want it. Spreading by hand can be uneven and tiring if your beds are large. Here is my method: Take a clean, empty plastic quart container (mayonnaise jar is perfect). Remove the top and use an electric drill to make holes in the lid. For fertilizer, I use a 3/8” bit and make a lot of holes. Adjust your hole size and quantity to the product you are spreading. Fill the dry container with fertilizer or lime, attach the lid and you have a giant “salt shaker.” The light weight of the container makes for easy application. I keep one of these homemade spreaders in every bag of fertilizer, ant bait or pelleted insecticides. If you measure the correct amount of fertilizer for the given space into the jar, it is easy to avoid applying too much.

Clear plastic jar with blue lid, numerous small holes in lid

Container Plants and Heat

Follow a few steps to keep container plants happy during the hottest part of the summer.

First, choose plastic or composite containers rather than clay or metal. Avoid dark-colored pots. Unglazed terracotta allows rapid evaporation of soil moisture, and metal can get hot enough to damage roots. Insulate the inside walls of iron urns or cast aluminum containers with bubble wrap or several layers of newspaper to keep soil cooler. Go big rather than little. Large containers do not dry out as quickly as smaller ones, and close grouping of containers will form a protective community, reducing evaporation in each. “Self-watering” containers have a hidden reservoir that captures water, and allows overflow to be available to the container. Do not allow plants to sit permanently in saucers of water or roots will rot. Mosquitoes breed in standing water, too.

Potting soil with high organic matter will retain moisture better than low-humus soils. For years, I purchased hydrogels and added them to my container soil mix. Hydrogels were first patented by two employees of Union Carbide Company in 1967. They are crystals about the size of large grains of sugar and can hold 600 times their weight in water. When water is absorbed, they look like clear jellybeans. The theory is that they will absorb moisture (from rain or irrigation) and release it back to the roots during dry periods. However, university lab tests (Washington State University, documented by Linda Chalker-Scott – click HERE to read additional info) showed that this retained moisture is not necessarily transferred to plants. In the WSU lab, several brands of hydrogels were used in the testing. The plants were grown in 1-gallon containers and watered when the medium was less than 80% saturated. After all of the plants matured to the same size, watering was stopped and the plants were allowed to dry out. Each plant was tested at regular intervals to determine moisture content. The results showed that none of the hydrogels kept plants supplied with water any better than the plants that had nothing added to the soil. One product actually stunted the growth to the plants to which it was applied. The crystals break down in five years or so, and degrade into carcinogenic neurotoxins. Ugh! A light top-dressing of a fine-textured mulch WILL reduce evaporation. A groundcover in a container will also help keep soil cool and moist – think Creeping Jenny, Ajuga or Dianthus.
Unless they are huge, containers can be repositioned to avoid full sun exposure during periods of punishing heat. Protect pots from excessive wind. Thirsty plants may require twice daily watering in sweltering heat. Ideally, drip irrigation can run to containers, but this restricts their repositioning.

Selecting heat-tolerant and drought-tolerant specimens makes good sense. Succulents are available in different colors and forms. Most are relatively inexpensive. A single Agave or Yucca can be quite attractive. Plants with grayish foliage or wooly leaves are almost always good choices for hot spaces.

This lovely Ixora is in a plastic container which has been inserted into a decorative clay pot. The double potting provides insulation against heat and prevents excess evaporation.